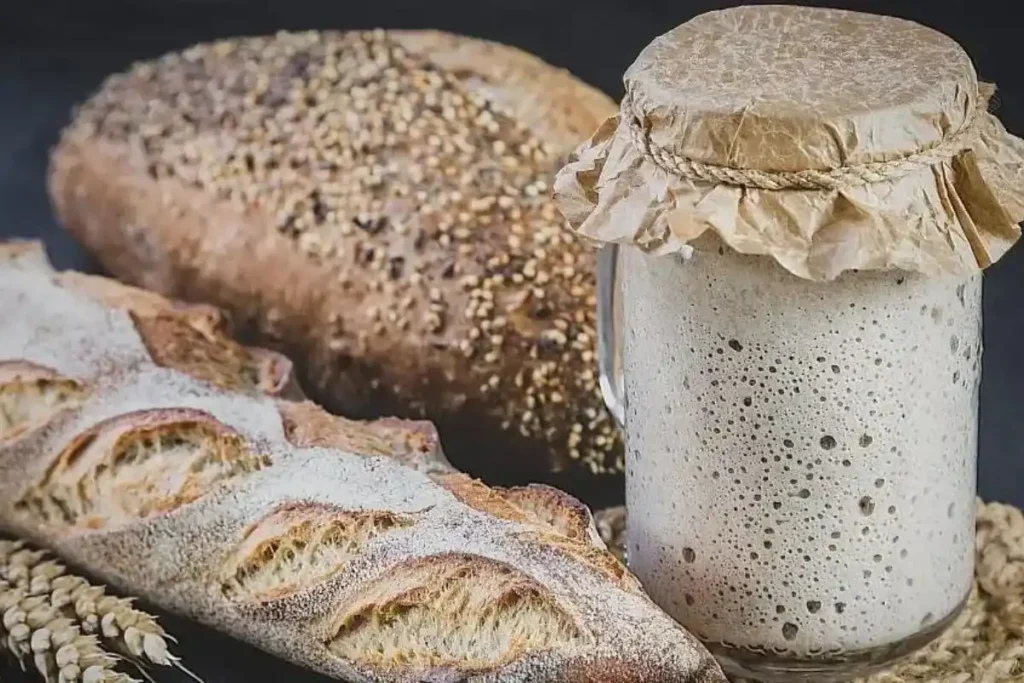
In today’s health-focused world, people are craving good-for-you food, and that’s why whole wheat bread is making a big comeback. As more folks look for options beyond the usual yeast-raised bread, getting into yeast-free bread baking is getting more attention.
In this blog, we’ll walk you through how to whip up tasty whole wheat bread without using yeast. It’s not just a healthy choice, but also a flexible and flavorful alternative.
Table of Contents
ToggleBenefits of Yeast-Free Whole Wheat Bread
Yeast-free whole wheat bread has a bunch of benefits that go beyond just its taste. Choosing this option isn’t just about meeting dietary needs; it also brings a lot of health perks, making it a great pick for those looking for a wholesome bread.
- Easy on the Digestion: One big plus of yeast-free whole wheat bread is that it’s easy on the stomach. If you’re sensitive to yeast or often feel discomfort after eating, going for yeast-free bread can ease these problems, making digestion gentler.
- Packed with Good Stuff: By ditching yeast, this bread holds onto more of its nutritional goodness. Whole wheat flour is loaded with essential nutrients like fiber, vitamins, and minerals. This nutrient-packed profile supports your overall well-being, fitting in well with a balanced and health-conscious lifestyle.
- Keeps Blood Sugar in Check: Yeast-free whole wheat bread has a lower glycemic index compared to traditional yeasty bread. This means it has a milder effect on your blood sugar levels, making it a better choice for those working on managing their blood sugar effectively.
- Safe for Allergies: Yeast allergies are pretty common, and yeast-free whole wheat bread is a safe option for those with such sensitivities. With no yeast involved, people with yeast-related allergies can still enjoy the delicious taste and texture of freshly baked whole wheat bread without any compromises.
- Helps with Weight Control: If you’re keeping an eye on your weight, yeast-free whole wheat bread is a great companion. The high fiber content keeps you feeling full, helping to control your appetite and potentially contributing to your weight management goals.
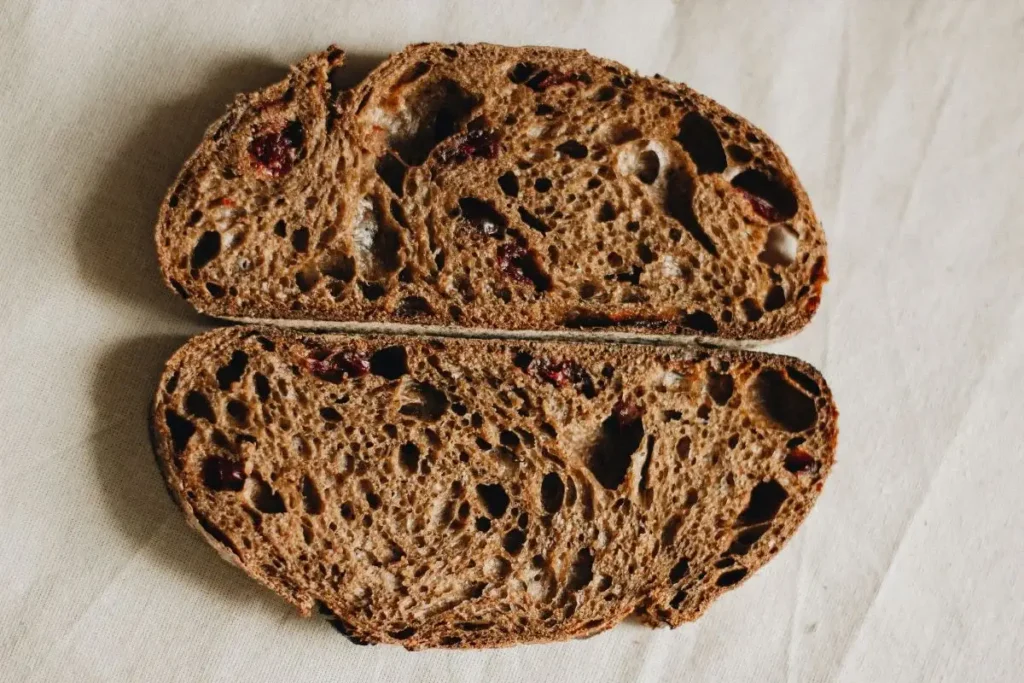
3 Common Issues with Whole Wheat Bread Without Yeast
Creating whole wheat bread without yeast offers a healthy option, but it comes with its own set of challenges. Here are three common problems you might run into and practical solutions to make sure your yeast-free loaf turns out great every time.
Dense Texture
Problem: One common issue is ending up with a heavy, dense texture in the finished bread, usually caused by kneading the dough too much or not giving it enough time to rise. Whole wheat flour requires careful handling to achieve a light and airy result.
Solution: To fix density problems, be mindful of how long you knead the dough. Too much kneading can make the structure too tight. Also, make sure to give the dough enough time to rise during proofing. Adjusting these factors will result in a lighter, well-structured loaf.
Flat Loaves
Problem: Another challenge is getting flat loaves without the desired rise, often due to improper proofing or not providing enough support during baking.
Solution: Ensure your dough undergoes proper proofing, allowing it to double in size. Use a pan of the right size for baking to support the rising dough. These adjustments will help you achieve the height you want in your yeast-free whole wheat bread.
Crumbly Texture
Problem: Dealing with a crumbly texture can be disappointing and is usually caused by not enough hydration or an imbalanced ratio of ingredients.
Solution: Adjust the hydration level in your dough, making sure it’s not too dry. Experiment with the flour-to-water ratio to find the right balance, resulting in a moist and cohesive crumb.
Yeast-free Alternatives for Whole Wheat Bread Making
Starting to make whole wheat bread without yeast doesn’t mean sacrificing the leavening process. There are plenty of good alternatives that give your bread the lift it needs and contribute to its great texture.
- Baking Soda: A regular household item, baking soda, when mixed with something acidic like yogurt or buttermilk, makes carbon dioxide, helping your bread rise just right. Be careful with the measurements to avoid an overpowering taste.
- Baking Powder: This versatile leavening agent is a mix of an acid and a base. When combined with liquid, it releases carbon dioxide, creating air pockets in the dough. Choose baking powder without aluminum to avoid any metallic aftertaste.
- Sourdough Starter: If you’re in the mood for a tangy flavor, a sourdough starter can be a fantastic yeast substitute. This fermented mix of flour and water introduces natural yeast and bacteria, giving your bread a robust and unique taste.
- Club Soda: The fizziness in club soda surprisingly makes it a good yeast substitute. It adds bubbles to the dough, making it light and airy. Make sure the club soda is at room temperature for the best results.
- Self-Rising Flour: This flour already has baking powder and salt, so you don’t need extra leavening agents. It’s a convenient choice to simplify the bread-making process while ensuring a consistent rise.

How To Make Easy No Yeast Whole Wheat Bread Recipe | Step-by-Step
Embarking on the journey of making your own bread can be a super rewarding experience, especially when you go for a wholesome and healthy choice like whole wheat bread.
This step-by-step guide will take you through the process of whipping up a tasty no-yeast whole wheat bread, making it doable even if you’re a newbie in the baking world.
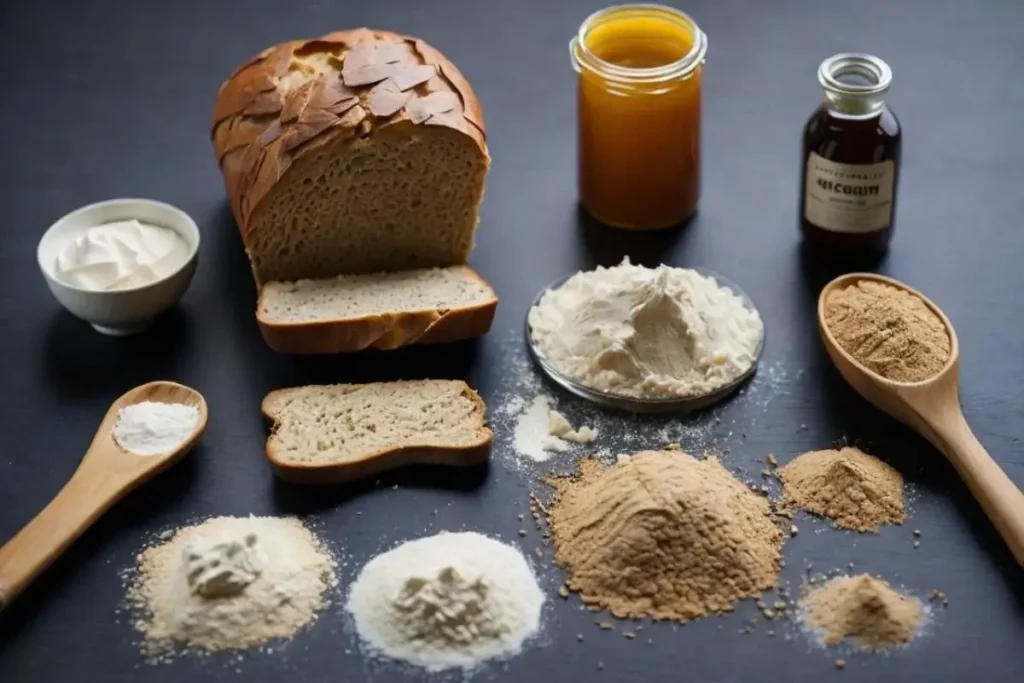
Ingredients:
Before you get started, grab the following stuff:
- 3 cups whole wheat flour
- 1 tablespoon baking powder
- 1/2 teaspoon baking soda
- 1 teaspoon salt
- 1 and 1/2 cups buttermilk
- 1/4 cup vegetable oil
- 2 tablespoons honey or maple syrup
Instructions
- Step 1: Preheat and Get Ready First things first, preheat your oven to 375°F (190°C). Grease a loaf pan and set it aside. This ensures your bread cooks evenly and doesn’t stick.
- Step 2: Mix Dry Stuff In a big mixing bowl, toss together the whole wheat flour, baking powder, baking soda, and salt. Give it a good whisk until everything’s mixed well. This step makes sure the leavening agents are spread evenly in the flour.
- Step 3: Mix Wet Stuff In a separate bowl, whisk together the buttermilk, vegetable oil, and honey (or maple syrup). The buttermilk adds a tangy kick and helps activate the baking powder and soda, making your bread nice and fluffy.
- Step 4: Combine Wet and Dry Make a well in the center of the dry ingredients and pour in the wet ones. Gently fold it all together until just combined. Don’t overmix – that can lead to a heavy loaf.
- Step 5: Into the Loaf Pan Pour the batter into the greased loaf pan, spreading it out evenly. Use a spatula to smooth the top for a polished look.
- Step 6: Bake Away Stick the pan in the preheated oven and bake for 35-40 minutes or until a toothpick stuck in the center comes out clean. The top should be a nice golden brown, and your kitchen will smell amazing.
- Step 7: Cool and Dig In Let the bread cool in the pan for 10 minutes before moving it to a wire rack to cool completely. It’s tempting to slice into it while it’s warm, but letting it cool gives it a better texture.
Congrats! You’ve just whipped up a simple, no-yeast whole wheat bread that’s great for sandwiches, toast, or just munching on its own. Get creative by adding seeds or nuts for some extra crunch, and make this recipe a regular in your home baking routine.
Storing and Freezing Yeast-Free Whole Wheat Bread
Once you’ve made your yeast-free whole wheat bread successfully, it’s crucial to know how to store and freeze it to keep it fresh and tasty. Proper storage is key to making sure your efforts in creating a healthy loaf pay off.
Storing Fresh Bread
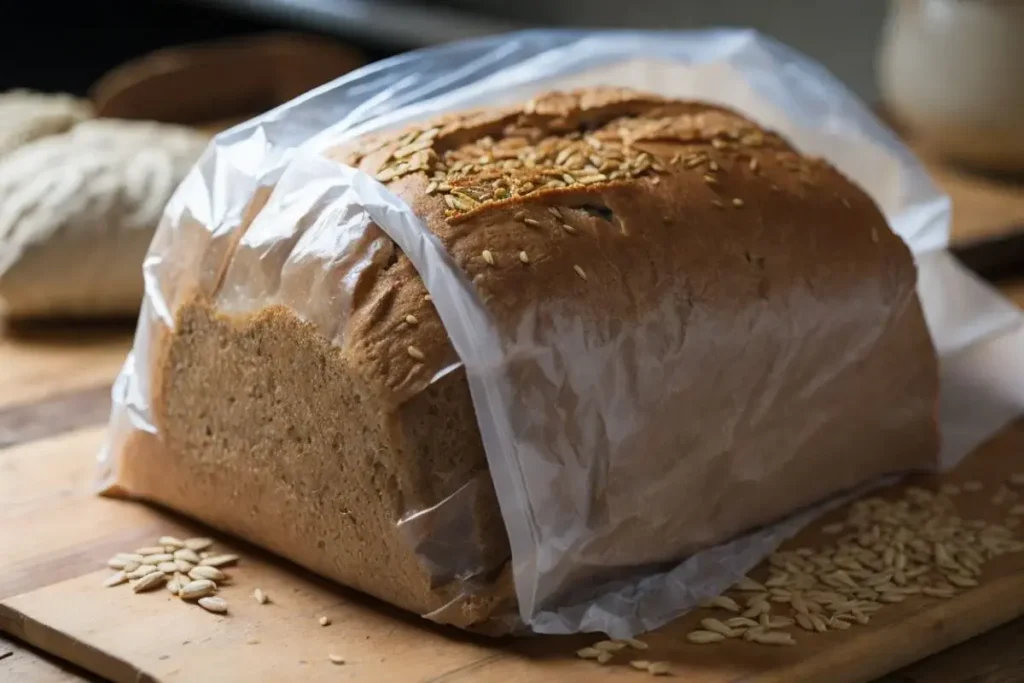
Once your bread has cooled completely, store it in a breathable container or a paper bag. Avoid airtight containers since they can trap moisture, making the crust soggy. Putting a paper towel inside the container helps soak up extra moisture, keeping the bread’s texture intact.
If you plan to eat the bread within a few days, room temperature storage is fine. But for a longer shelf life, consider keeping it in the fridge. Just keep in mind that refrigeration can speed up the staling process, so it’s best to finish it within a week.
Freezing for Long-Lasting Freshness
Freezing is a handy option to extend the freshness of your yeast-free whole wheat bread. Make sure the bread is completely cool before freezing to prevent ice crystals from affecting the texture.
Wrap the bread tightly in plastic wrap or aluminum foil, making sure no air can get in. For added protection against freezer burn, put the wrapped bread in a sealable plastic bag. Label the package with the date to keep track of how fresh it is.
When you’re ready to enjoy your frozen bread, let it thaw at room temperature for a few hours or reheat it in the oven for a few minutes. This straightforward guide to storage and freezing ensures that your yeast-free whole wheat bread stays a tasty and convenient choice for any occasion.
Whole Wheat Bread Without Yeast | Final Thoughts
In conclusion, making yeast-free whole wheat bread has opened up a tasty and health-conscious avenue in the world of baking. Besides its yummy flavor, this alternative comes with a bunch of benefits, like helping with digestion and aiding in weight control.
Though you might run into challenges like a dense texture, flat loaves, or crumbly bread, practical solutions guarantee a perfect loaf every time.
In this blog I doesn’t just address the issues; I also shares yeast-free alternatives such as baking soda, baking powder, sourdough starter, club soda, and self-rising flour. The step-by-step recipe simplifies the process, making it doable even for baking beginners.
Tips on proper storage and freezing ensure that your efforts result in a fresh and convenient bread choice for any occasion. Happy baking!
Lindsey Mackenzie
About me
Hi there! I’m Lindsey Mackenzie, the founder of Bake Smartly. Baking has been my passion since childhood, growing up in my father’s bakery. With Bake Smartly, I’m excited to share my love for all things sweet and savory. Join me on this delicious journey as we whip up scrumptious treats and sprinkle joy into every bite!

