How to Get Cake Pops Out of Mold in 5 Easy Ways
Cake pops have taken the dessert world by storm, offering a delightful combination of moist cake and sweet coating on a stick. Making these little treats can be a fun time, but the tricky part usually comes when you’re trying to get them out of the mold.
If you’ve ever found yourself struggling to get your cake pops out of mold in one perfect piece, fear not! In this guide, we’ll explore five easy and foolproof methods to help you achieve cake pop mold release mastery.
Table of Contents
ToggleThe Importance of Properly Removing Cake Pops From the Mold
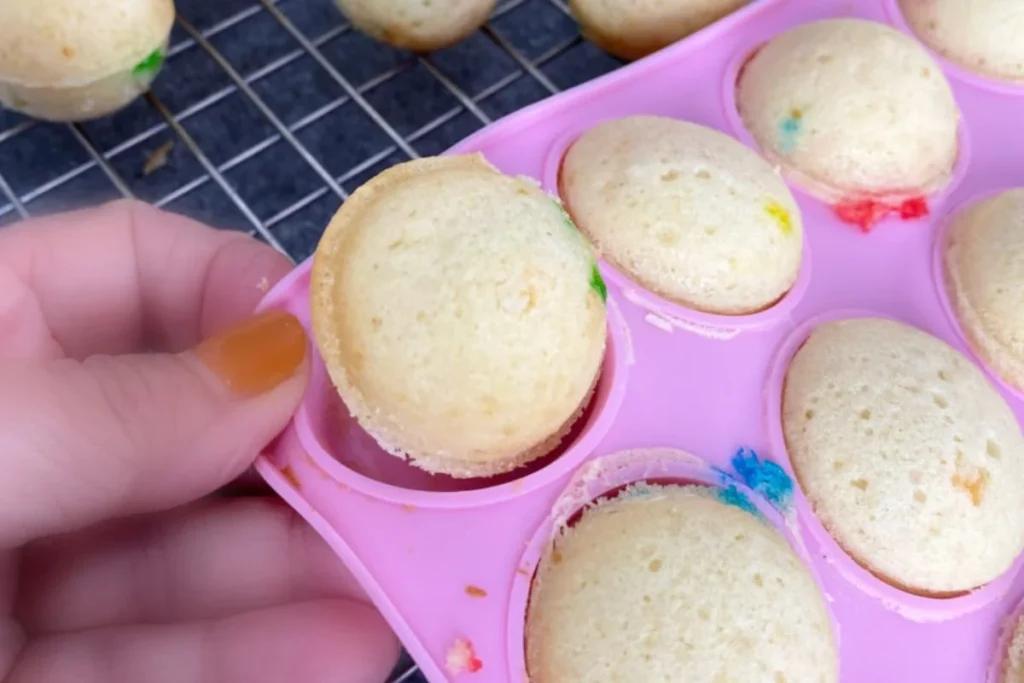
Getting cake pops out of the mold correctly is a key step in making them look and taste just right. This is important for keeping the shape and texture of the cake pop, which adds to how good it looks when it’s all done. The mold, usually made of silicone or plastic, gives the cake pop its distinctive shape.
Careful removal is essential to prevent any distortion or breakage of the delicate cake pop. If you rush or don’t do it right, you might end up with pops that don’t look right or have cracks, which can make them not as good overall. Plus, if you don’t handle the demolding process carefully, you could lose the cool details and designs that are part of the mold.
Also, how you take the cake pops out is crucial for keeping them moist and tender. If you’re not careful, you could lose moisture, and then the cake pops might turn out dry and not as tasty. Taking them out the right way ensures that the pops stay soft inside, giving people a delicious experience when they bite into them.

5 Foolproof Methods to Easily Remove Cake Pops from the Mold
To ensure your cake pop-making experience is stress-free, we’ve compiled five foolproof methods to easily remove cake pops from the mold.
Follow these techniques to achieve perfectly shaped and intact cake pops every time.
Method 1: Freezing the Cake Pops
One of the most effective and straightforward methods to facilitate the removal of cake pops from the mold is to freeze them. After molding your cake pops, place them in the freezer for at least 15 to 30 minutes.
The cold temperature causes the cake to contract slightly, making it easier to release from the mold without any sticking. Ensure that the cake pops are adequately chilled but not frozen solid, as extreme coldness may cause the cake to crack or the coating to separate when you dip them in chocolate or other coatings.
To use this method, simply prepare your cake pops as usual, insert the sticks, and then place them on a tray or plate lined with parchment paper. Transfer the tray to the freezer, allowing the cake pops to set. Once sufficiently chilled, gently twist and pull the mold away, revealing perfectly shaped cake pops.
Method 2: Warm Water Bath
For molds made of plastic or other rigid materials, a warm water bath can be an effective solution. Fill a basin or sink with warm water, making sure it’s not too hot to handle. Submerge the mold in the warm water for 30 seconds to a minute, allowing the heat to soften the edges of the cake pops.
After the warm water bath, carefully remove the mold and give it a gentle shake to dislodge any air bubbles that may have formed. Then, invert the mold over a flat surface, tapping the back to release the cake pops. The warmth will have made the cake pops more pliable, facilitating an easy and intact removal.
Method 3: Using Cooking Spray or Oil
An age-old but effective trick for preventing cake pops from sticking to the mold is to use cooking spray or a small amount of oil. Before filling the mold with your cake pop mixture, lightly coat the interior with cooking spray or apply a thin layer of oil with a brush. This creates a protective barrier between the cake mixture and the mold, making the removal process smoother.
After allowing your cake pops to set, gently twist and turn the mold to loosen the edges. The cooking spray or oil acts as a release agent, allowing the cake pops to slide out effortlessly, maintaining their perfect shape.
Method 4: Using a Cake Pop Release Agent
For those who want to take their cake pop game to the next level, investing in a specialized cake pop release agent is an excellent choice. These release agents are designed specifically for cake pops and work similarly to cooking spray but with added benefits. They often come in spray form, making application quick and easy. Spritz the mold lightly before filling it with your cake pop mixture.
The cake pop release agent forms a thin, even coating on the mold, preventing any sticking and ensuring a flawless release. This method is convenient for intricate or detailed molds where precision is crucial.
Method 5: Using a Cake Pop Removal Tool
In cases where your cake pops stubbornly cling to the mold, a cake pop removal tool can be a lifesaver. These tools typically feature a thin, flat edge that can be slid between the cake pop and the mold to gently pry it loose. The key is to work your way around the mold, easing the cake pop out bit by bit.
Before using the removal tool, make sure to loosen the edges of the cake pops by gently twisting the mold. Apply minimal pressure to avoid damaging the shape of the cake pops. This method is particularly useful for intricate designs or when working with molds that have more complex shapes.
Common Mistakes to Avoid When Removing Cake Pops From the Mold
To make sure your cake pop journey goes smoothly, it’s important to know about some common mistakes that might happen during the process. By avoiding these slip-ups, you can create cake pops that are perfectly shaped and look great every time.
Mistake 1: Not Waiting for the Pops to Cool
One big mistake is not being patient enough when letting the cake pop cool. If you rush this step, the pops might end up soft and wobbly, making it tough to take them out of the mold without ruining their shape.
Make sure to follow the recommended cooling time in your recipe so the cake pops can set and firm up properly.
Mistake 2: Putting Too Much Batter in the Mold
Another common error is overfilling the mold, which can lead to messy and uneven cake pops. When you’re filling the mold, resist the urge to go over the suggested amount.
If you put in too much, it can spill over and create uneven edges, making it hard to remove the pops neatly. Stick to the recommended measurements for each cavity to get uniform and professional-looking cake pops.
Mistake 3: Not Preparing the Mold
Forgetting to prep the mold is another mistake that can make it tricky to get the pops out. Whether you’re using silicone or plastic molds, it’s crucial to grease or coat them with a thin layer of oil or cooking spray before filling.
A dry mold increases the chance of the cake pops sticking, making it tough to release them without damage.
Mistake 4: Taking Pops Out Too Early
Trying to remove the cake pops from the mold too soon is a common slip-up. Even if the pops seem set on the surface, they might not be fully solid inside. Taking them out too early can lead to distorted shapes and crumbling.
Let the cake pops cool completely, and if needed, put them in the freezer for a bit to make them firmer before trying to remove them.
Mistake 5: Skipping the Tapping Step
After they’ve cooled, forgetting to tap the mold is a mistake that can make it hard to release the cake pops. Tapping the mold on a flat surface helps loosen the edges and get rid of any air bubbles.
Skipping this important step might cause the cake pops to stick, making it tougher to remove them.
Troubleshooting Tips for Perfect Cake Pop Removal
Even with the best techniques, occasional challenges may arise when removing cake pops from the mold. Fear not, as these troubleshooting tips will help you navigate common issues and ensure your cake pop-making experience remains enjoyable and successful.
- Sticky Situations: If you find your cake pops sticking to the mold, it’s likely due to insufficient greasing or coating. To remedy this, run a thin layer of oil or cooking spray on the mold cavities before filling. Additionally, consider dusting the mold with a light coating of powdered sugar or flour to create an extra barrier.
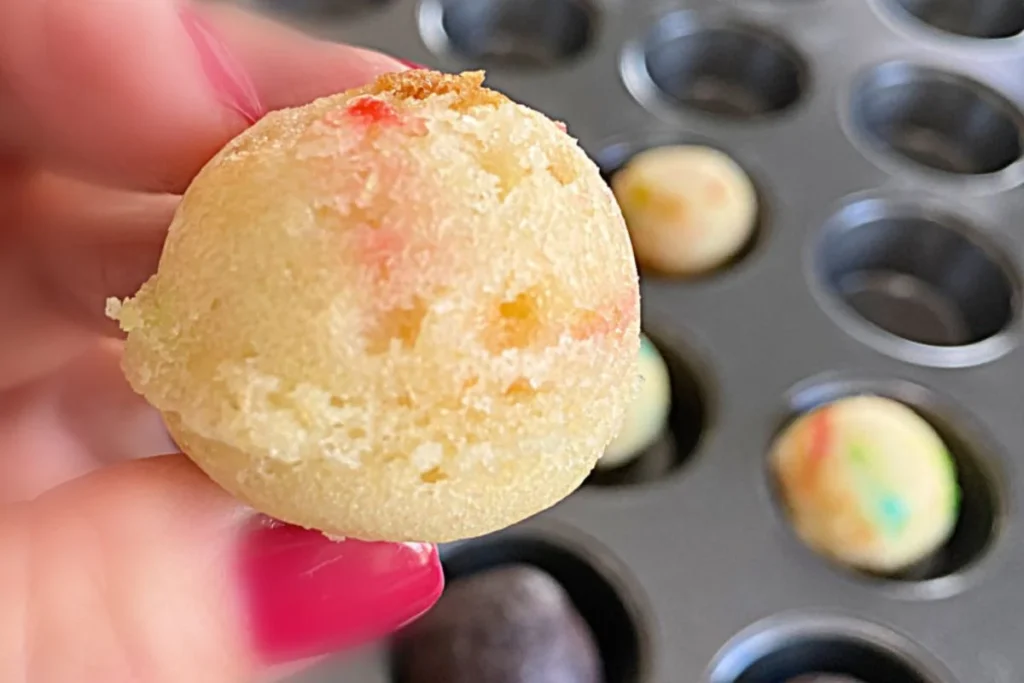
- Crumbling Conundrum: Cake pops that crumble during removal may be a result of inadequate cooling or premature attempts to release them. Allow the pops to cool completely, and if necessary, transfer them to the freezer for a short duration to enhance firmness. Patience is key to achieving intact and beautifully shaped cake pops.
- Uneven Edges: Uneven edges can occur when molds are overfilled or not leveled properly. Pay close attention to the recommended filling quantities for each cavity, ensuring you maintain consistency. Before filling, tap the mold gently on a flat surface to settle the mixture and create a smooth surface for your cake pops.
- Mold Flexibility Issues: If you’re using silicone molds and encountering difficulty flexing them to release the cake pops, try placing the mold in the freezer for a few minutes before attempting to flex it. This brief chill enhances the mold’s flexibility, making it easier to pop out the cake treats without compromising their structure.
- Overchilled Pops: While the freezer trick can aid in easy removal, be cautious not to overchill the cake pops. If they become too frozen, they might crack or shatter when you try to remove them. Monitor the time they spend in the freezer, aiming for firmness without reaching a frozen-solid state.
Frequently Asked Questions (FAQs)
Can I use the same mold for different batches without washing?
It’s advisable to wash and dry the mold between batches to ensure the best results and maintain the integrity of your cake pops.
What should I do if my cake pops break during extraction?
If breakage occurs, don’t fret. Simply melt a bit of chocolate and use it as a “glue” to repair any cracks or breaks.
How long should I freeze the cake pops in the mold?
A brief 15-20 minutes in the freezer is sufficient to firm up the cake pops for easy removal.
Is it necessary to grease silicone molds?
While silicone molds are naturally non-stick, a light greasing can add an extra layer of insurance against sticking.
Can I use any type of mold for cake pops?
Absolutely! However, investing in high-quality, non-stick silicone molds is highly recommended for a hassle-free experience.
Conclusion
In summary, becoming skilled at getting cake pops out of the mold is like mastering an art that can transform a possibly frustrating task into a enjoyable one. Just follow these pro tips, and soon you’ll be effortlessly making flawless cake pops that not only taste amazing but also look perfect.
Lindsey Mackenzie
About me
Hi there! I’m Lindsey Mackenzie, the founder of Bake Smartly. Baking has been my passion since childhood, growing up in my father’s bakery. With Bake Smartly, I’m excited to share my love for all things sweet and savory. Join me on this delicious journey as we whip up scrumptious treats and sprinkle joy into every bite!

