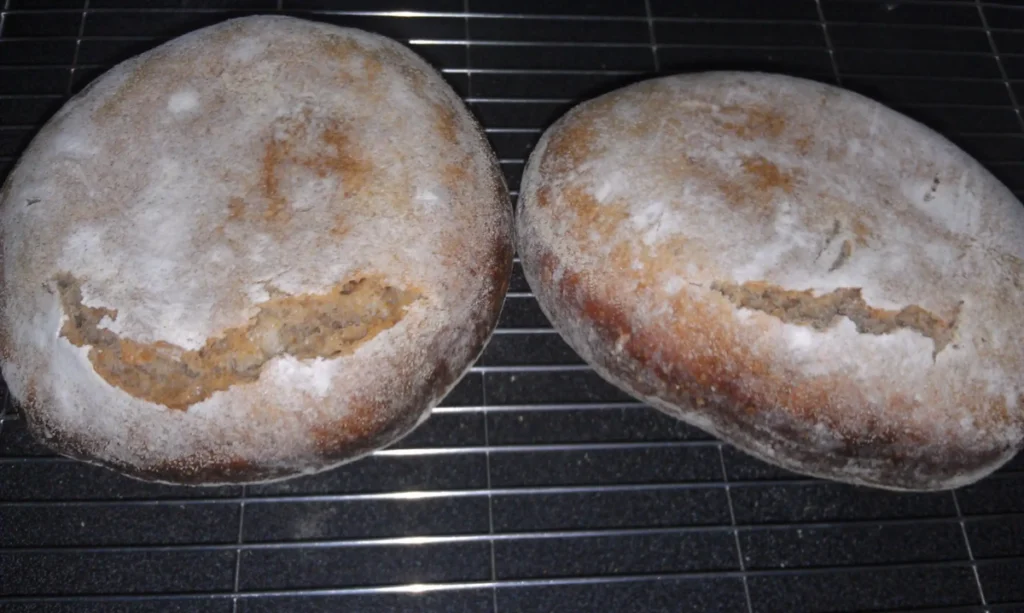
5 Simple Ways to Make Whole Wheat Bread Less Crumbly
Tired of your homemade whole wheat bread turning out dry and crumbly? Say goodbye to disappointment and hello to perfectly soft loaves with these easy techniques. Whether you’re a seasoned baker or just starting out, these simple tricks will have you making bakery-quality bread in no time.
One key to achieving fluffy and soft whole wheat bread is getting the right mix of ingredients. From the type of flour to the correct amount of liquid, each element plays a crucial role in the final result.
In this blog, we’ll guide you through five tried-and-true techniques to ensure your whole wheat bread is always soft, moist, and delicious. From adjusting hydration levels to getting the perfect amount of gluten, you’ll learn the secrets to transforming your bread from crumbly to heavenly.
Don’t let the reputation of whole wheat bread scare you away. With our expert tips and tricks, you’ll be able to create amazing loaves that will have your family and friends asking for more.
Table of Contents
Toggle3 Main Reasons Why is My Whole Wheat Bread Crumbly?
Making whole wheat bread can be a healthy choice, but dealing with a crumbly texture can be pretty frustrating for home bakers. To get the texture you want, it’s crucial to understand why your whole wheat bread might end up crumbly. Here are three main reasons:
1. Not Enough Gluten Development
One big reason your whole wheat bread might be crumbly is that there isn’t enough gluten development. Gluten, a protein that forms when you mix wheat flour with water, gives the dough structure and elasticity.
Whole wheat flour has bran and germ, which can mess with gluten formation. To boost gluten development, make sure to knead the dough thoroughly. This helps create a strong gluten network, giving your bread better structure and preventing it from being too crumbly.
2. Unbalanced Flour Ratios
Getting the right mix of whole wheat flour and all-purpose or bread flour is key to the texture of your bread. Whole wheat flour has a rougher texture because of the bran, and using too much of it can lead to a crumbly result.
Try using a mix of whole wheat flour and bread flour in your recipe. The bread flour has more gluten, helping create a stable structure. Experiment with different ratios to find the perfect blend that gives you the nutritional benefits of whole wheat without making the bread fall apart.
3. Not Enough Moisture
Whole wheat flour absorbs more moisture than refined flours, and if you don’t add enough liquid, your bread can end up dry and crumbly. Make sure to add the right amount of liquid to your dough, whether it’s water, milk, or other liquids in your recipe.
You can also use ingredients with high moisture content, like yogurt or applesauce, to make the bread moister overall. Adjusting the moisture levels can really affect the final texture, making the bread more together and less likely to crumble.
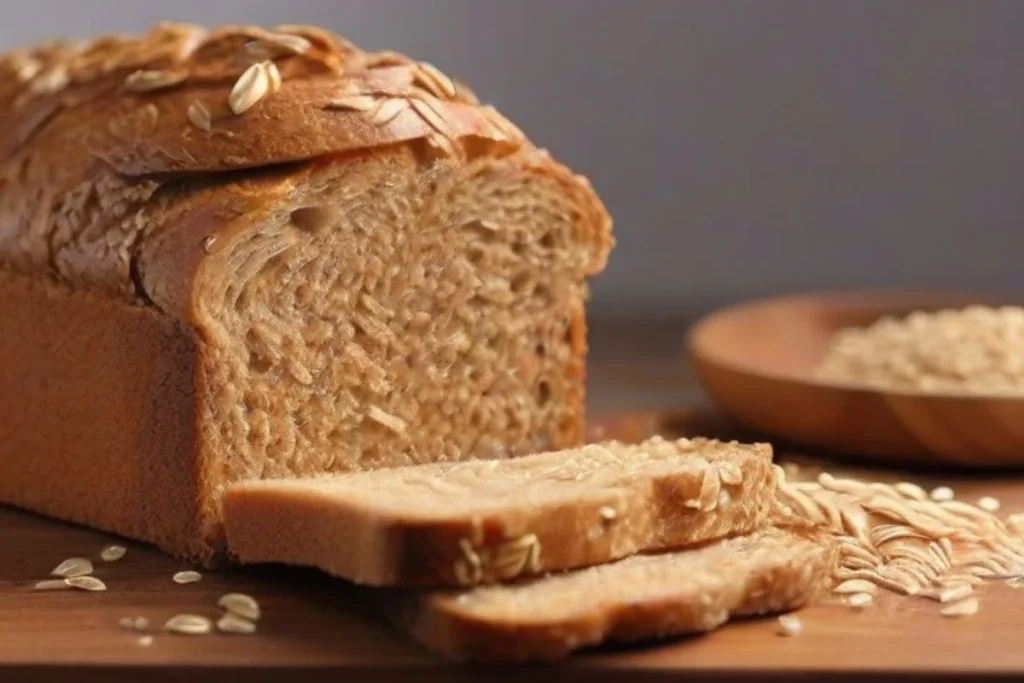
How to Fix Whole Wheat Bread Crumbliness in 5 Easy Methods
In this section, we’ll show you five effective techniques to save your whole wheat bread from turning crumbly.
Technique 1: Using a Preferment
A preferment is a simple yet powerful tool in your arsenal to combat crumbliness. This technique involves creating a pre-fermented mixture of flour, water, and yeast before incorporating it into the main dough. This process allows for better hydration of the flour and encourages gluten development, resulting in a more cohesive and less crumbly texture.
To employ this method, begin by mixing a portion of the total flour and water in your recipe with a small amount of yeast. Allow this preferment to rest and ferment for several hours or overnight. When it reaches a bubbly and slightly risen state, incorporate it into the main dough during the mixing stage. The preferment enhances the overall dough structure, addressing the crumbliness issue from the start.
Technique 2: Adjusting Hydration Levels
One of the primary causes of crumbliness in whole wheat bread is inadequate hydration. Adjusting the hydration levels in your recipe can make a significant difference. Whole wheat flour tends to absorb more water than its refined counterpart, so a higher hydration level is often necessary.
Experiment with gradually increasing the amount of water or other liquid components in your recipe. Be mindful of the dough’s consistency during the mixing and kneading stages. A well-hydrated dough is more pliable and responsive, resulting in a softer and less crumbly final product.
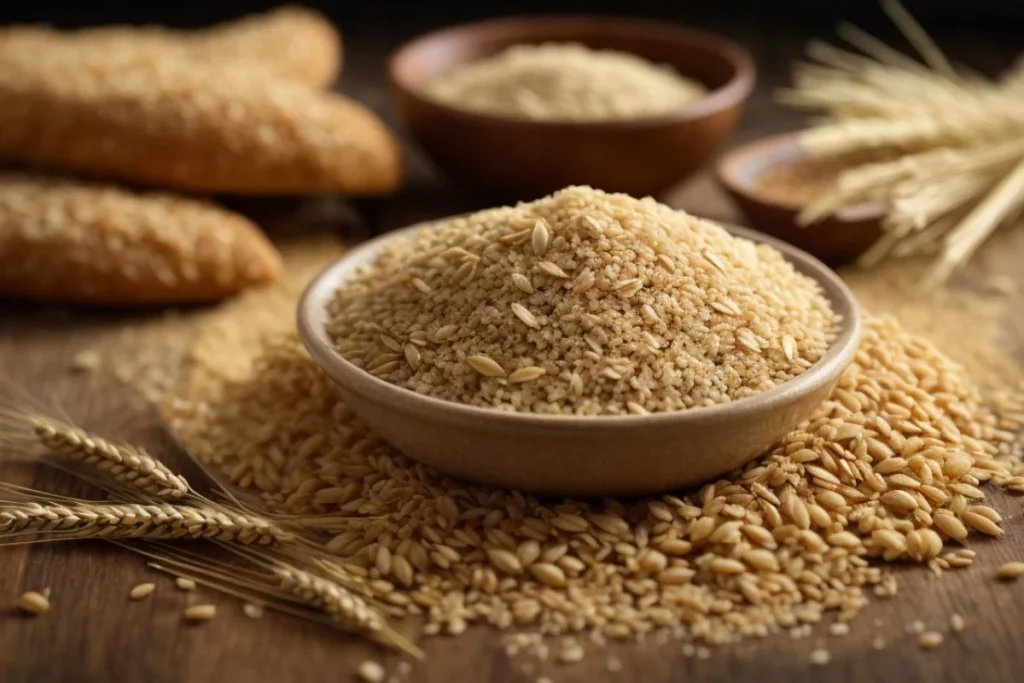
Technique 3: Incorporating Vital Wheat Gluten
Vital wheat gluten is a gluten-rich powder derived from wheat flour. Adding it to your whole wheat bread recipe can boost gluten development and improve the bread’s texture. This technique is particularly helpful when working with whole wheat flour, which naturally contains less gluten than all-purpose flour.
To use vital wheat gluten, mix a small amount (usually around one tablespoon per cup of whole wheat flour) into your dry ingredients before adding them to the wet ingredients. This extra gluten reinforcement acts as a stabilizer, enhancing the structure of the dough and reducing crumbliness.
Technique 4: Proper Kneading and Gluten Development
Kneading is an essential step in bread making, and when it comes to whole wheat bread, it’s crucial for gluten development. Whole wheat flour contains bran and germ, which can interfere with gluten formation. To overcome this challenge, invest time and effort in proper kneading techniques.
Knead the dough until it reaches a smooth and elastic consistency. This process aligns gluten strands, providing the necessary structure to combat crumbliness. Remember, patience is key – allow the dough the time it needs to develop gluten fully.
Technique 5: Baking at the Right Temperature and Time
The final crucial technique to prevent crumbliness in whole wheat bread is to pay meticulous attention to the baking process. Ensure your oven is preheated to the correct temperature, typically between 375°F to 425°F (190°C to 218°C), depending on your recipe.
Baking time is equally important. Whole wheat bread may require a slightly longer baking period than white bread to allow for thorough cooking and crust development. Follow the recommended baking time in your recipe, and monitor the bread’s internal temperature to ensure it’s fully baked.
Common Mistakes To Avoid When Baking Whole Wheat Bread
Baking whole wheat bread is a fun project, but it does have its challenges. Many home bakers often make common mistakes that can affect how their loaves turn out. Let’s dive into the key errors to avoid for a successful whole wheat bread-baking experience.
- Using Low-Quality Whole Wheat Flour: The foundation of any good bread is the quality of the flour you use. One common mistake is choosing low-quality whole wheat flour. Cheaper flours might not have enough protein for proper gluten development, resulting in a crumbly texture. Invest in high-quality whole wheat flour to ensure your bread turns out better.
- Neglecting Proper Hydration: Whole wheat flour absorbs more liquid than its refined counterpart. Neglecting this can lead to a dry and crumbly loaf. Make sure you get the hydration right by adjusting the liquid in your recipe. Experiment with small amounts until you find the right balance between moisture and texture.
- Skipping Vital Resting Periods: Trying to rush the bread-making process is a common mistake. Whole wheat dough needs enough time to rest for gluten relaxation. Skipping these crucial steps can prevent a cohesive structure from forming, resulting in a less-than-ideal texture. Be patient and give the dough the time it needs to rise and rest properly.
- Overlooking Kneading Techniques: While kneading is essential, doing it too much can be a problem. Over-kneading whole wheat dough can make it tough and crumbly. Pay attention to the dough’s texture during the kneading process and stop when it becomes smooth and elastic.
- Ignoring Oven Temperature: Precision Having an accurate oven temperature is crucial, especially for whole wheat bread. Inconsistent temperatures can lead to uneven baking and an undesirable texture. Invest in an oven thermometer to make sure your oven is calibrated correctly and follow the recommended temperature settings for the best results.
Frequently Asked Question (FAQS)
Why does my homemade whole wheat bread fall apart?
Homemade whole wheat bread falling apart can be attributed to a few common factors. The high fiber content in whole wheat flour can inhibit gluten development, resulting in a less cohesive structure.
Overmixing the dough, insufficient hydration, or not letting it rest adequately can contribute to a crumbly texture. Striking the right balance of ingredients and techniques, as discussed in the article, can significantly improve the integrity of your whole wheat breadWhy is my homemade Bread dry the next day?
The dryness of homemade bread the day after baking is primarily due to the staling process. Starch retrogradation and water redistribution within the bread lead to a loss of moisture and a tougher texture.
To prevent this, it’s crucial to store the bread properly—avoid refrigeration and use breathable containers. Additionally, incorporating ingredients like fats, yogurt, or milk during baking enhances moisture retention, ensuring a more enjoyable loaf even on subsequent days.What’s the ideal room temperature for letting the dough rise and rest?
Aim for a room temperature between 75°F to 80°F (24°C to 27°C) for optimal dough fermentation and gluten relaxation.
Can I use regular whole wheat flour, or should I specifically look for high-protein options?
While regular whole wheat flour can be used, high-protein varieties tend to produce better results. Look for flours labeled as suitable for bread baking.
How to Make Whole Wheat Bread Less Crumbly | Final Thoughts
In conclusion, making the perfect whole wheat bread is like an art, and our blog has given you five practical techniques to tackle crumbliness. From using preferments to boost gluten development, adjusting water levels, adding vital wheat gluten, ensuring proper kneading, to mastering the baking process – these steps ensure you get soft, moist, and delicious loaves every time.
We’ve also pointed out common mistakes to avoid, such as picking good-quality flour, keeping the right moisture, giving enough resting time, not over-kneading, and making sure the oven temperature is spot-on. With these tips, your whole wheat bread will not only be a healthy choice but a culinary success that will have everyone asking for more. Happy baking!
Lindsey Mackenzie
About me
Hi there! I’m Lindsey Mackenzie, the founder of Bake Smartly. Baking has been my passion since childhood, growing up in my father’s bakery. With Bake Smartly, I’m excited to share my love for all things sweet and savory. Join me on this delicious journey as we whip up scrumptious treats and sprinkle joy into every bite!

