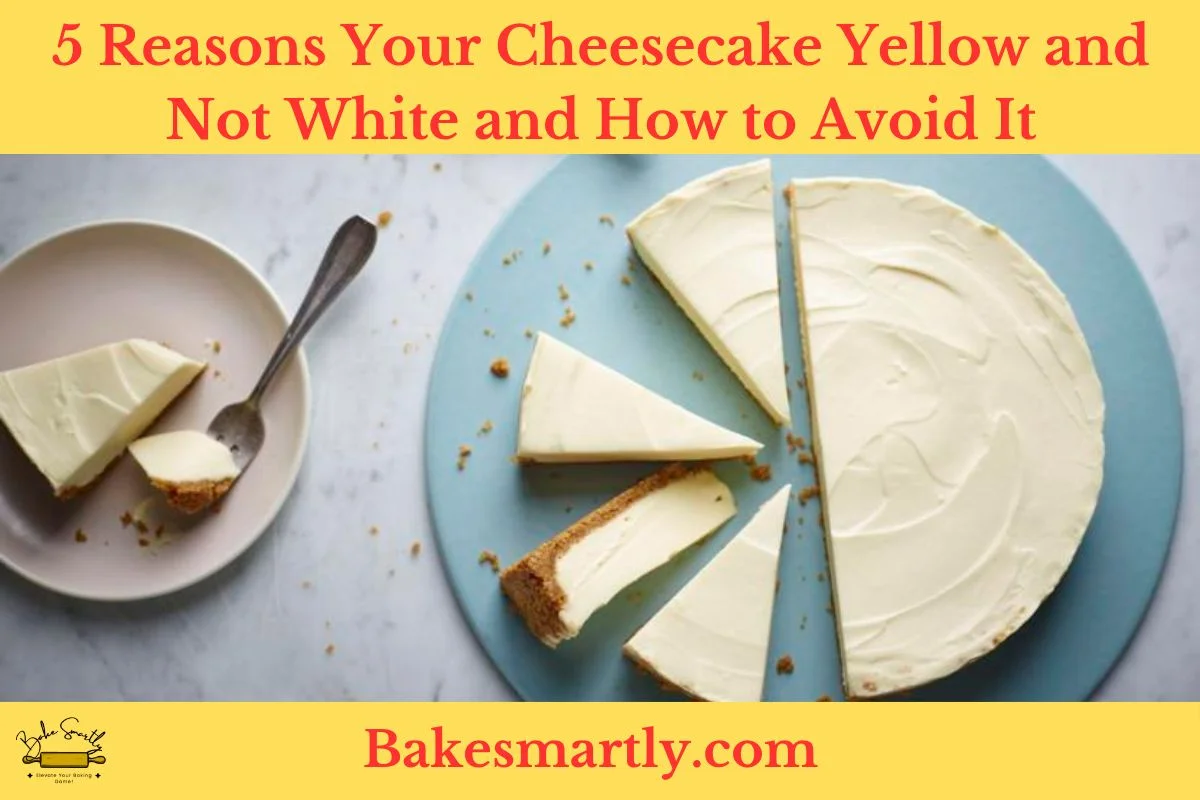
5 Reasons Your Cheesecake Yellow and Not White and How to Fix It
Cheesecake is a yummy dessert that lots of people adore for its creamy texture and delicious flavor. But if you’ve ever baked a cheesecake and it turned out more yellow than the pure white you hoped for, you’re not alone.
Many factors can make your cheesecake look yellow, and knowing them can save you from disappointment next time.
In this blog post, we’ll look at the top 5 reasons your cheesecake is yellow and give you some useful tips on how to get that perfect snowy-white look.
Table of Contents
ToggleReason 1: Mixing the Batter Too Much
One big reason your cheesecake might turn yellow is because you’re mixing the batter too hard. When you beat the ingredients too much, the air gets trapped in there and makes the batter turn yellow.
To avoid this, just mix the cream cheese, sugar, and eggs gently until they’re all mixed. Mixing too hard not only changes the color but can also make your cheesecake too dense.
Reason 2: Ingredients Matter
What you put into your cheesecake affects its color a lot. One thing that can make it yellow is using eggs with really yellow yolks. To keep it whiter, try using eggs with paler yolks or just the egg whites. Also, using good-quality cream cheese makes a difference.
Cheaper kinds can have stuff added to them that messes with the color. So, go for the nicer cream cheese for a smoother texture and a whiter cheesecake.
Reason 3: Too Much Vanilla Extract
Vanilla extract tastes great in cheesecake, but you’ve got to be careful with how much you use. Using too much can make your cheesecake turn yellow.
Vanilla extract has alcohol, and too much of it reacts with the other ingredients, changing the color. During baking, the alcohol evaporates, leaving behind the flavor and that yellow tint.
To avoid this, stick to the recipe’s recommended amount of vanilla extract. Usually, one to two teaspoons of good vanilla extract is enough. If you want more vanilla flavor without the color change, try clear vanilla extract instead of the regular one.
Reason 4: Baking Time and Heat
Getting the baking time right is important for keeping your cheesecake’s color. Baking it too long can make it turn yellow or even brown on top. So, follow the baking time and temperature in your recipe closely.
Remember, cheesecakes keep cooking a bit even after you take them out of the oven because of the heat. Check if it’s done a few minutes before the time’s up by sticking a toothpick or cake tester in the center. It should come out with a few moist crumbs, not wet batter.
Reason 5: Oven Placement and Air Circulation
How your cheesecake bakes in the oven can also affect its color. Putting it too close to the oven’s heat or not letting enough air circulate it can make it cook unevenly and turn yellow.
Make sure your oven racks are set up right to let the airflow around the baking pan. If your oven has hot spots, rotate the cheesecake halfway through baking. This simple step can help keep your cheesecake looking even and perfectly baked.
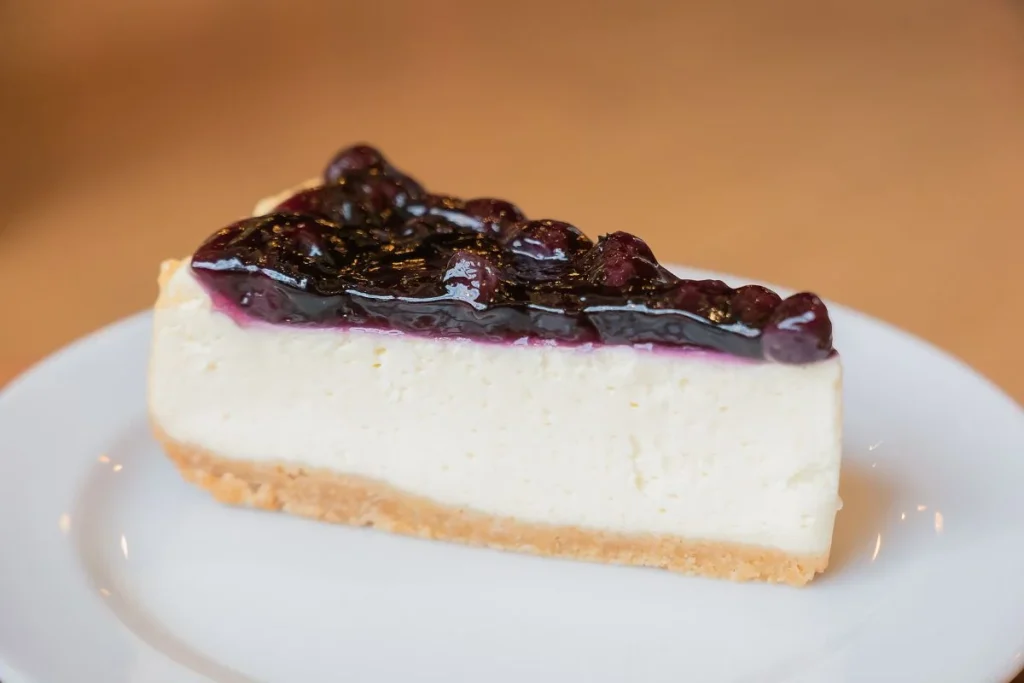
How to Fix a Yellow Cheesecake after it’s Baked? | 4 Easy Methods
Discovering that your cheesecake has taken on an undesired yellow hue after baking can be disheartening, but fear not – there are some corrective measures you can take to salvage the appearance of your dessert.
Whipping Up a Whipped Cream Topping
One effective way to mask a yellow tint is by creating a whipped cream topping for your cheesecake. The white fluffiness of whipped cream can not only add a delightful texture but also cover up any discoloration.
Sweeten the whipped cream with a touch of powdered sugar and a hint of vanilla extract for added flavor. Carefully spread it over the surface of your cheesecake, creating swirls or peaks to make it visually appealing. This not only hides the yellow tint but also adds a delightful contrast.
Fruit Compote or Fresh Berries
Another visually appealing solution is to adorn your cheesecake with a vibrant fruit compote or a generous layer of fresh berries.
The natural colors of fruits like strawberries, blueberries, or raspberries can distract from any yellowing in the cheesecake itself. The tartness of the berries also complements the richness of the cheesecake, creating a harmonious balance of flavors.
Dusting with Powdered Sugar
A simple yet effective method is to dust the top of your cheesecake with a light layer of powdered sugar. This not only adds a touch of sweetness but also helps mask any unwanted yellow tones.
The fine texture of the powdered sugar can create a beautiful contrast against the creamy surface of the cheesecake, making it visually appealing.
Using Food Coloring (if Desperate)
In extreme cases, if the yellow tint is persistent and you’re willing to get a bit creative, you can consider using a small amount of food coloring. Add a drop of blue or violet food coloring to your whipped cream or frosting, as these colors are opposite to yellow on the color wheel and can help neutralize the unwanted tint.
Exercise caution and start with a minimal amount, adding more if necessary to achieve the desired result.
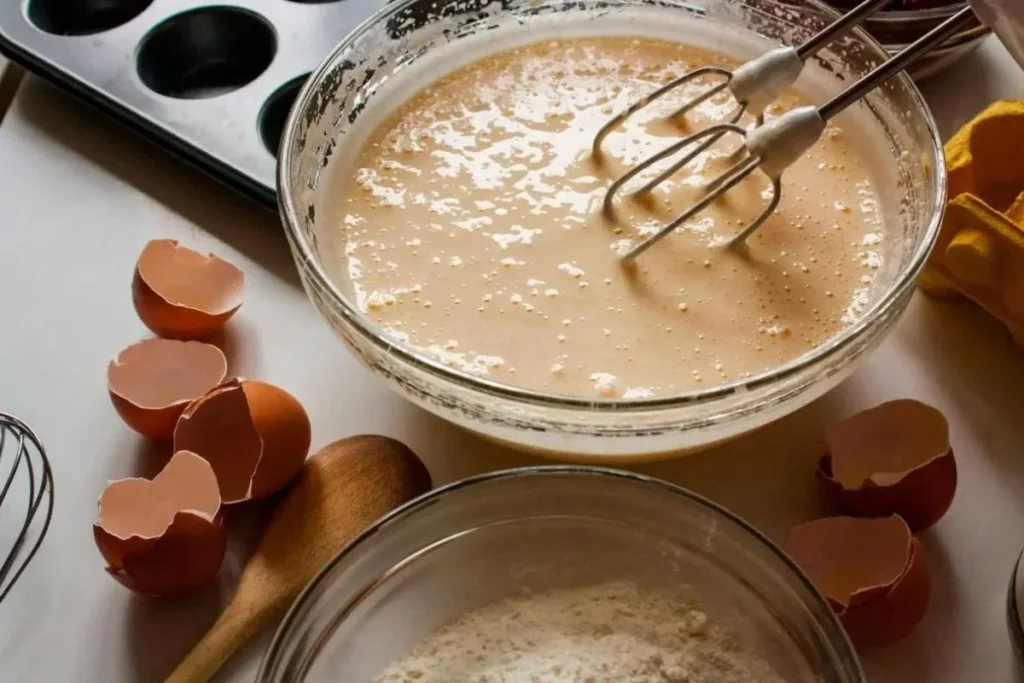
Tips for Preventing Yellowing in Your Cheesecake Batter
Yellowing in cheesecake batter is a common concern, but you can prevent it with a few simple steps to ensure your dessert comes out creamy and pristine. Here are some tips to help you avoid that unwanted yellow tint in your cheesecake batter:
- Use Fresh Ingredients: Start with fresh, high-quality ingredients. Make sure your cream cheese, eggs, and other dairy products are not past their expiration dates. Fresh ingredients not only taste better but also keep the batter a natural white color.
- Let Ingredients Warm Up: Before mixing, let your ingredients, especially the cream cheese and eggs, come to room temperature. Room-temperature ingredients blend more easily, resulting in a smoother mixture that’s less likely to turn yellow.
- Don’t Overmix: Mixing too much can add too much air to the batter, causing it to yellow. Mix the ingredients until just combined, and avoid overbeating the batter. This ensures a smooth texture without extra air.
- Use Clear Vanilla Extract: Traditional vanilla extract can add a yellow tint to the batter because of its amber color. Instead, try clear vanilla extract or vanilla bean paste. They give the flavor you want without changing the color of the cheesecake.
- Add Lemon Juice or Citrus Zest: A bit of fresh lemon juice or citrus zest can boost the cheesecake’s flavor while also brightening its color naturally. The acidity balances out the richness of the cream cheese and counteracts any potential yellowing.
- Bake at a Lower Temperature: High oven temperatures can make the cheesecake brown or turn yellow on top. Bake it at a lower temperature and use a water bath to control the heat. This gentler baking method helps keep the batter white and pristine.

White Cheesecake Recipe | Step-by-Step
Making a beautiful white cheesecake that looks amazing and tastes delicious takes skill and attention to detail. Follow these steps to learn how to make a perfect white cheesecake:
Ingredients:
Begin your journey by selecting premium ingredients for an exceptional outcome. Gather the following:
- 3 packages (24 ounces) of high-quality cream cheese, softened
- 1 cup granulated sugar
- 4 large eggs, preferably with yolks on the paler side
- 1 teaspoon pure vanilla extract (consider clear vanilla extract for an ultra-white appearance)
- 1 cup sour cream
- 2 tablespoons all-purpose flour
Step 1: Preheat the Oven
Get things going by preheating your oven to 325°F (163°C). Getting the oven to the right temperature is key to making sure your cheesecake turns out just right.
Step 2: Prepare the Crust
Whether you’re using a classic graham cracker crust or something more daring like a cookie crust, press it firmly into the bottom of a springform pan. Making sure the crust is spread evenly ensures a solid base for your cheesecake.
Step 3: Beat the Cream Cheese
In a big mixing bowl, start by beating the softened cream cheese until it’s smooth and creamy. Make sure you get rid of any lumps or clumps to keep the texture just right.
Step 4: Add Sugar Gradually
Keep things smooth by slowly adding granulated sugar to the cream cheese. Use a low mixer speed to avoid adding too much air, which can mess up the batter.
Step 5: Incorporate Eggs One at a Time
Add the eggs one by one, mixing well after each one. Using eggs with lighter yolks helps keep your cheesecake nice and white. Be careful not to overmix, or you’ll end up with too much air in the batter.
Step 6: Introduce Vanilla Extract
Give your cheesecake a flavor boost by adding vanilla extract to the batter. If you want your cheesecake to be super white, use clear vanilla extract to avoid any color changes.
Step 7: Fold in Sour Cream and Flour
Gently fold in the sour cream and flour to the batter. This careful process ensures everything mixes together smoothly without overdoing it, giving your cheesecake a creamy texture.
Step 8: Pour into the Pan
Once your batter is mixed up nicely, pour it onto the prepared crust in the springform pan. Use a spatula to smooth out the top so it’s nice and even.
Step 9: Bake with Care
Put the pan in the preheated oven and keep an eye on it as it bakes. Check a few minutes before the suggested time to make sure it’s done. Your cheesecake should have a firm edge but still jiggle a bit in the center.
Step 10: Cool and Refrigerate
Let your masterpiece cool with the oven door cracked open a bit. Once it’s cooled, pop it in the fridge for at least 4 hours, or even better, overnight. Chilling it for a while helps it develop the perfect texture and flavor.
Why Your Cheesecake Yellow and Not White | Final Thoughts
Creating a flawless white cheesecake isn’t impossible – it just takes some careful steps. Start by picking the best ingredients and mixing them properly. Follow the baking instructions closely, and use top-notch vanilla extract.
Make sure your oven’s set up right too. With these tweaks, you’ll whip up a cheesecake that not only tastes amazing but also looks stunningly white. Try out these tricks to up your cheesecake game and wow your loved ones with a dessert that’s both heavenly in taste and gorgeous to look at.
Lindsey Mackenzie
About me
Hi there! I’m Lindsey Mackenzie, the founder of Bake Smartly. Baking has been my passion since childhood, growing up in my father’s bakery. With Bake Smartly, I’m excited to share my love for all things sweet and savory. Join me on this delicious journey as we whip up scrumptious treats and sprinkle joy into every bite!
