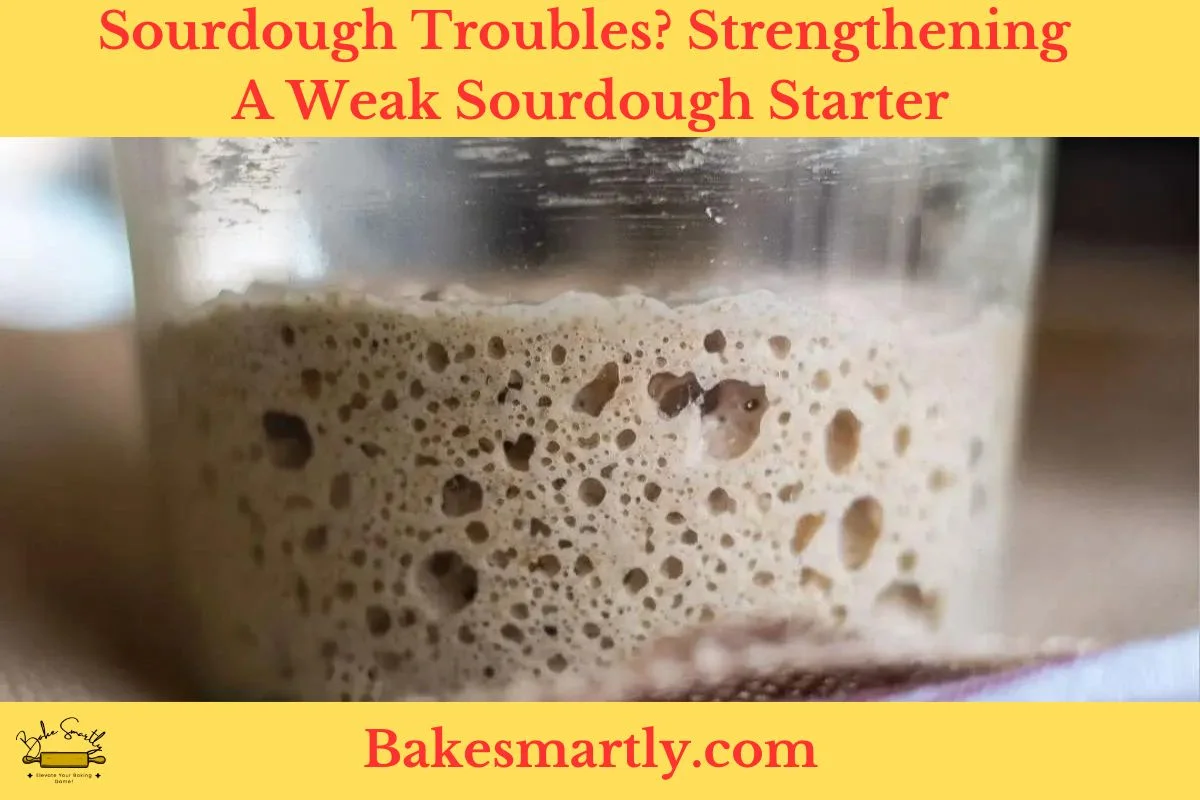
Sourdough Troubles? Strengthening A Weak Sourdough Starter
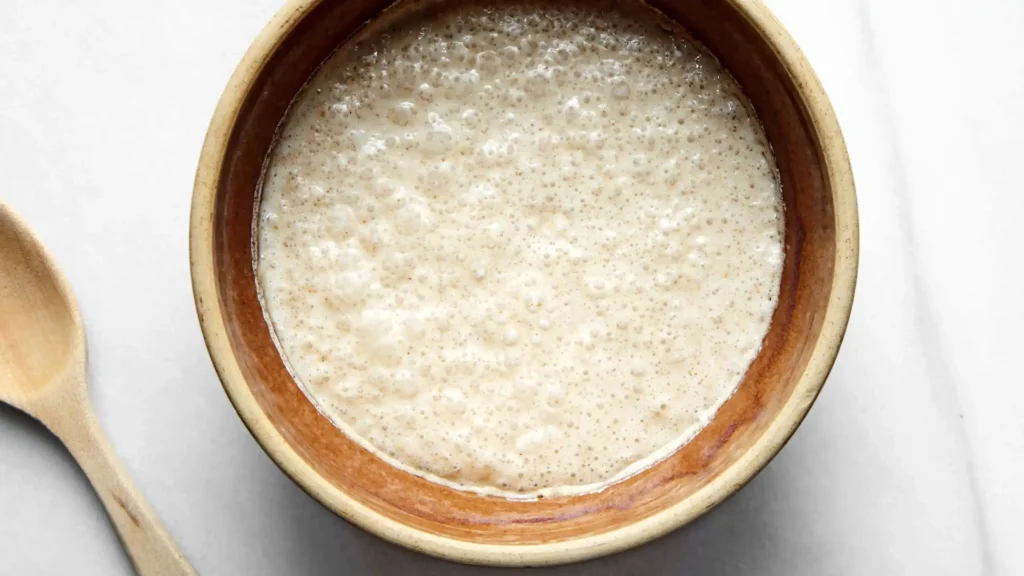
Sourdough bread is a delicious and wholesome alternative to regular bread. It’s made using a natural fermentation process that involves a sourdough starter, which is a mixture of flour and water populated by wild yeast and beneficial bacteria.
However, sometimes sourdough starters can become weak and lose their vigor, resulting in bread that doesn’t rise properly or lacks the distinct sourdough flavor.
In this comprehensive guide, we’ll explore common issues, troubleshooting tips, and strategies to strengthen a struggling sourdough starter.
Identifying Signs of a Weak Sourdough Starter
Making sourdough is an art that starts with a lively sourdough starter, and it’s crucial to spot signs of a weak starter for successful bread-making.
A weak sourdough starter shows clear signs that can help you figure out its condition.
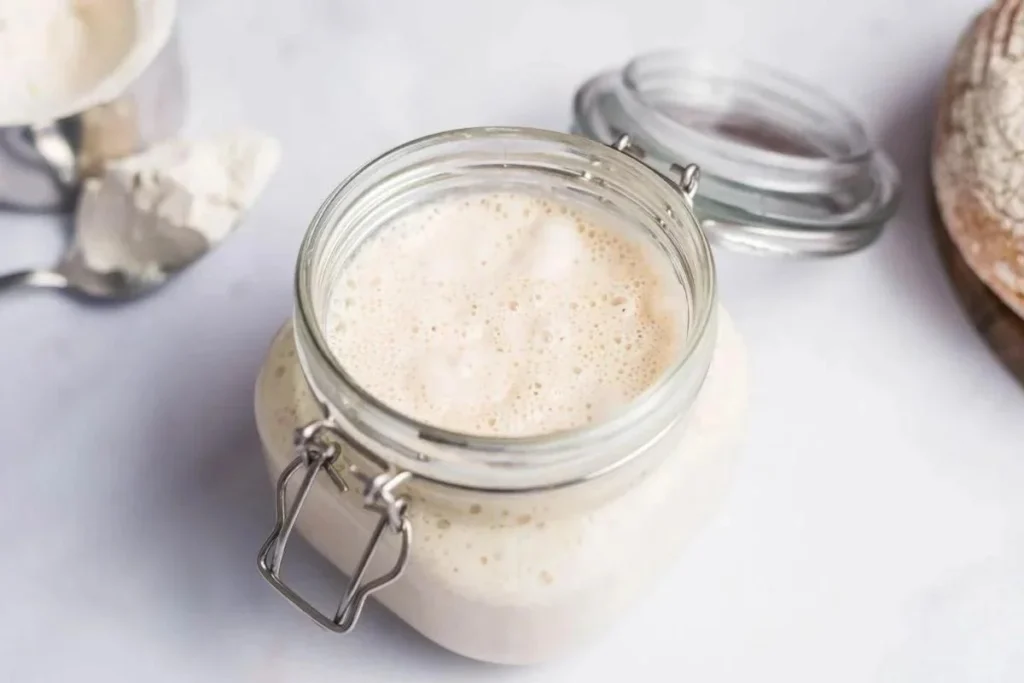
One big clue is when it doesn’t get active after feeding. Normally, a good starter should show signs of fermentation, like bubbles and expansion, shortly after you feed it. If your starter consistently doesn’t rise or seems lifeless, it might be struggling.
Bad smells can also be a signal of a weak starter. A good sourdough starter should have a nice, slightly tangy smell. But if you notice unpleasant or foul odors, it could mean unwanted bacteria or yeast are taking over the good ones.
Look at the consistency of the starter too. A weak starter might get too runny or too thick between feedings, showing there’s an imbalance in the microbial community. Watching how it looks and feels during different parts of the feeding process can give you useful info about the overall health of your starter.
Slow rising and falling patterns are other warning signs. A strong sourdough starter should rise after feeding, followed by a slow fall. If your starter rises too fast and then collapses quickly, it might not have the strength for fermentation over time.
3 Common Causes of Weak Sourdough Starters
To make awesome sourdough, it’s crucial to know why your starter might be acting weak. Let’s talk about the three main reasons behind a starter losing its mojo.
1. Forgetting to Feed
The top reason for a sad sourdough starter is not giving it enough to eat. You gotta feed it regularly to keep the good microbes happy. When you leave it hungry for too long, those microorganisms can go quiet or start disappearing.
That leaves you with a weak starter that can’t do its job of making your bread rise and taste awesome.
2. Messing Up the Feeding Routine
Changing when and how much you feed your sourdough can mess with its happy balance. It loves a consistent routine, whether it’s feeding it at the same times or using the same amounts of flour and water.
Inconsistency can throw off the microbial party, making it tough for your starter to give your bread that perfect rise and flavor.
3. Water Quality Problems
What you use to water your sourdough matters. If your water has lots of chlorine or other chemicals, it can mess with the good microbes. To keep your starter in good shape, use water without chlorine or any extras.
Think about using filtered or dechlorinated water to give your sourdough buddies the best home to thrive in.

Reviving a Weak Sourdough Starter | Step-by-Step
Reviving a weak sourdough starter is a simple process that takes a bit of time, attention, and patience.
In this step-by-step guide, we’ll walk you through the process of bringing new life to your lackluster sourdough starter.
- Step 1: Check-Up Before jumping into revival, carefully check the condition of your sourdough starter. Look for signs of weakness, like a lack of rise, minimal bubbles, or unpleasant smells. Knowing the specific issues your starter is facing will help you plan its revival.
- Discarding Excess Starter Start by tossing out a portion of your existing starter. This not only reduces the overall volume but also gets rid of any potentially harmful byproducts. Keep a small amount—usually a tablespoon or two—as the base for revival.
- Step 3: Feeding Ratio Adjustment Change the feeding ratio to boost microbial activity. Increase the ratio of flour to water, creating a more nutrient-rich environment for the microorganisms. A common ratio is 1:2:2, meaning one part starter, two parts flour, and two parts water. Mix thoroughly until you get a smooth consistency.
- Step 4: Stick to a Feeding Schedule Establish a consistent feeding routine to encourage regular and steady growth. Feed your starter at the same time every day, keeping to the adjusted ratio. Consistency creates a stable environment for the microorganisms, gradually strengthening the overall vitality of the starter.
- Step 5: Keep the Room Warm Maintain a steady room temperature for your sourdough starter. Ideally, keep it between 70-75°F (21-24°C) to promote optimal fermentation. A stable environment is crucial for the microorganisms to flourish and multiply.
- Step 6: Be Patient Reviving a weak sourdough starter is a gradual process that demands patience. Resist the urge to make drastic changes or expect instant results. Allow the starter time to adapt to the new feeding routine and regain its strength.
- Step 7: Watch and Adjust Regularly observe your sourdough starter for signs of improvement. Look for increased activity, a rise in volume after feeding, and a more pleasant aroma. If progress is slow, think about repeating steps 2 to 6 for a few days until you see positive changes.
- Step 8: Move Back to Regular Feeding Once your sourdough starter consistently shows signs of improvement, slowly transition back to your usual feeding routine. Return to your original feeding ratio, maintaining a regular schedule without compromising stability.
- Step 9: Keep the Texture Consistent A well-revived sourdough starter should have a consistent texture between feedings. It should be elastic, airy, and slightly bubbly, indicating a healthy and active microbial community.
The Role of Flour in Strengthening a Sourdough Starter
Using flour in your sourdough recipe isn’t just about mixing stuff; it’s a big deal in making your sourdough starter strong and happy. Knowing how flour affects your starter is key to getting the yummy texture, flavor, and rise you want in your baked goods.
Picking the Right Flour
The kind of flour you choose matters for your sourdough starter. Go for good-quality, unbleached flours because they have more good stuff like nutrients and natural microorganisms.
Many folks like using all-purpose flour to kick off and keep their starter going because it has the right amount of protein. Some bakers swear by whole wheat flour for its extra nutrients, which can make your starter tough and tasty.
Adding whole-grain Flours
Whole grain flours, like whole wheat or rye, are like secret weapons for making a kick-butt sourdough starter. These flours have more minerals, vitamins, and bran, creating a fancy home for good microorganisms.
Tossing in some whole grain flour when you feed your starter can make it super healthy and strong. It also gives your bread a more interesting flavor.
Understanding how much water different flours soak up is crucial. Whole grain flours slurp up more water than refined ones, which affects how wet or dry your starter is. Adjusting how much you feed your starter makes sure it’s the right consistency and not too thirsty.
Adding Vitality with Pineapple Juice
If you’re looking to revitalize a weak sourdough starter, a hidden gem lies in the form of pineapple juice. This secret ingredient holds remarkable powers, thanks to its natural acidity. By incorporating pineapple juice into your feeding routine, you can effectively regulate the growth of undesirable bacteria, all while nourishing the yeast within.
Simply replace a portion of the water in your regular feeding regimen with pineapple juice and closely monitor your starter’s response.
Throughout a few feedings, you should start noticing a significant improvement in its vitality and strength. This clever trick harnesses the unique properties of pineapple juice to breathe new life into your precious sourdough starter.

5 Tips To Strengthen Your Sourdough Starter
A healthy and robust starter is crucial for achieving that coveted tangy flavor and achieving the perfect rise in your sourdough bread.
Here are five essential tips to help you strengthen your sourdough starter and elevate your baking game.
- Consistent Feeding Schedule: Just like us, sourdough starters love a steady routine. Feed your starter at the same time every day, keeping a 1:1:1 ratio of flour, water, and existing starter. This daily feeding helps create a cozy home for the wild yeast and bacteria, making your starter lively and ready for action.
- Temperature Control: Make sure your sourdough starter hangs out in a warm place, ideally around 75-78°F (24-26°C), to boost its activity. If it gets chilly, find a slightly warmer spot or use a proofing box to keep the temperature just right. Consistent warmth supports a lively bunch of microorganisms, resulting in a robust starter.
- Choose Good Flour: The flour you pick makes a big difference in your sourdough starter’s health. Go for top-notch, unbleached, and organic flours—they’re packed with more nutrients and natural microorganisms. Whole grain flours like whole wheat or rye add even more goodness. Experiment with different flours to find what works best for your starter and makes your bread flavors pop.
- Regular Discarding: It might sound odd, but ditching part of your sourdough starter during each feeding is crucial. This prevents yucky byproducts from piling up and keeps a balanced community of microbes. Toss about 25-50% of the starter before each feeding to give a fresh start to your yeast and bacteria buddies. This results in a stronger and more active starter.
- Be Patient and Watchful: Building a killer sourdough starter takes time and paying attention. Watch for changes in consistency, volume after feeding, and the smell. A mature starter should double in size within 4-6 hours of feeding and have a pleasant, slightly tangy scent. Be patient, keep an eye on your starter, and adjust your routine based on what you observe. This way, you’ll fine-tune your sourdough starter for amazing baking results.
Troubleshooting Common Issues
If you come across hurdles while fortifying your sourdough starter, there’s no need to lose hope. Challenges like sluggish fermentation, unpleasant odors, or a thin consistency can often be overcome with a few adjustments.
Consider modifying the feeding ratio, fine-tuning the temperature, or even exploring different types of flour.
Patience is key during this process—observe your starter’s behavior closely after making small changes to gauge its response. By maintaining a calm and attentive approach, you’ll gradually discover the most effective course of action to breathe life into your starter.
Frequently Asked Questions (FAQS)
How long does it take to strengthen a weak sourdough starter?
The time required to strengthen a sourdough starter can vary depending on its initial condition. It may take anywhere from a few days to a couple of weeks of consistent feeding and care to notice significant improvement.
Can I use all-purpose flour to feed my sourdough starter?
Yes, all-purpose flour is suitable for feeding your sourdough starter. However, incorporating different types of flour, such as whole wheat or rye, can provide additional nutrients and enhance flavor.
Why does my sourdough starter smell unpleasant?
A sourdough starter may develop an unpleasant odor if it becomes overripe or contaminated with unwanted bacteria. Adjusting the feeding ratio and frequency, as well as maintaining a clean environment, can help alleviate this issue.
Can I store my sourdough starter in the refrigerator?
Yes, you can store your sourdough starter in the refrigerator to slow down its fermentation process. However, remember to feed it regularly to maintain its strength and vitality.
Can I use a weak sourdough starter to bake bread?
While it’s possible to use a weak sourdough starter to bake bread, the results may be unsatisfactory. Strengthening your starter before baking will ensure better rise, flavor, and overall quality of the bread.
Conclusion
A weak sourdough starter doesn’t have to be the end of your sourdough bread-making journey.
By understanding the basics, refreshing and feeding your starter, adjusting the feeding schedule, controlling temperature and environment, incorporating different types of flour, and even adding vitality with pineapple juice, you can revitalize your starter and produce delicious sourdough bread.
With patience, care, and experimentation, you’ll soon enjoy the benefits of a strong and healthy sourdough starter.