The Ultimate Guide To Make Pretzels Out of Frozen Bread Dough
Pretzels, with their cool twists and satisfying crunch, are a favorite snack around the globe. Making pretzels from scratch can take up a lot of time, but there’s a handy trick that many homebakers love – using frozen bread dough.
In this ultimate guide, we’ll take you through the step-by-step process of turning frozen bread dough into tasty homemade pretzels.
We’ll also address common problems you might encounter while making pretzels and provide expert tips to ensure your pretzels turn out with the perfect flavor and texture.
Whether you’re a kitchen newbie or an experienced baker searching for a quick and simple recipe, this guide has got you covered. Get ready to savor the wonderful world of homemade pretzels made from frozen bread dough!
Table of Contents
ToggleAdvantages of Using Frozen Bread Dough for Pretzels
Making pretzels with frozen bread dough has several advantages that make preparing these tasty snacks more convenient and efficient.
One major benefit is the time saved. Since the frozen bread dough is ready to use, there’s no need to spend a lot of time mixing and kneading the dough from scratch. This makes preparation quick and easy, making it a great option for busy folks or those with tight schedules.
Another perk of using frozen bread dough is that it ensures consistency in both the texture and taste of the pretzels. The dough goes through a controlled freezing process, preserving its quality and characteristics.
This consistency eliminates any variability that might come up when making dough from scratch, guaranteeing a reliable and uniform result every time.
Additionally, frozen bread dough has the advantage of an extended shelf life. You can store it for a long time, allowing for better planning and flexibility in deciding when to make the pretzels. This feature is especially useful for people who don’t have the time to bake regularly but still want to enjoy fresh, homemade pretzels at their convenience.
Moreover, using frozen bread dough simplifies the overall baking process. It removes the need to keep an eye on rising times and ensures a more straightforward and foolproof preparation.
This convenience makes frozen bread dough an excellent choice for both experienced bakers and those new to the art of pretzel making, providing a hassle-free and enjoyable baking experience.
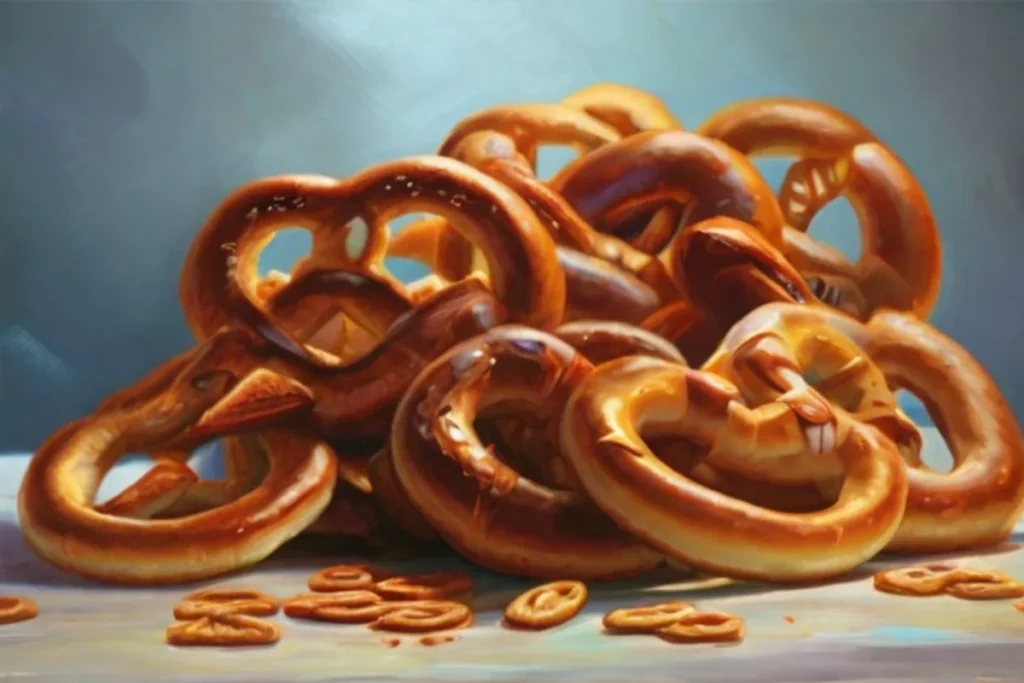
How To Make Pretzels Out of Frozen Bread Dough | Step-by-Step
Making pretzels out of frozen bread dough is a convenient and delicious way to enjoy this classic treat.
Here’s a step-by-step guide to help you make the ultimate pretzels.
Ingredients:
- Frozen bread dough
- Baking soda
- Water
- Coarse salt
- Melted butter (optional, for brushing)
Instructions:
- 1. Thaw the Frozen Bread Dough: Begin by allowing the frozen bread dough to thaw. Follow the instructions on the package for the best results. This usually involves placing the dough in the refrigerator overnight or letting it sit at room temperature for a few hours. Ensure the dough is completely thawed before proceeding to the next steps.
- 2. Preheat the Oven: Preheat your oven to 425°F (220°C). While the oven is heating up, line a baking sheet with parchment paper or lightly grease it to prevent the pretzels from sticking.
- 3. Shape the Pretzels: Once the dough is thawed, divide it into equal portions, depending on how many pretzels you want to make. Roll each portion into a rope, approximately 18 inches long. Shape the rope into a U, cross the ends, and then twist them around each other. Bring the twisted ends back towards the bottom of the U to form a pretzel shape. Place the shaped pretzels on the prepared baking sheet, leaving some space between them.
- 4. Create a Baking Soda Bath: In a large, shallow pan, combine 6 cups of water with 2 tablespoons of baking soda. Bring the mixture to a simmer over medium heat. Once simmering, carefully dip each pretzel into the baking soda bath for about 30 seconds. This step gives the pretzels their distinctive flavor and chewy texture.
- 5. Add Coarse Salt: After the baking soda bath, place the pretzels back on the baking sheet. Sprinkle them with coarse salt, which adds a perfect balance of flavor. Don’t be shy with the salt, as it enhances the overall taste of the pretzels.
- 6. Bake to Perfection: Pop the baking sheet into the preheated oven and bake the pretzels for 12-15 minutes or until they turn a beautiful golden brown. Keep an eye on them to prevent over-baking, as oven temperatures may vary.
- 7. Optional: Brush with Butter: For an extra touch of indulgence, brush the freshly baked pretzels with melted butter. This step adds a glossy finish and a buttery flavor that complements the salty exterior.
- 8. Cool and Enjoy: Allow the pretzels to cool for a few minutes before serving. Enjoy them warm, plain, or with your favorite dipping sauces like mustard, cheese, or even a sweet glaze.
Troubleshooting Common Issues When Making Pretzels with Frozen Bread Dough
Making pretzels with frozen bread dough is a handy and time-saving choice for lots of folks who like to bake at home. But, just like any baking adventure, some challenges come with it.
In this section, we’ll look at different problems that might pop up while you’re making pretzels and give you some practical solutions to make sure your pretzels always come out tasty.
Dough Texture Problems:
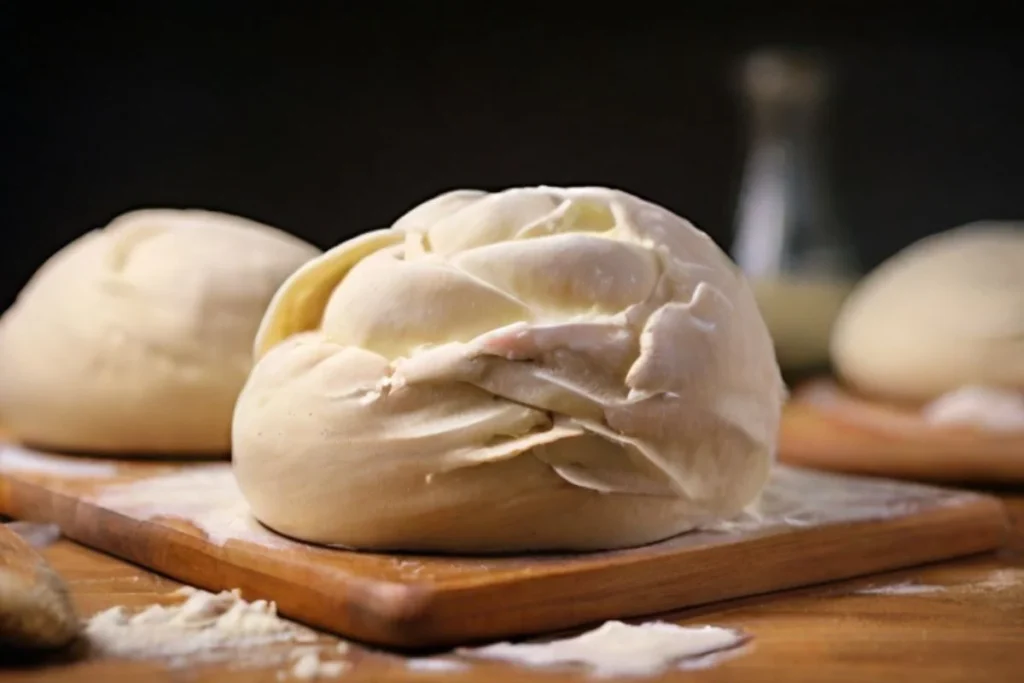
One of the most common issues when using frozen bread dough for pretzels is dealing with inconsistent or improper dough texture. If your dough is too sticky or too dry, it can significantly impact the final result.
To address this problem, pay attention to the dough consistency while thawing. If it’s too sticky, gradually add small amounts of flour until it reaches the desired texture. Conversely, if it’s too dry, incorporate water a little at a time until you achieve a smooth and elastic consistency.
Insufficient Rise:
Achieving the perfect rise is crucial for soft and fluffy pretzels. If your dough isn’t rising adequately, the culprit may be the temperature during the thawing and rising stages.
Ensure your dough is thawed at room temperature and placed in a warm, draft-free environment for proper rising. Additionally, check the expiration date on your yeast, as expired yeast may lead to insufficient rising. Using fresh and active yeast is essential for a successful rise.
Overly Dense Pretzels:
Dense pretzels often result from overworking the dough or not allowing it to rise sufficiently. To prevent this issue, handle the dough gently and avoid excessive kneading.
Allow the dough to rise according to the recommended time, ensuring it has doubled in size before shaping the pretzels. Proper rising allows the yeast to create air pockets, contributing to a light and airy texture.
Inconsistent Browning:
Achieving a consistent golden brown color on your pretzels can be challenging. Inconsistent browning may occur due to uneven oven temperatures or inadequate brushing with a browning agent.
Calibrate your oven regularly to ensure even heat distribution. Additionally, when applying a browning agent such as an egg wash or baking soda solution, do so evenly across each pretzel. This step not only enhances the appearance but also contributes to the distinctive pretzel flavor.
Unpleasant Taste or Odor:
If your pretzels have an unpleasant taste or odor, the issue might be related to the frozen dough itself or improper storage. Always check the expiration date on the frozen dough packaging and ensure it has been stored following the manufacturer’s recommendations.
If the dough has absorbed unwanted odors from the freezer, consider tightly wrapping it in plastic wrap or aluminum foil before freezing to prevent flavor contamination.

Tips for Achieving the Perfect Pretzel Texture and Flavor
Crafting the ideal pretzel is more than just mastering the basics. To make sure your pretzels wow taste buds and have an unbeatable texture, keep these tips in mind:
- Precision in Rising: Allow the dough to rise adequately. This step is crucial for the development of the pretzel’s texture. Under-risen dough can result in a dense pretzel, while over-risen dough may lead to a too-airy texture. Follow the recommended rising times for optimal results.
- Kneading Technique: Master the art of kneading. Proper kneading ensures the development of gluten, contributing to the pretzel’s chewy yet tender texture. Aim for a smooth and elastic consistency, indicating that the dough is ready for the shaping process.
- Boiling Magic: Don’t underestimate the boiling step. Boiling the pretzels in a baking soda solution is what gives them their characteristic chewiness and that distinct pretzel flavor. Ensure the water is simmering gently, and each pretzel gets its fair share of time in the boiling bath.
- Oven Temperature Control: Set your oven to the right temperature. A too-hot oven can lead to overly browned pretzels with an undercooked interior, while a too-cool oven might result in pale and doughy pretzels. Follow the recommended temperature for that perfect golden-brown exterior and soft inside.
- Salt Application: The salt on pretzels is not just for decoration; it adds a burst of flavor. Experiment with different types of salt and find the one that complements your taste preferences. Whether it’s coarse sea salt or pretzel salt, a generous sprinkle before baking enhances both flavor and presentation.
- Variety in Toppings: Expand your flavor horizons by exploring various toppings. From classic cinnamon sugar to savory options like garlic and parmesan, toppings contribute to the overall taste profile. Get creative and tailor your toppings to suit different occasions or personal preferences.
Make Pretzels Out of Frozen Bread Dough | Final thoughts
In this complete guide, we’ve broken down the steps to make pretzels using frozen bread dough. From thawing and shaping to boiling and baking, each part plays a role in crafting a tasty homemade snack.
Whether you’re new to this or a seasoned baker, this shortcut lets you relish the joy of making pretzels without the lengthy process of starting from square one. So, get ready, pull up your sleeves, get some frozen bread dough, and dive into a cooking journey that’ll have your taste buds wanting more. Enjoy your baking!
Lindsey Mackenzie
About me
Hi there! I’m Lindsey Mackenzie, the founder of Bake Smartly. Baking has been my passion since childhood, growing up in my father’s bakery. With Bake Smartly, I’m excited to share my love for all things sweet and savory. Join me on this delicious journey as we whip up scrumptious treats and sprinkle joy into every bite!

