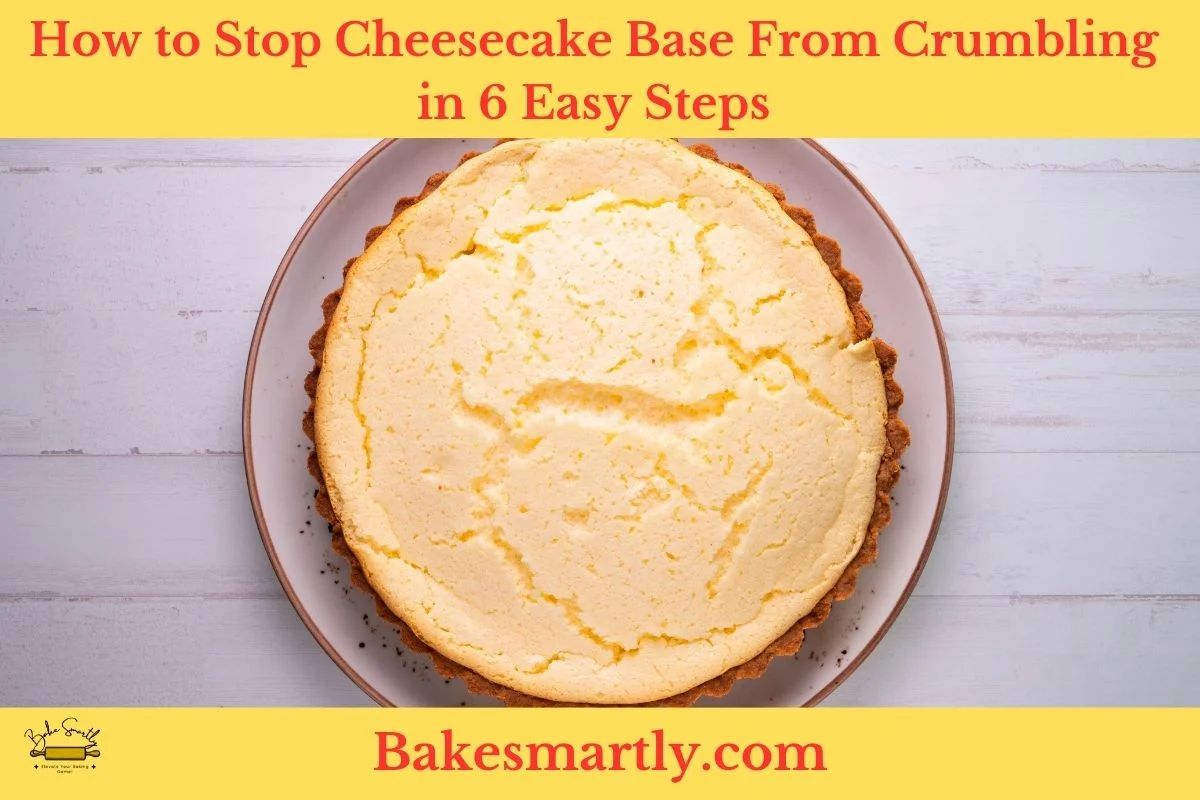
How to Stop Cheesecake Base From Crumbling in 6 Easy Steps
Are you tired of your cheesecake bases crumbling into a crumbly mess? Don’t worry, we’ve got you covered! In this article, we’ll share 6 foolproof steps to help you master the art of a sturdy cheesecake base. A solid and well-formed base is the foundation of a perfect cheesecake.
It not only enhances the overall texture and flavor of your dessert but also ensures that your cheesecake doesn’t fall apart when you slice it. Using our expert tips and techniques, you’ll learn how to create a cheesecake base that holds its shape and adds a delicious crunch to every bite.
We’ll guide you through each step, from choosing the right ingredients to properly prepping and pressing the base into your pan. Whether you’re a beginner or an experienced baker, these foolproof steps will help you achieve cheesecake perfection every time.
Table of Contents
ToggleThe Importance of a Sturdy Cheesecake Base
The importance of a sturdy cheesecake base cannot be overstated when it comes to creating a perfect cheesecake. This foundation serves as the anchor for the entire dessert, offering both structural support and a complementary flavor and texture to the creamy cheesecake filling.
Let’s delve deeper into why a sturdy cheesecake base is so crucial.
- First and foremost, the base provides a delightful contrast to the rich and velvety cheesecake filling. It adds a satisfying crunch and a sweet, buttery flavor that balances the creaminess of the cheesecake. This contrast in texture and taste is what makes cheesecake such a beloved dessert.
- Furthermore, a solid base plays a vital role in preventing the cheesecake from falling apart. A crumbled or fragile base can lead to a messy, unappealing presentation. It’s the base’s job to hold everything together, ensuring that each slice is neatly cut and served with elegance.
- The base also offers a canvas for creativity. You can experiment with different ingredients, such as graham crackers, cookies, or nuts, to customize the flavor of your cheesecake. Reinforcing the base with chocolate or fruit preserves can add layers of complexity and excitement to the dessert.
3 Common Reasons Why My Cheesecake Base Is Crumbly
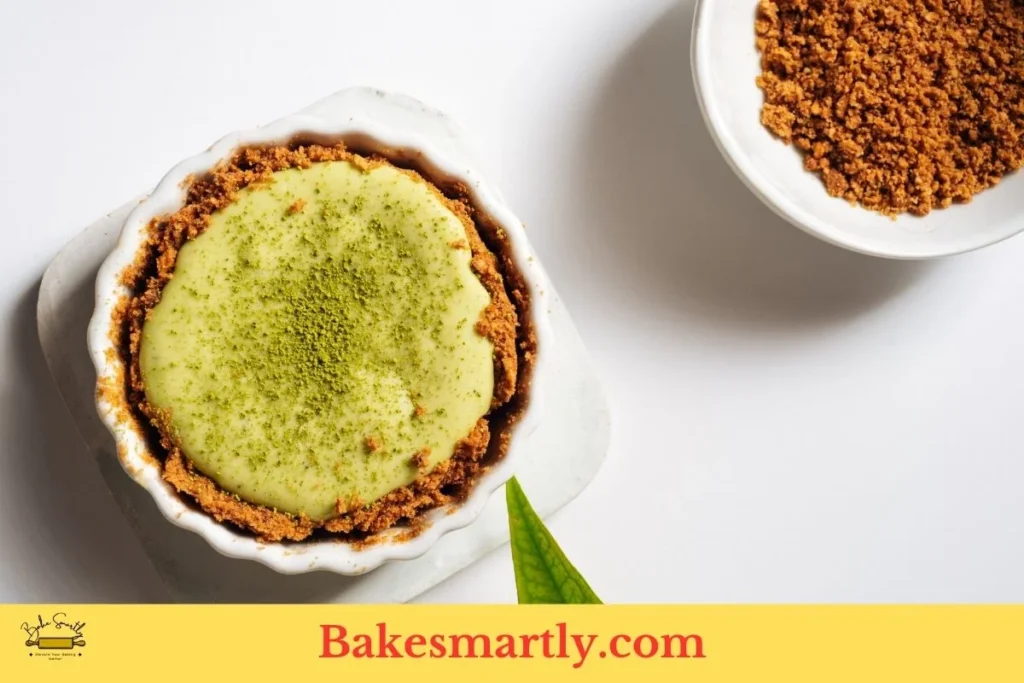
While striving to create the perfect cheesecake, encountering a crumbly base can be quite disheartening. If you’ve found yourself asking, “Why is my cheesecake base crumbly?” you’re not alone. This issue can be attributed to several common culprits, but fear not; identifying these reasons is the first step towards achieving a flawless cheesecake.
- Inadequate Binding: The primary cause of a crumbly cheesecake base is insufficient binding. This occurs when there isn’t enough fat, usually from melted butter, to hold the crumbs together. If your base lacks cohesiveness, it’s more likely to crumble when sliced. To prevent this, ensure you use the right quantity of melted butter and mix it thoroughly with the crumbs. The butter acts as the glue that binds the crumbs, so be generous but not excessive.
- Improper Mixture Texture: Achieving the perfect texture for your base mixture is crucial. If it’s too dry, the crumbs won’t adhere properly, leading to a crumbling base. Conversely, if it’s overly wet, it can result in a soggy bottom. Striking the right balance is key. The mixture should resemble coarse sand and hold its shape when pressed. If it feels too dry, consider adding a bit more melted butter.
- Inadequate Chilling Time: Chilling the base is a critical step that’s often underestimated. After pressing the mixture into the pan, it should be refrigerated for at least 30 minutes. This allows the butter to solidify, firming up the base. If you skip this step or don’t chill it long enough, the base might crumble when you cut into your cheesecake. Patience is key in this aspect of cheesecake making.
By addressing these common reasons for a crumbly cheesecake base and following the steps outlined in our previous section, you can ensure your cheesecakes will have a stable and satisfying foundation, setting the stage for a truly delectable dessert experience.
How to Stop Cheesecake Base From Crumbling in 6 Steps
A perfect cheesecake starts with a sturdy, crumb-free crust. To make sure your cheesecake’s crust holds up under the creamy filling and your eager fork, follow these six essential steps. With the right ingredients, careful preparation, and some insider tips, you can become a master at preventing your cheesecake crust from crumbling.
Step 1: Choosing the Right Ingredients for the Base
Creating a flawless cheesecake base begins with selecting the right ingredients. You’ll need:
- Graham Crackers or Digestive Biscuits: Opt for high-quality graham crackers or digestive biscuits, as their fine texture will result in a smoother and more cohesive base.
- Unsalted Butter: Choose unsalted butter to have better control over the salt content in your base. It’s the key ingredient that binds the crumbs together.
- Sugar: A touch of sugar adds sweetness to the base and helps further with binding the crumbs.
- Salt (Optional): If you desire a hint of saltiness in your cheesecake base, you can add a pinch. However, be cautious if your butter already contains salt.
Step 2: Properly Measuring and Mixing the Ingredients
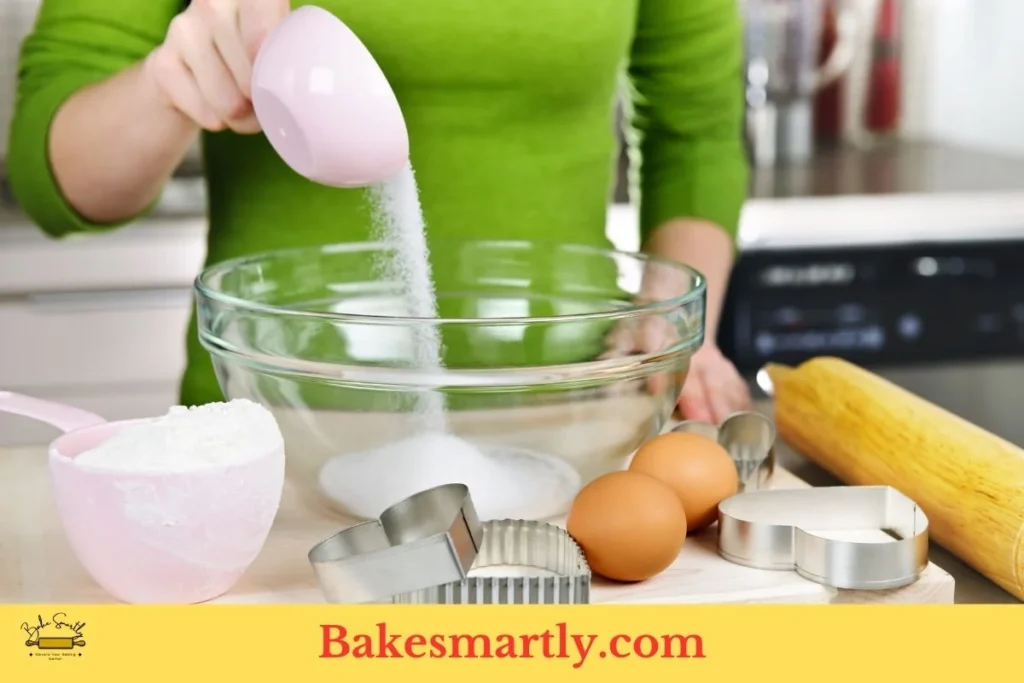
Precision is crucial in this step. Start by crushing the graham crackers or digestive biscuits. You can use a food processor for a consistent texture, or opt for the old-fashioned method: placing them in a sealed plastic bag and gently crushing them with a rolling pin.
Once you have your crumbs ready, it’s time to mix in the melted butter. Ensure that the butter is completely melted, and then combine it with the crumbs. The butter acts as the adhesive that holds your base together, so be generous without going overboard.
Next, add sugar to the mixture. Sugar not only provides sweetness but also contributes to the binding of the crumbs. If you prefer a slightly savory touch, you can also add a pinch of salt at this stage. Stir everything thoroughly until the mixture is well combined and resembles coarse, wet sand. The texture should be cohesive, but not overly wet.
Step 3: Pre-Baking the Base for Added Stability
Pre-baking the cheesecake base is an extra step that adds stability. For baked cheesecakes, this is particularly important. To do this, press the base mixture firmly into the bottom of your cheesecake pan. Use the back of a spoon or the bottom of a glass to ensure it’s evenly spread and compacted.
Bake the base for about 10-12 minutes at 350°F (175°C). This short baking period helps to solidify the base and prevent it from crumbling when the cheesecake filling is added. After this quick bake, remove the base from the oven and let it cool for a few minutes before proceeding to the next step.
Step 4: Allowing the Base to Cool Completely Before Adding the Filling
Once the base is pre-baked, it’s important to let it cool completely before pouring in the filling. This step prevents the heat from the freshly baked base from affecting the filling and helps maintain the structural integrity of the cheesecake.
Let your pre-baked base cool at room temperature for approximately 30 minutes, and then place it in the refrigerator to cool further. The base should be completely chilled before the filling is added. This cooling process ensures that your cheesecake base will be firm and stable, ready to support the creamy layers of your dessert.
Step 5: Using a Water Bath to Prevent Uneven Baking

To achieve a perfectly baked cheesecake with an intact base, consider using a water bath, also known as a bain-marie. This technique involves placing the cheesecake pan in a larger pan filled with hot water. The water bath provides gentle, even heat, reducing the risk of cracking and ensuring the base remains stable.
Wrap the exterior of your cheesecake pan with aluminum foil to prevent any water from seeping in. Place the pan in a larger one, and carefully pour hot water into the outer pan, reaching about halfway up the sides of the cheesecake pan. The water bath ensures that the cheesecake bakes evenly, including the base, preventing any unwanted crumbly surprises.
Step 6: Chilling the Cheesecake Thoroughly Before Serving
After your cheesecake is baked to perfection, it’s time for the final step: chilling. Chilling is crucial for allowing the cheesecake to set and develop its flavors. It also contributes to a solid and non-crumbly base.
Transfer your baked cheesecake to the refrigerator and let it chill for at least 4-6 hours, or preferably overnight. The extended chilling time ensures that the base and the entire cheesecake attain the desired texture and stability.
When serving, remember to use a sharp, clean knife, dipped in hot water for smooth slicing, and you’ll have a perfectly intact cheesecake base that holds up beautifully.
Incorporating these six steps into your cheesecake-making process will help you create desserts with sturdy, crumb-free bases.

4 Additional Tips for a Perfect Cheesecake Base
Achieving the ideal cheesecake base is an art, and it’s all about mastering the details. In addition to the six essential steps discussed earlier, here are four additional tips that can make a significant difference in your cheesecake-making journey:
- Uniform Thickness: To achieve an evenly textured base, aim for a uniform thickness across the entire crust. This not only ensures a consistent texture but also makes slicing and serving the cheesecake much more manageable. Use a measuring cup or a spatula to press the crumbs firmly into the pan, ensuring an even layer.
- Chill Before Baking: Before placing the cheesecake in the oven, it’s a good practice to chill the base for about 20-30 minutes. This helps the butter in the base solidify, making it more likely to hold together during baking. It’s a small step that can make a significant difference in the final result.
- Crust Flavors: Experiment with different crust flavors to elevate your cheesecake. While graham cracker crusts are classic, consider incorporating unique ingredients like ground nuts, cocoa powder, or even spices for a distinctive twist. These additions not only provide a personalized touch but also complement the cheesecake’s filling.
- Non-Stick Pan or Parchment Paper: To ensure your cheesecake base releases effortlessly, use a non-stick springform pan. Alternatively, line the bottom of the pan with parchment paper, which allows for easy removal and minimizes the risk of the base sticking to the pan. This ensures that your cheesecake maintains its structural integrity when served.
How to Stop Cheesecake Base From Crumbling | Final Thoughts
In conclusion, mastering the art of a sturdy cheesecake base is essential for creating the perfect cheesecake. The importance of this foundation cannot be overstated, as it provides a delightful contrast to the creamy filling, prevents the cheesecake from falling apart, and offers a canvas for creative flavor experiments.
Understanding common reasons for a crumbly base and following the six essential steps can lead to a flawless result. From choosing the right ingredients to using a water bath and thorough chilling, these steps ensure your cheesecake base remains stable and intact.
Incorporating additional tips like achieving uniform thickness, chilling before baking, experimenting with crust flavors, and using a non-stick pan or parchment paper can take your cheesecake-making to the next level. So, say goodbye to crumbly bases, and say hello to cheesecake perfection in every slice. Happy baking!
Lindsey Mackenzie
About me
Hi there! I’m Lindsey Mackenzie, the founder of Bake Smartly. Baking has been my passion since childhood, growing up in my father’s bakery. With Bake Smartly, I’m excited to share my love for all things sweet and savory. Join me on this delicious journey as we whip up scrumptious treats and sprinkle joy into every bite!


