25 Expert Tips to Make Your Sourdough Bread Crispy Crust Every Time
Sourdough bread holds a special place in my heart because it has been a cherished part of my family for generations.
When I was growing up, I had the privilege of watching my father, who was a skilled professional baker with 25 years of experience running his own bakery, work his magic with dough and create the most incredible loaves of sourdough bread.
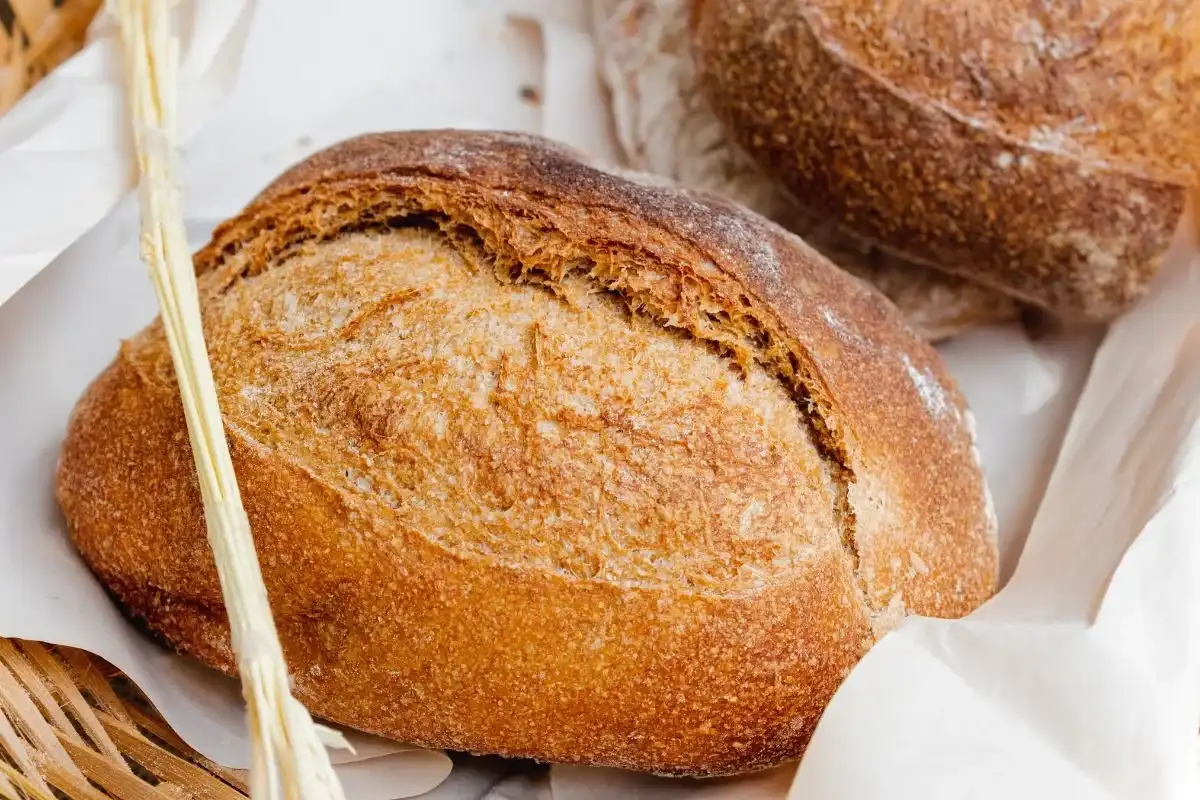
The taste was tangy, the texture chewy, and the crust perfectly crisp – truly unparalleled. Being a bread enthusiast myself, I understand the challenge of finding the right balance between a crispy crust and a soft, airy interior.
That’s why I Seek my father’s guidance and wisdom in my quest to achieve sourdough perfection. He generously shared with me the secrets behind making irresistibly crispy sourdough bread, and now I’m thrilled to pass along his invaluable tips and tricks to you.
In this article, we will explore the techniques that my father, a true master baker, has honed over the years. From the initial mixing of the dough to the final moments in the oven, each step plays a vital role in achieving that desired crunch.
So, get ready to unlock the full potential of your sourdough baking skills as we embark on this journey together. With my father’s expertise as our guide, we will elevate our sourdough game and create loaves that will make any bread lover’s heart skip a beat.
Table of Contents
ToggleSourdough Bread Crispy Every Time (25 Expert Tips)
Achieving consistently crispy sourdough bread requires attention to detail and a well-executed baking process. Let’s dive into the steps involved in making your sourdough bread turn out perfectly crispy every single time.
1. Start with Quality Ingredients
To create outstanding sourdough bread, it’s essential to begin with high-quality ingredients. opt for organic or locally sourced flour, as it tends to have a higher protein content, which contributes to a better structure and texture in the final loaf.
Additionally, choose a reliable source for your sourdough starter, ensuring it is active and healthy.
2. Master the Art of Fermentation
Fermentation is a crucial step in sourdough bread baking that directly impacts the flavor, texture, and crust development.
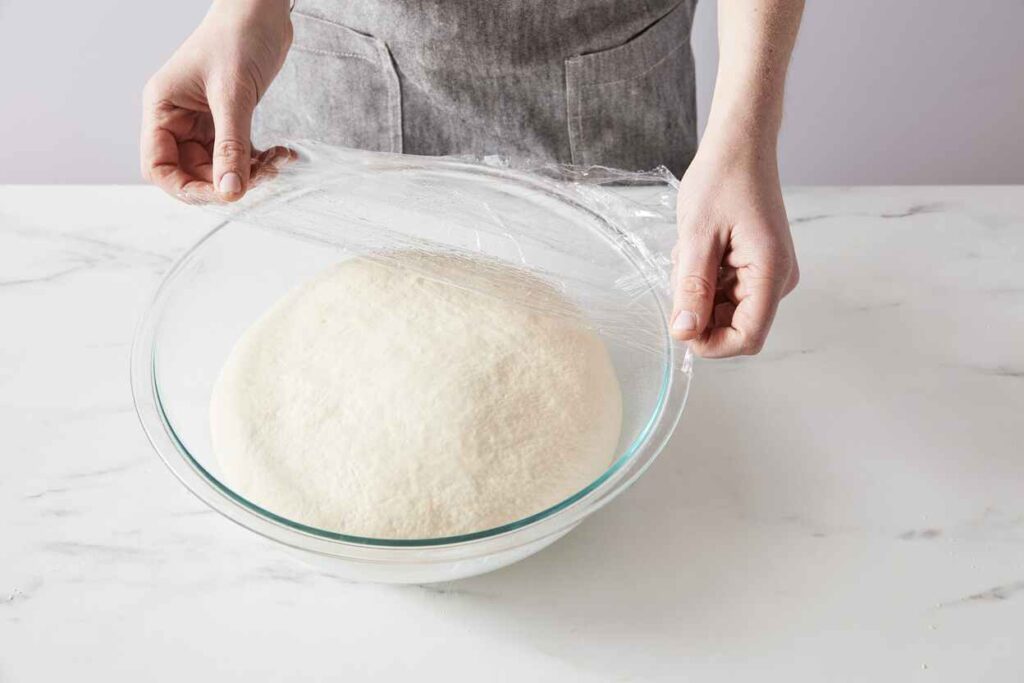
Allow your dough to undergo a slow and controlled fermentation process by extending the bulk fermentation time. This not only enhances the flavor but also promotes the development of a crispy crust.
3. Adjust Hydration Levels
The hydration level of your sourdough dough plays a significant role in achieving the desired crust. Experiment with different hydration ratios to find the perfect balance for achieving a crispy exterior.
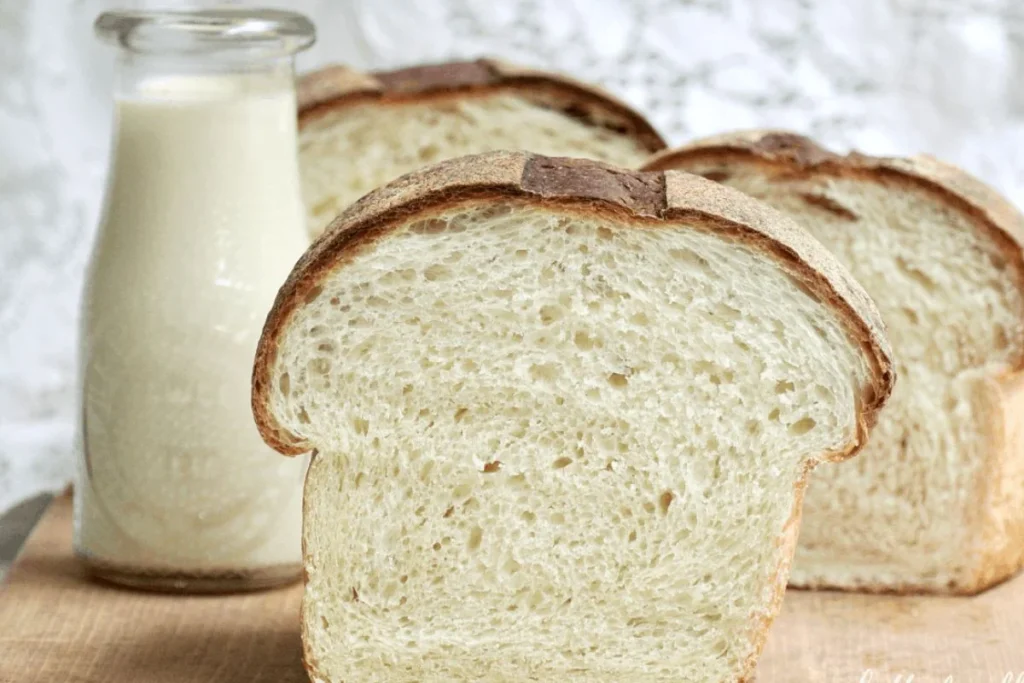
Generally, a slightly higher hydration level of around 75-80% creates an open crumb structure and contributes to a crispier crust.
4. Utilize Steam in the Oven
Steam is a vital component in achieving a beautifully crispy crust. The steam helps to keep the surface of the dough moist during the initial stages of baking, allowing for optimal expansion and crust formation.
Create steam in your oven by preheating a cast-iron pan at the bottom and adding a cup of hot water to it just before placing the dough inside.

5. Experiment with Baking Temperatures
The baking temperature plays a crucial role in the formation of a crispy crust. Start by preheating your oven to a high temperature, around 450°F (230°C), and then lower it to around 400°F (200°C) after placing the dough inside.
This initial burst of high heat helps develop a crisp crust, while the slightly lower temperature ensures even baking throughout.
6. Invest in a Quality Baking Stone or Dutch Oven
Using a baking stone or a Dutch oven can work wonders for achieving a crispy crust. These tools help retain and distribute heat evenly, resulting in a more uniform crust.
Preheat the baking stone or Dutch oven along with the oven, and carefully transfer the dough onto it for baking. The enclosed environment also creates steam, aiding in crust development.
7. Incorporate Autolyse Technique
Autolyse is a technique that involves combining flour and water and allowing them to rest for some time before adding the remaining ingredients. This resting period enhances gluten development, resulting in a more extensible dough.
A dough with well-developed gluten can expand more easily during baking, leading to a crispier crust.

8. Score the Dough
Scoring the dough refers to making shallow cuts on the surface just before baking. This technique allows the bread to expand in specific areas, preventing uneven splitting and providing controlled expansion.
Additionally, scoring helps release steam, further contributing to crust development and achieving an attractive artisanal look.
9. Embrace Longer Proofing Times
Extending the proofing time can significantly impact the texture and crust of your sourdough bread. Consider experimenting with longer proofing times, allowing the dough to develop more flavor and complexity.
A slow and steady rise contributes to a crispier crust while maintaining an airy and open crumb.
10. Monitor Oven Spring
Oven spring refers to the rapid rise of the dough during the first few minutes of baking. To maximize oven spring and ensure a crispy crust, ensure your oven is adequately preheated, and maintain the appropriate baking temperature.
A strong oven spring results in a well-expanded loaf with a beautifully caramelized crust.
11. Allow for Sufficient Cooling Time
While it can be tempting to slice into your freshly baked sourdough bread, it’s crucial to allow it to cool properly before indulging. Cooling helps complete the cooking process and allows moisture to redistribute evenly, resulting in a crisper crust.
Patience is key to achieving the ultimate crispy sourdough experience.
12. Store Bread Properly
After your sourdough bread has cooled completely, proper storage is essential to maintain its crispy crust. Store the bread in a paper bag or a bread box to allow air circulation while preventing excessive moisture loss.
Avoid storing bread in plastic bags, as they can cause condensation, leading to a soggy crust.
13. Emphasize Proper Shaping Techniques
Properly shaping your sourdough bread not only enhances its visual appeal but also contributes to a better crust formation. Ensure that the dough is well-tensioned and evenly shaped, as this promotes an even rise and a more uniform crust.
Experiment with different shaping techniques to find the one that suits your preferences.
14. Practice Patience
Baking sourdough bread is a labor of love that requires patience. From the initial fermentation to the final cooling, each step contributes to the overall outcome. Embrace the process, learn from each bake, and allow yourself to make adjustments along the way.
With practice and persistence, you’ll achieve that perfect crispy sourdough bread you’ve been dreaming of.

15. Avoid Overhandling the Dough
Overworking or excessively handling the dough can lead to gluten breakdown and compromised texture. Be gentle when folding and shaping your sourdough bread, allowing it to retain the desired structure.
This gentle approach ensures a well-developed gluten network and contributes to a delightful crispy crust.
16. Create a Humid Baking Environment
Apart from utilizing steam, creating a humid baking environment can further enhance crust development. Place a shallow pan of water in the oven during baking to maintain a moist atmosphere. This additional moisture helps the dough expand and supports the formation of a crispy crust.
17. Experiment with Different Flour Combinations
While traditional sourdough bread is typically made with wheat flour, incorporating other flours can add complexity and contribute to a crispier crust. Experiment with different flour combinations such as rye, spelt, or whole wheat to discover unique flavors and textures.
The varying protein content and enzymatic activity in these flours can affect crust development.
18. Consider Cold Fermentation
Cold fermentation involves allowing the dough to ferment in the refrigerator for an extended period, typically overnight. This technique not only enhances the flavor of the bread but also contributes to crust development.
Cold fermentation slows down the activity of enzymes, resulting in a more pronounced Maillard reaction during baking, which leads to a crispy and caramelized crust.
19. Brush with Egg Wash
For an extra touch of crispiness and a glossy appearance, consider brushing the surface of your sourdough bread with an egg wash. This technique creates a thin layer that adds shine and contributes to a golden brown crust.
Whisk an egg with a teaspoon of water and gently brush the surface of the dough just before baking.

20. Understand the Importance of Resting
Resting the dough at various stages of the baking process allows for gluten relaxation and optimal crust development. After shaping the dough, allow it to rest for 15-20 minutes before the final proofing.
This resting period helps the gluten relax, making the dough easier to score and resulting in a better crust texture.
21. Master the Art of Baking Schedules
Establishing a consistent baking schedule and understanding the fermentation process is crucial for achieving a crispy sourdough crust.
Experiment with different timings, temperatures, and fermentation stages to determine the ideal combination for your desired results. Consistency in your baking schedule allows you to fine-tune the variables and make adjustments for optimal crust development.
22. Avoid Excessive Moisture in the Oven
While steam is essential for a crispy crust, excessive moisture in the oven can hinder crust development. Ensure that you’re adding the right amount of water to create steam without causing the dough to become overly moist. Balance is key in achieving the perfect texture and crust.
23. Incorporate Whole Grains
Adding whole grains to your sourdough bread not only enhances its nutritional value but also contributes to a more textured and crispy crust.
Whole grains contain bran and germ, which add complexity and promote a rustic crust. Experiment with different ratios of whole-grain flour to find your desired level of crispiness.
24. Use a Thermometer to Check Doneness
Determining the doneness of your sourdough bread solely by appearance can be challenging, especially when aiming for a crispy crust. Utilize a digital thermometer to measure the internal temperature of the loaf.
A fully baked sourdough bread typically reaches an internal temperature of 200-205°F (93-96°C), ensuring a crisp exterior and a thoroughly cooked interior.
25. Practice, Practice, Practice!
Becoming a pro at making crispy sourdough bread takes time and practice. Embrace each baking session as an opportunity to learn and improve your skills. With dedication and persistence, you’ll gradually develop the intuition and expertise needed to consistently achieve that desired crispy crust.
How to Cool Your Loaf So That the Crust Won’t Go Soft
To maintain a crisp crust, follow these steps to effectively cool your loaf: Once out of the oven, place the bread on a wire rack, allowing air circulation. Avoid sealing it in an airtight container while warm, as this traps moisture and leads to a soft crust. If desired, cover loosely with a clean cloth to prevent debris.
It’s crucial to let the bread cool naturally for at least an hour before slicing. This gradual cooling process preserves the crust’s texture and flavor. Remember, a little patience ensures a satisfying crunch every time you enjoy your freshly baked bread.
Troubleshooting Common Issues With Crust Crispiness
Even with all of these tips and tricks, achieving a perfectly crispy crust on your sourdough bread can still be a challenge. Here are a few common issues you may encounter, and how to troubleshoot them:
- Soft or soggy crust: This can be caused by too much steam in the oven, or by not baking the bread long enough. Try reducing the amount of steam in the oven, or increasing the baking time.
- Thick or tough crust: This can be caused by not scoring the dough deeply enough, or by baking the bread at too low of a temperature. Try scoring the dough more deeply, or increasing the oven temperature.
- Uneven or blotchy crust: This can be caused by uneven shaping or scoring of the dough, or by not creating enough steam in the oven. Try shaping and scoring the dough more evenly, or increasing the amount of steam in the oven.
Frequently Asked Questions (FAQS)
How can I tell if my sourdough bread is properly proofed?
Properly proofed sourdough bread will exhibit certain characteristics. Gently press the surface of the dough with your finger—if it springs back slowly and leaves a slight indentation, it is likely ready to bake. Additionally, you can perform the “poke test” by inserting a finger into the dough. If the indentation slowly fills back up, the dough is properly proofed.
Can I make my sourdough bread crispy without steam?
While steam is highly beneficial for achieving a crispy crust, it is still possible to make your sourdough bread crispy without it. Preheating a baking stone or Dutch oven and utilizing higher baking temperatures can help create a crispier crust even without the presence of steam.
How long should I let my sourdough bread cool before slicing?
It’s best to allow your sourdough bread to cool completely before slicing into it. Ideally, let it cool on a wire rack for at least one to two hours. This allows the moisture to redistribute within the loaf and ensures a crisper crust.
Can I achieve a crispy crust with gluten-free sourdough bread?
Achieving a crispy crust with gluten-free sourdough bread can be more challenging due to the absence of gluten, which plays a crucial role in crust formation. However, incorporating ingredients like psyllium husk or adding a starch wash to the surface of the loaf before baking can help create a crisper texture.
Why does my sourdough bread sometimes turn out too soft and not crispy?
Several factors can contribute to a softer crust, including insufficient oven temperature, inadequate steam, or underproofing. Ensure that your oven is properly preheated, create steam during the initial stages of baking, and allow your dough to undergo adequate fermentation and proofing to achieve a crispy crust.
How to Make Your Sourdough Bread Crispy Crust | Conclusion
Crafting a perfect, crispy sourdough bread is an art that requires a combination of skill, knowledge, and practice. By implementing the tips and tricks shared by a professional baker, you can elevate your sourdough baking game and achieve a consistently crispy crust that will impress even the most discerning bread enthusiasts.
Remember to pay attention to the quality of ingredients, master fermentation techniques, experiment with different baking temperatures and tools, and embrace the process with patience and perseverance. With dedication and a dash of creativity, you’ll soon be savoring your own delicious and irresistibly crispy sourdough bread.
Lindsey Mackenzie
About me
Hi there! I’m Lindsey Mackenzie, the founder of Bake Smartly. Baking has been my passion since childhood, growing up in my father’s bakery. With Bake Smartly, I’m excited to share my love for all things sweet and savory. Join me on this delicious journey as we whip up scrumptious treats and sprinkle joy into every bite!


