Making Pretzels without Yeast or Yogurt | Your Ultimate Guide
Today, let’s talk about making pretzels – those tasty twisted snacks. Usually, they call for yeast and yogurt, but what if you don’t have them or just want to try something else?
No worries! We’ve got an easy guide to make delicious pretzels without using yeast or yogurt. We also provide 5 alternatives for yeast and 5 alternatives for yogurt to use in pretzel recipes. Ready to dive in? Let’s go!
Table of Contents
ToggleAdvantages and Disadvantages of Making Pretzels without Yeast or Yogurt
Making pretzels without yeast or yogurt has both pros and cons, giving a unique spin to the usual recipe. Understanding these changes can help bakers make informed decisions based on taste and dietary needs.
Advantages
- Quick Prep: One big advantage of yeast-free pretzels is the time saved. Instead of waiting for dough to rise, recipes often use baking powder or baking soda, making the whole process quicker. This is great for those who want a fast and efficient baking experience.
- Alternative Rising Agents: Without yeast, bakers can use things like baking powder or baking soda to make the pretzels rise. These ingredients bring a slightly different flavor. For example, baking powder gives yeast-free pretzels a distinct taste, providing a unique option for those who like experimenting with flavors.
- Yogurt Alternatives: Many pretzel recipes use yogurt to add moisture and create a soft texture. If you don’t have yogurt, you can use substitutes like buttermilk or sour cream. These alternatives keep the consistency and introduce different flavors, allowing for a variety of taste experiences. This is great for people with dietary restrictions or those who want to try different flavors.
- Dietary Considerations: Yeast-free and yogurt-free pretzels are perfect for people with specific dietary restrictions. Some might be allergic to yeast or lactose intolerant, so traditional pretzel recipes aren’t suitable. By leaving out these ingredients, people with dietary restrictions can still enjoy pretzels without compromising their health.
Disadvantages
- Different Textures and Flavor: Without yeast, pretzels might have a different texture and flavor compared to the traditional kind. Yeast adds a specific chewiness and complexity that might be missing in yeast-free versions. Using alternative rising agents could make the taste simpler, changing the overall experience for those used to classic pretzels.
- Limited Rise and Fluffiness: Quick-rising agents make pretzels rise faster, but they might not get as fluffy as yeast-leavened ones. Traditional pretzels are known for being airy, and yeast-free alternatives might not achieve that puffiness. This could be a downside for those who prefer the light and fluffy texture of yeast-leavened pretzels.
- Moisture and Richness Variations: Yogurt adds moisture and richness to pretzel dough. If you replace yogurt with alternatives like buttermilk or sour cream, the final product might have variations in texture and taste. Finding the right balance is crucial, as changes can affect the overall quality of the pretzels.
- Experimentation Needed: Adjusting pretzel recipes without yeast or yogurt often requires some experimentation. Figuring out the right mix of ingredients for the desired texture and flavor might involve trial and error. This can be a challenge for beginners or those seeking a foolproof recipe, as the process might need adjustments based on personal preferences.

Step-by-Step Instructions for Making No Yeast, No Yogurt Pretzels
Creating pretzels without yeast or yogurt involves a modified approach to the traditional recipe. Follow these step-by-step instructions for making delicious no-yeast, no-yogurt pretzels at home.
Ingredients:
- 2 1/4 cups all-purpose flour
- 1 tablespoon baking powder
- 1 teaspoon salt
- 1 cup warm water
- 2 tablespoons vegetable oil
- 1 tablespoon sugar
- Coarse salt for sprinkling (optional)
Step-by-Step Instructions:
- 1. Preheat the Oven: Preheat your oven to 425°F (220°C). This ensures that the oven is ready when your pretzels are shaped and ready to be baked.
- 2. Mix Dry Ingredients: In a large mixing bowl, combine the all-purpose flour, baking powder, and salt. Whisk the dry ingredients together to ensure an even distribution.
- 3. Create a Well: Make a well in the center of the dry ingredients. This is where you’ll pour the wet ingredients.
- 4. Combine Wet Ingredients: In a separate bowl, mix the warm water, vegetable oil, and sugar until the sugar is dissolved. The warm water helps activate the baking powder, providing the leavening effect needed for the pretzels.
- 5. Incorporate Wet into Dry: Pour the wet ingredients into the well you created in the dry ingredients. Stir the mixture together until it forms a dough.
- 6. Knead the Dough: Turn the dough onto a lightly floured surface and knead it for about 5 minutes. Kneading helps develop the gluten and ensures a chewy texture in the finished pretzels.
- 7. Divide the Dough: Divide the dough into equal portions. The size will depend on your preference for the size of the pretzels. For traditional pretzel shapes, aim for portions about the size of a golf ball.
- 8. Roll and Shape: Roll each portion into a rope, approximately 20 inches long. To form the classic pretzel shape, create a U shape, then cross the ends over each other and press them onto the bottom of the U.
- 9. Baking Soda Bath (Optional): For a traditional pretzel flavor and color, you can briefly dip each shaped pretzel into a boiling water and baking soda bath. Fill a large pot with water and bring it to a boil. Add 1/4 cup of baking soda. Gently place each pretzel in the boiling water for about 30 seconds, then transfer it to a baking sheet.
- 10. Arrange on Baking Sheet: – Place the shaped pretzels on a parchment paper-lined baking sheet, leaving some space between each.
- 11. Bake: Bake in the preheated oven for 10-12 minutes or until the pretzels turn golden brown. Keep an eye on them to prevent over-browning.
- 12. Optional Toppings: While the pretzels are still warm, you can brush them with melted butter and sprinkle coarse salt for a classic finish. Alternatively, get creative with toppings like cinnamon sugar or grated cheese.
- 13. Cool and Enjoy: Allow the pretzels to cool slightly before serving. Enjoy them warm with your favorite dipping sauce, whether it’s mustard, cheese, or a sweet glaze.
5 Yeast Alternatives for Making Pretzels
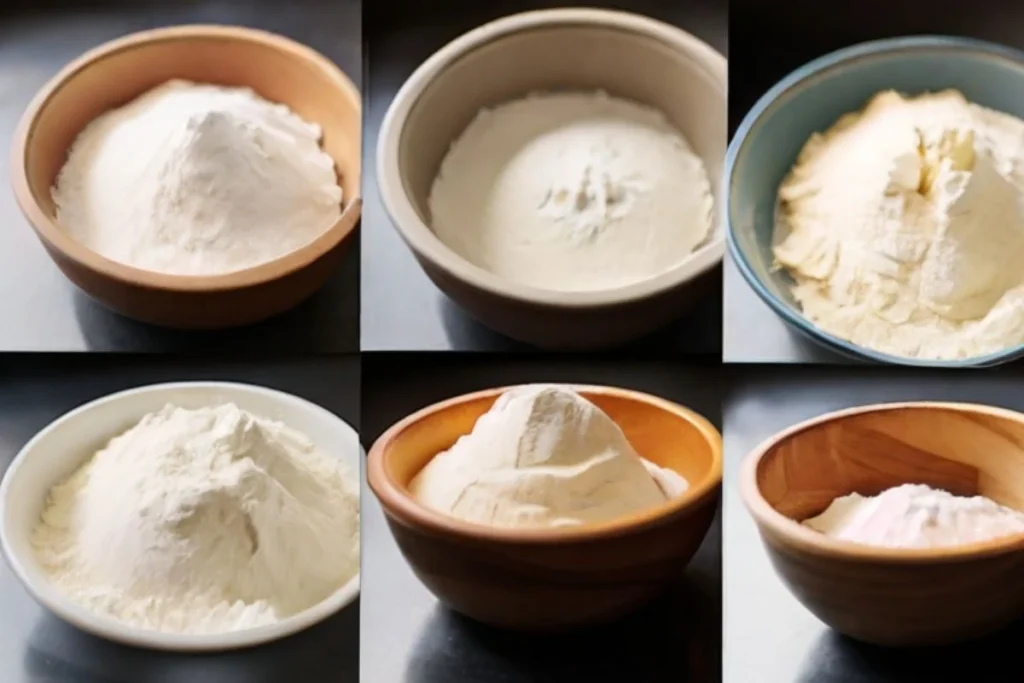
For those who want to make pretzels without using yeast, several alternatives can still give you tasty results. Here are five options for making pretzels without yeast, each with its unique qualities:
1. Baking Powder
Baking powder is a common substitute for yeast in pretzel recipes. It works as a leavening agent, creating carbon dioxide gas when mixed with liquid. This gas helps the dough rise, making the pretzels soft and a bit fluffy. Baking powder also helps in browning the pretzels during baking.
2. Baking Soda
Baking soda, when combined with an acidic ingredient like buttermilk or yogurt, can be used as a leavening agent in pretzel dough. The acid reacts with the baking soda, producing carbon dioxide and helping the dough rise. This combination can give the pretzels a unique flavor.
3. Self-Rising Flour
Self-rising flour is an all-purpose flour that already has baking powder and salt in it. Using self-rising flour simplifies the ingredient list, as you don’t need to measure baking powder and salt separately. This option provides convenience while still ensuring proper leavening.
4. Sour Cream or Buttermilk
Sour cream or buttermilk can act as both a yeast alternative and a substitute for yogurt. When combined with baking soda, these acidic dairy products create a reaction similar to yeast, causing the dough to rise. They also add moisture and richness to the pretzels.
5. Club Soda
Club soda can be used as a liquid ingredient in pretzel dough. The carbonation in the soda helps create a light and airy texture in the absence of yeast. The fizziness adds a subtle flavor and contributes to the browning of the pretzels during baking.
When using these yeast alternatives, it’s important to adjust the quantities and follow the specific instructions in your chosen recipe. Each substitute brings its qualities to the mix, allowing for a variety of flavors and textures in yeast-free pretzels.
5 Yogurt Alternatives for Making Pretzels
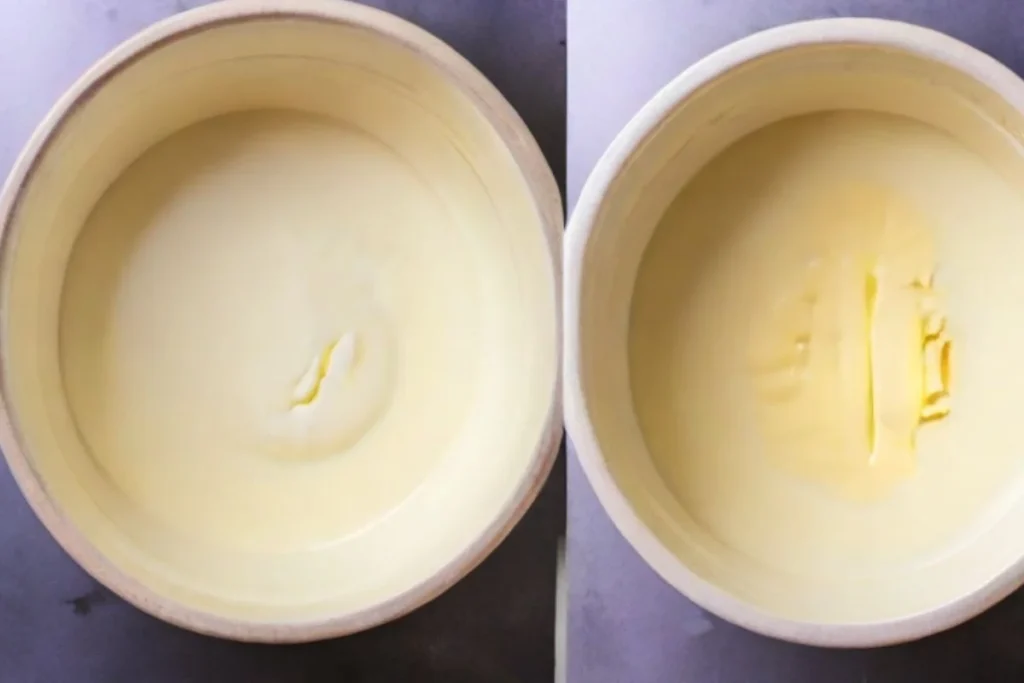
For those looking to make pretzels without yogurt, various alternatives can be employed to achieve a similar level of moisture, richness, and flavor. Here are five yogurt alternatives for pretzels, providing flexibility for diverse dietary preferences:
1. Buttermilk
Buttermilk rocks as a stand-in for yogurt in pretzels. It adds a zesty kick and keeps your dough nice and moist. Plus, its acidity teams up with baking soda or baking powder to give you soft, flavorful pretzels.
2. Sour Cream
Sour cream is another go-to for yogurt replacement. Its creamy feel and tangy flavor amp up your dough, making it rich and moist. When you sub in sour cream, your pretzels will be bursting with flavor.
3. Milk and Vinegar
Mix regular milk with a splash of vinegar to create a yogurt alternative. This combo brings the acidity your pretzel dough needs, adding moisture and flavor depth. Usually, a tablespoon of vinegar per cup of milk does the trick.
4. Milk and Lemon Juice
Like the milk and vinegar combo, using milk with lemon juice can step in for yogurt in pretzels. The lemon juice gives a subtle citrus kick, elevating the overall taste.
5. Coconut Milk or Almond Milk
If you’re steering clear of dairy, try coconut milk or almond milk instead of yogurt. These plant-based options bring their flavors to the pretzel dough, keeping it pleasantly moist.
Troubleshooting Common Issues in Pretzels
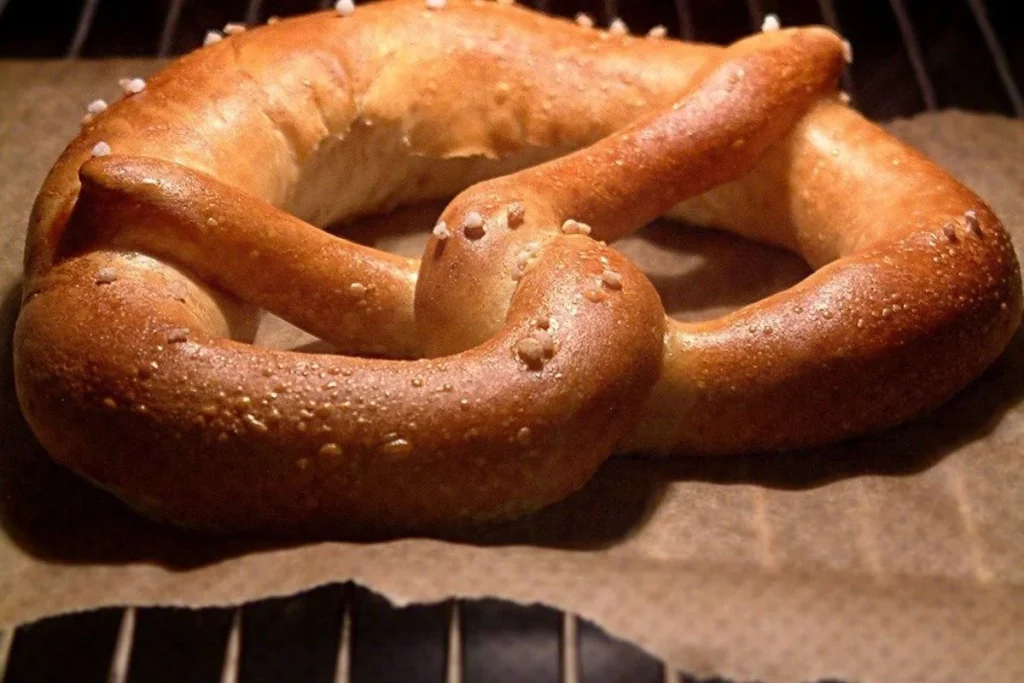
Making the perfect batch of pretzels can sometimes be a bit tricky, and different things might cause common problems during the baking process. Here’s a guide to figuring out and fixing some of the most common issues you might face while making pretzels.
The Dough is Too Sticky or Dry
Issue: Achieving the right consistency in the pretzel dough is crucial. If it’s too sticky, it can be challenging to handle, and if it’s too dry, the pretzels may end up tough.
Solution: Adjust the flour or liquid content as needed. If the dough is sticky, gradually add more flour during kneading. If it’s too dry, incorporate small amounts of water until you reach the desired consistency.
Pretzels Are Tough or Dense
Issue: Pretzels that are tough or overly dense may result from over-kneading the dough or not allowing it to rise adequately.
Solution: Be mindful of the kneading time. Knead the dough until it’s smooth and elastic, but avoid excessive kneading, which can lead to a dense texture. Ensure proper rising time, allowing the dough to double in size before shaping.
Pretzels Lose Their Shape During Boiling
Issue: When boiling pretzels, they may lose their distinct shape if the water is not hot enough or if they’re left in the water for too long.
Solution: Use boiling water with baking soda or baking powder for the characteristic pretzel flavor and color. Boil each pretzel for about 30 seconds to a minute, ensuring a quick but effective dip.
Uneven Browning
Issue: Some pretzels may brown unevenly, resulting in a patchy appearance.
Solution: Ensure even spacing on the baking sheet, allowing the heat to circulate each pretzel. Rotate the baking sheet during baking if needed. Brushing the pretzels with an egg wash or melted butter before baking can also promote even browning.
Pretzels Are Too Salty or Not Salty Enough
Issue: Achieving the right balance of salt is crucial for the classic pretzel flavor. Pretzels that are too salty or lack sufficient salt can impact the overall taste.
Solution: When sprinkling salt, be mindful of the quantity. If you prefer less salt, you can reduce the amount or opt for a finer salt to disperse more evenly. For those who enjoy a saltier taste, a coarse salt can be applied generously.
Flat Pretzels
Issue: If pretzels spread too much during baking, they may end up flat rather than having the desired thickness and shape.
Solution: Ensure the dough has proper rising time before shaping the pretzels. Additionally, be cautious not to over-flatten the ropes while shaping, and allow enough space between pretzels on the baking sheet.
Overly Crispy or Hard Pretzels
Issue: If pretzels turn out too crispy or hard, it might be due to overbaking.
Solution: Monitor the baking time closely, and remove the pretzels from the oven when they are golden brown. Adjust the baking time according to your oven’s characteristics and the size of your pretzels.
Final Thoughts
In conclusion, trying your hand at making pretzels without yeast and yogurt opens the door to a whole bunch of cooking possibilities. The good stuff is clear—quick prep time, different rising agents for unique flavors, and flexibility for dietary needs.
But, it’s important to recognize some drawbacks, like potential changes in texture and taste, less fluffiness, and the need for some trial and error.
With easy-to-follow steps and flexible ingredient options, folks who love pretzels can dive into the world of baking without yeast and yogurt with confidence.
This blog not only gives practical tips for making these tasty treats but also tackles common problems you might run into, making sure both newbies and experienced bakers end up with something delicious. Happy baking!
Lindsey Mackenzie
About me
Hi there! I’m Lindsey Mackenzie, the founder of Bake Smartly. Baking has been my passion since childhood, growing up in my father’s bakery. With Bake Smartly, I’m excited to share my love for all things sweet and savory. Join me on this delicious journey as we whip up scrumptious treats and sprinkle joy into every bite!

