How to Get Cheesecake Out of a Springform Pan in 5 Effortless Ways
Tired of your cheesecake sticking to the pan and wrecking your carefully crafted dessert? Bid farewell to this frustrating baking mishap with our expert advice.
In this article, we’ll share five simple tricks to get your cheesecake out of a springform pan without any hassle.
Whether you’re a beginner or a seasoned pro in the kitchen, these tips will help you smoothly release your cheesecake every time. From preparing your pan correctly to using the right tools, we’ve got you covered.
Our straightforward and practical tips will not only save you time and frustration but also ensure that your cheesecake remains in one piece and looks as great as it tastes.
Don’t let those annoying pan mishaps spoil your baking adventures. With these easy-to-follow tricks, you’ll wave goodbye to cheesecakes getting stuck for good.
Table of Contents
ToggleCommon Challenges When Releasing a Cheesecake From a Springform Pan
Common challenges when releasing a cheesecake from a springform pan often send even experienced bakers into a panic. The delicate nature of cheesecakes, with their creamy texture and crumbly crusts, can make the extraction process a bit tricky.
Here are some of the most typical issues encountered:
- Sticking to the Sides: One of the most common problems is the cheesecake sticking to the sides of the pan, particularly if it hasn’t been adequately greased. This can result in an unsightly appearance and a damaged cake.
- Base Sticking: The cake’s crust or base can stubbornly cling to the pan’s bottom. This issue is especially problematic because it can leave your cheesecake in pieces.
- Cracks and Breaks: Mishandling during the release process can lead to cracks or even breaks in your cheesecake. This is not only unattractive but can also affect the cake’s overall texture.
- Lack of Structural Integrity: Sometimes, the cheesecake may lack the structural integrity to hold its shape when removed from the pan, causing it to sag or collapse.
- Dismantling Mishaps: The two-part construction of springform pans can be a bit challenging to manage, and it’s not uncommon to accidentally dislodge the base or create a mess during disassembly.
These common challenges can be quite frustrating, but the good news is that there are several simple and effective methods to overcome them.
In the following sections of this article, we’ll explore five effortless ways to ensure your cheesecake comes out of the springform pan flawlessly, ready to be enjoyed by all.
How to Get Cheesecake Out of a Springform Pan in 5 Effortless Methods
Releasing a cheesecake from a springform pan might seem like a daunting task, but with the right tricks up your sleeve, it can be a breeze.
In this section, we will delve into five effortless methods that will make your cheesecake extraction process smooth and stress-free.
Trick 1: Preparing the Springform Pan Properly
The first trick to ensuring a hassle-free release is to prepare your springform pan meticulously. This step is often overlooked but is essential for preventing the cheesecake from sticking to the pan’s sides. Here’s how to do it:
- Grease Thoroughly: Start by generously greasing the sides and bottom of the pan. You can use butter, cooking spray, or a light coat of oil. Be sure to cover every nook and cranny, as any missed spots could cause sticking.
- Lining the Base: While it’s not always necessary, some bakers prefer to line the base of the springform pan with parchment paper. This extra precaution adds a layer of protection against sticking. Simply cut a circle of parchment paper to fit the pan’s bottom, place it in, and proceed with your crust and cheesecake batter as usual.
Trick 2: Using Parchment Paper to Line the Bottom of the Pan
As mentioned, adding parchment paper to the bottom of your springform pan can be a game-changer when it comes to releasing the cheesecake. Here’s a more detailed look at how this trick works:

- Cut a Perfect Circle: Take a sheet of parchment paper and lay it flat on your countertop. Trace the pan’s bottom with a pencil, then cut along the line. You should have a perfect circle that fits snugly inside the pan.
- Place the Parchment: After greasing the pan’s sides, gently lay the parchment circle on the greased base. The parchment provides an extra layer of insurance, ensuring your cheesecake doesn’t bond with the pan.
- Proceed with Baking: With the parchment paper in place, continue with your cheesecake recipe as usual. The parchment paper will be barely noticeable in the final presentation but will save you from the ordeal of a stuck cheesecake.
Trick 3: Chilling the Cheesecake Before Attempting to Release It
Patience is a virtue when it comes to cheesecake. Allowing it to cool and set in the refrigerator before attempting to release it is crucial. Here’s why it’s effective:
- Cooling Process: Once your cheesecake has finished baking, it’s important to let it cool to room temperature on a wire rack. Afterward, transfer it to the refrigerator and let it chill for several hours, ideally overnight. This cooling process helps the cheesecake firm up and hold its shape, making it easier to release.
- Less Sticky: A cold cheesecake is less likely to stick to the sides and base of the pan, as the ingredients have had time to set. It also reduces the risk of cracks forming during release.
Trick 4: Using a Hot Water Bath to Loosen the Cheesecake
A hot water bath, also known as a bain-marie, is a wonderful technique for preventing the cheesecake from sticking and also aids in preventing cracks. Here’s how to use it:
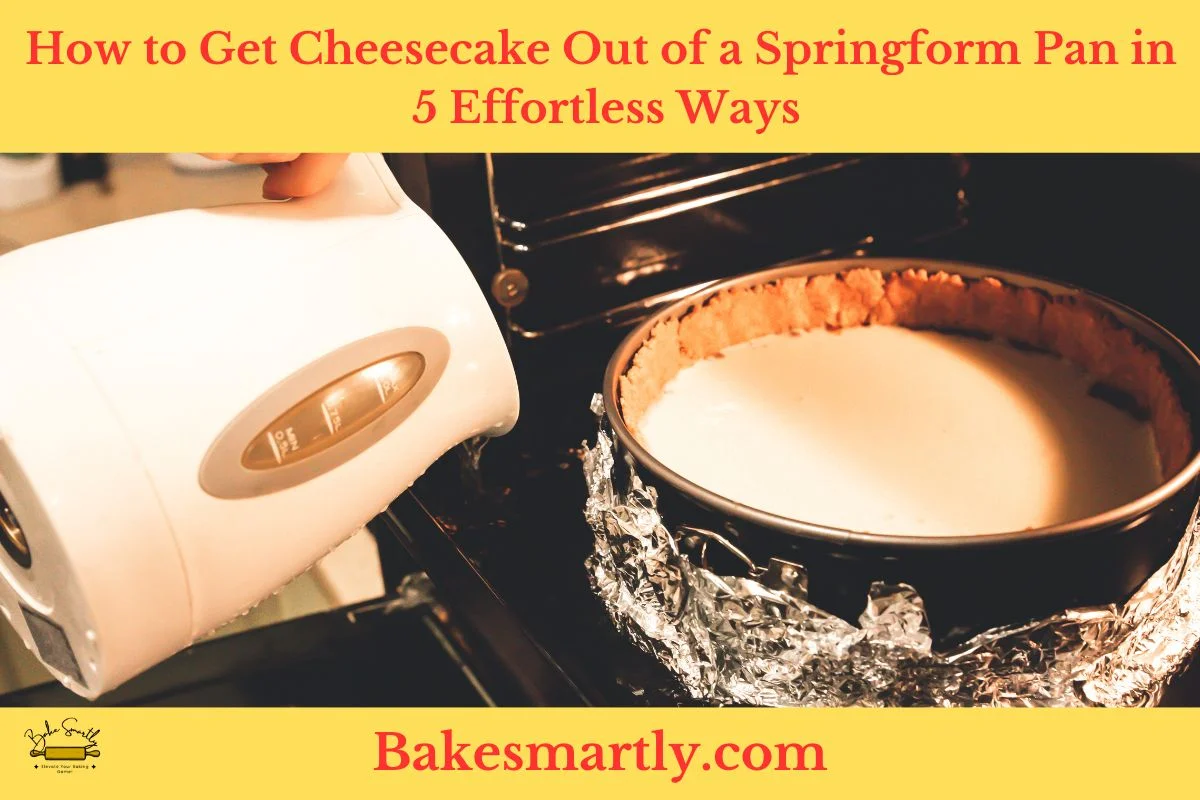
- Create the Bath: Preheat your oven and boil a kettle of water. Place the springform pan, filled with the cheesecake mixture, into a larger, oven-safe dish. Carefully pour the boiling water into the larger dish until it reaches about halfway up the sides of the springform pan.
- Bake as Usual: Bake the cheesecake in this water bath. The steam and gentle heat will ensure even cooking and prevent the cake from drying out and cracking.
- Release and Ease: Once the cheesecake is done baking, let it cool in the oven with the door ajar for about an hour. The gradual cooling helps prevent cracks. After cooling in the fridge, the cheesecake should release smoothly from the pan.
Trick 5: Using a Knife to Gently Release the Sides of the Cheesecake
For the final trick, you can use a knife to release the sides of the cheesecake gently. This method requires a delicate touch to avoid damaging the cake:
- Select the Right Knife: Choose a thin, sharp knife, such as a paring knife. Make sure it’s clean and dry.
- Run the Knife: Carefully run the knife around the edge of the cheesecake, gently separating it from the sides of the pan. Be patient and take your time, ensuring the knife reaches the bottom.
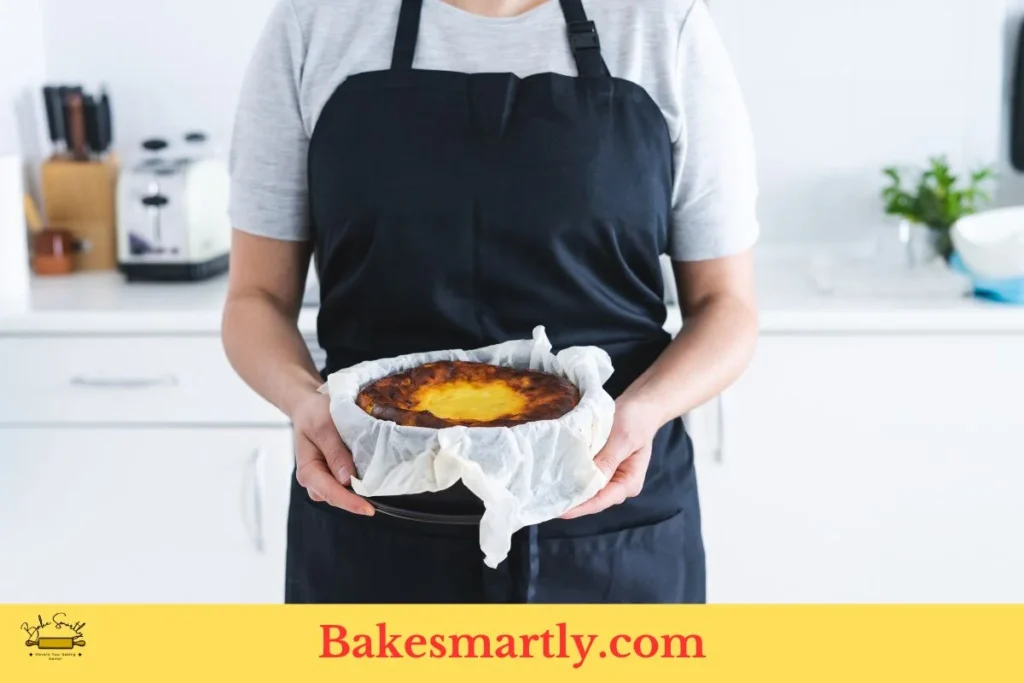
- Unhinge and Lift: Once the cake is detached from the pan’s sides, unclasp the springform ring and lift it away. Your cheesecake should be free and ready for presentation.
These five tricks are your key to successfully releasing a cheesecake from a springform pan. By preparing the pan, using parchment paper, chilling the cheesecake, employing a hot water bath, and gently using a knife, you can ensure that your cheesecake emerges intact and beautiful, ready to be adorned with your favorite toppings and enjoyed by all.
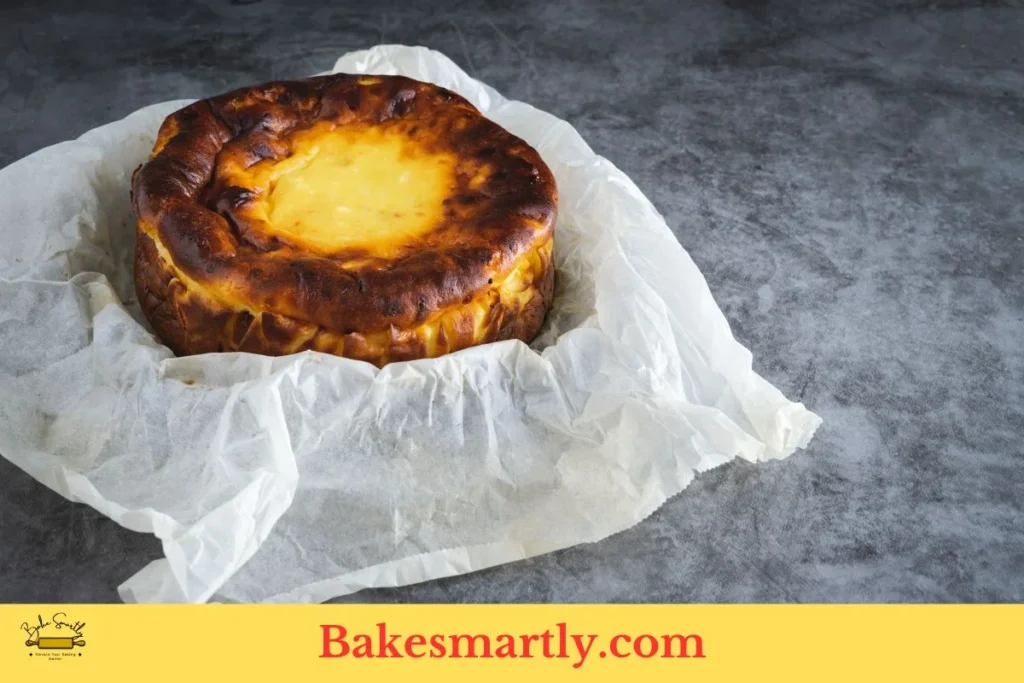
Additional Tips For Successful Cheesecake Release
Beyond the five essential tricks mentioned earlier, there are a few additional tips that can further guarantee a successful and stress-free cheesecake release:
- Room Temperature Ingredients: Ensure that your cheesecake ingredients, particularly cream cheese, and eggs, are at room temperature before you start mixing. This leads to a smoother batter that’s less likely to develop air bubbles, which can create fissures during baking.
- Water-Resistant Wrap: To avoid any water from seeping into your springform pan during a water bath, wrap the pan in a double layer of heavy-duty aluminum foil. Make sure the foil goes all the way up the sides of the pan, creating a watertight seal.
- The Cooling Period: After the cheesecake has cooled in the oven and then in the refrigerator, it’s advisable to let it rest on the countertop for about 30 minutes before releasing it from the pan. This temperature adjustment can help prevent any sudden shocks to the cake, reducing the likelihood of cracking.
- The Gentle Touch: When applying the tricks mentioned, be gentle. Use light, precise movements when running a knife around the edge or lifting the parchment paper. Rushing or using force can cause the cheesecake to break or crumble.
- Topping Ready: If you plan to add any toppings or glazes, wait until after you’ve successfully released the cheesecake from the pan. This will make it easier to create a polished and unblemished appearance.
- Practice Makes Perfect: Like many aspects of baking, practice plays a significant role in mastering the art of releasing cheesecakes. Don’t be discouraged by a mishap; it’s all part of the learning process. With each attempt, you’ll become more skilled and confident.
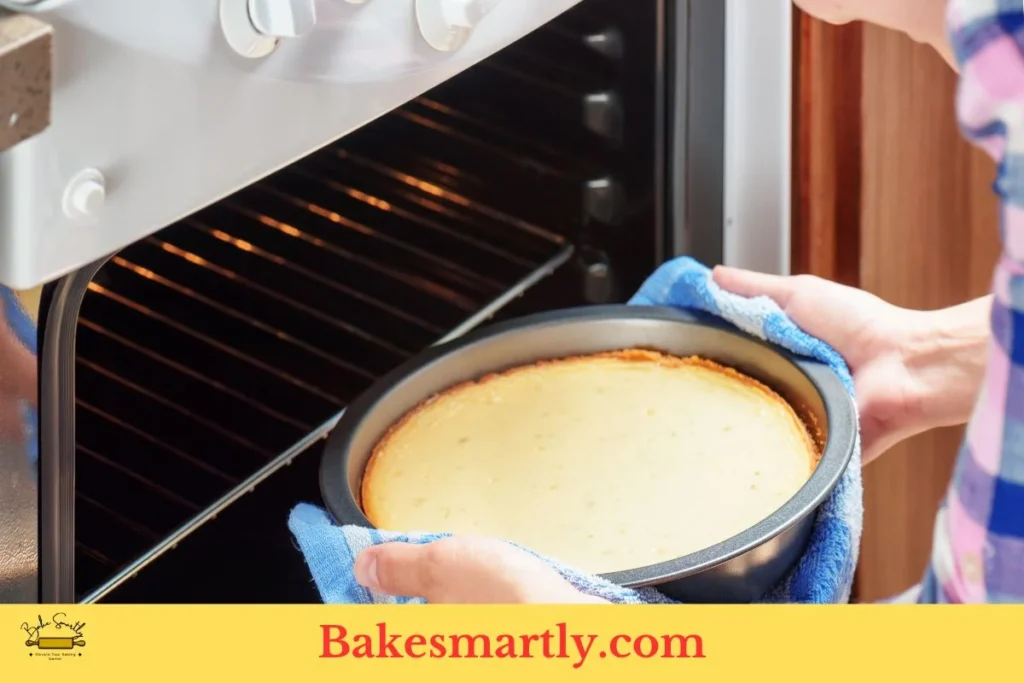
Alternative Methods For Releasing Cheesecakes From Springform Pans
While the previously mentioned tricks and tips are highly effective, there are some alternative methods you can explore to release cheesecakes from springform pans. These approaches offer flexibility and can be especially handy in unique situations:
- Silicone Springform Pans: Consider using a silicone springform pan instead of a traditional metal one. These pans are naturally non-stick, making it much easier to release the cheesecake without any sticking issues. However, it’s still a good idea to grease or line the base with parchment paper for added insurance.
- Springform Pan Liners: Some companies offer pre-cut parchment paper or silicone liners specifically designed for springform pans. These liners can save time and ensure a seamless release.
- Non-Stick Spray and Flour: In addition to greasing the pan, you can lightly dust it with flour or graham cracker crumbs. This added layer of protection can prevent sticking, especially when the crust is prone to adhering to the pan.
- Cooking Oil Spray with Parchment: Use a non-stick cooking oil spray in conjunction with parchment paper. After greasing the pan, place the parchment paper in the base, and then lightly spray the parchment paper’s surface with the cooking spray. This double-layer approach is highly effective in preventing sticking.
- Springform Pan Release Clips: Some modern springform pans come with innovative release clips that not only make it easier to unclasp the ring but also minimize the chances of the cake sticking to it. Investing in a high-quality pan with these features can be a long-term solution to your cheesecake release concerns.
- Inverted Release: For a unique twist, you can try an inverted release. Instead of unhinging the pan’s ring, place the cake, still attached to the pan’s base, on a serving platter. Then, gently run a knife under the base to release the cheesecake, leaving the crust and cake top undisturbed. This method is ideal for achieving a pristine presentation.
- Slicing and Spatula: If all else fails, and your cheesecake is firmly stuck to the pan, don’t despair. You can always slice it while it’s still in the pan and use a spatula to lift out individual servings. Although this method won’t deliver the perfect whole cake, it can salvage your dessert and still taste delicious.
How to Get Cheesecake Out of a Springform Pan | Final Thoughts
In conclusion, don’t let the common challenges of getting a cheesecake out of a springform pan discourage you from making the perfect dessert. With our expert advice, you can say goodbye to the frustration of sticky situations.
By following our five simple tricks, you’ll make sure your cheesecake comes out in one piece and looking great, ready to be topped with your favorite goodies and enjoyed by everyone.
Remember to prepare your pan carefully, use parchment paper, chill your cheesecake, use a hot water bath, and gently run a knife around the edges. These methods, along with extra tips and alternative techniques, will give you the skills to overcome any challenge when it comes to releasing a cheesecake. Happy baking!
Lindsey Mackenzie
Warning: Undefined variable $post in /home/u154887947/domains/bakesmartly.com/public_html/wp-content/plugins/gourmet-core/templates/blocks/gourmet-core-block-post-related.php on line 140
Warning: Attempt to read property “ID” on null in /home/u154887947/domains/bakesmartly.com/public_html/wp-content/plugins/gourmet-core/templates/blocks/gourmet-core-block-post-related.php on line 140
About me
Hi there! I’m Lindsey Mackenzie, the founder of Bake Smartly. Baking has been my passion since childhood, growing up in my father’s bakery. With Bake Smartly, I’m excited to share my love for all things sweet and savory. Join me on this delicious journey as we whip up scrumptious treats and sprinkle joy into every bite!

