How to Fix Mushy Cake Pops | A Step-by-Step Guide
Cake pops are a delightful and trendy treat that combines the goodness of cake with the convenience of a lollipop. However, one common issue that many bakers encounter is where the texture gets all mushy, and it messes up the whole vibe.
If you’ve ever faced the disappointment of biting into a cake pop only to find it too soft or mushy, don’t worry!
In this simple guide, we’ll break down why cake pops can go mushy and give you some solid fixes to make sure your next batch is just the right combo of moist and firm deliciousness.
Table of Contents
ToggleWhy Are My Cake Pops Mushy? | 5 Common Causes
Before we get into fixing the problem, let’s figure out why your cake pops end up being mushy. We’ll explore the factors that lead to this common issue and dig into the reasons behind the unwanted sogginess.
Wrong Baking Time
One big reason your cake pops might end up too mushy is often because they weren’t baked long enough. Baking is an art, and if you don’t stick to the recommended time, it can seriously mess with how your cake pops turn out.
If you don’t bake them long enough, the cake might not set properly, leaving you with a mushy texture.
Not Enough Time to Cool
Another common reason for mushy cake pops is impatience during the cooling process. If you rush this crucial step, your pops might not get the chance to set properly.
Letting them cool for at least an hour allows both the cake and coating to firm up, ensuring a satisfying texture when you take a bite.
Low-Quality Ingredients
The ingredients you use can make or break your cake pops. If you use overly moist ingredients, a cheap cake mix, or stale frosting, you’re setting yourself up for mushiness.
Go for fresh, high-quality ingredients to make sure your cake pops turn out firmer and more enjoyable.
Not Enough Coating
The coating on your cake pops isn’t just for looks—it adds both visual appeal and structural integrity. But if you don’t put on enough or do it poorly, it can lead to a mushy texture.
Make sure your chocolate or candy coating is melted just right, and let any excess coating drip off before letting them set.
Absorbing Moisture After Coating
Even with a perfect coating, outside factors can mess with the texture. If your cake pops hang out in a humid environment after coating, they might soak up moisture from the surroundings, resulting in unwanted mushiness.
Store your cake pops in a cool, dry spot to keep that ideal texture.
Now that we’ve identified potential culprits, let’s move on to the step-by-step guide on fixing mushy cake pops.
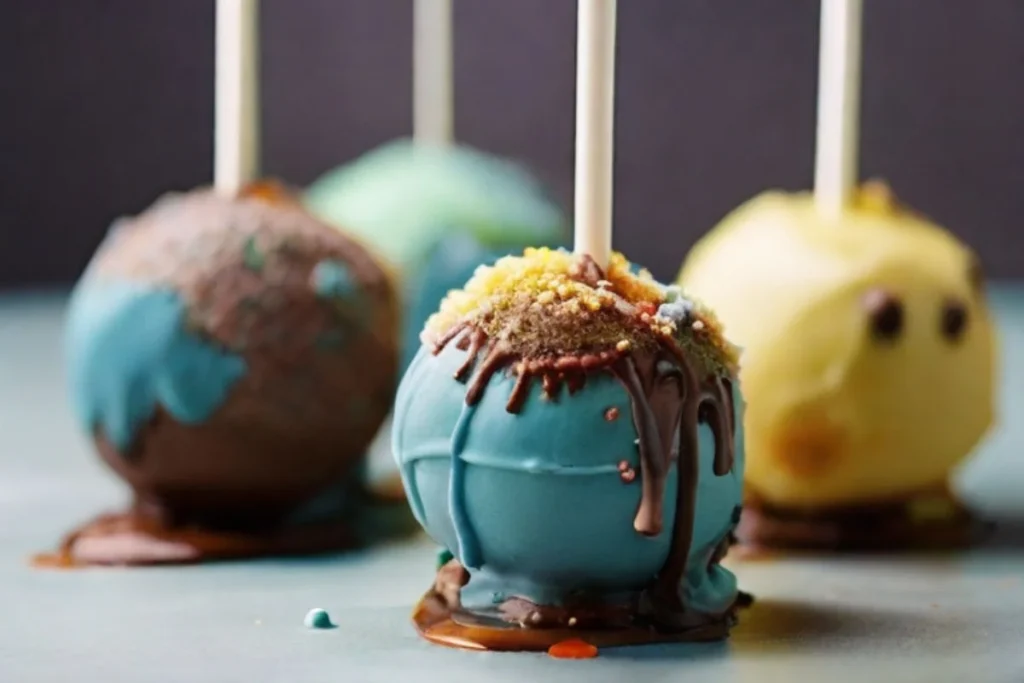
How to Fix Mushy Cake Pops in 8 Easy Steps
Whether you’re new to baking or a seasoned pro, it’s always a bummer when your batch of cake pops turns out too soft and mushy. But don’t worry!
In this step-by-step guide, we’ll explore effective techniques to Fix your mushy cake pops and transform them into irresistible, perfectly textured treats.
- Step 1 – Check the Damage: Before you start fixing things, take a look at your cake pops. Figure out how mushy they are – is it just a little soft or a complete flop? Knowing how bad it is will help you decide how to fix it.
- Step 2 – Find the Problem: There are a few reasons why your cake pops might be mushy. Mixing the cake batter too much, not baking them long enough, too much moisture or too much cake compared to frosting can all be culprits. Figuring out the main issue will help you know what to do.
- Step 3 – Fix Overmixing: If you think overmixing is the problem, the cake structure might be messed up. To fix it, break the cake into pieces and slowly add frosting until it’s like a dough. Just be careful not to add too much frosting – too much can make it sticky.
- Step 4 – Bake Again: If your cake pops weren’t baked enough, put them back in the oven. Preheat it to the original temperature and bake for a short time, keeping an eye on them so they don’t overcook. This helps make the texture firmer and gives a better bite.
- Step 5 – Combat Moisture: Too much moisture can make cake pops soggy. To fix it, leave them uncovered in the fridge for a few hours or overnight. The cold will take away the extra moisture and make them firmer. Just make sure to cover them once they’re the right texture to keep them from drying out.
- Step 6 – Adjust Cake-to-Frosting Ratio: If the mushiness is because of too much or too little cake compared to frosting, fix it. Add more cake if they’re too moist, or add more frosting if they’re too dry. The goal is to get a balanced, dough-like texture that keeps its shape.
- Step 7 – Reshape and Chill: After fixing the mushiness, shape your cake pops into round balls. Put them on a tray lined with parchment paper and let them chill in the fridge for at least 30 minutes. This makes sure they set and get a solid structure.
- Step 8 – Redip and Decorate: The finishing touch is giving your cake pops a new layer of candy or chocolate coating. Melt your chosen coating, dip each cake pop, and let the extra coating drip off. Before it sets, add decorations, colorful drizzles, or edible designs to make them look even better.
Common Mistakes to Avoid When Fixing Mushy Cake Pops
Fixing mushy cake pops can be a challenging task, and while there are effective solutions, it’s crucial to be aware of common mistakes that can hinder the process.
Here are key pitfalls to avoid when trying to salvage mushy cake pops:
Don’t Go Overboard with Frosting
A big blunder is dumping too much frosting to salvage a mushy texture. While frosting helps bind the cake crumbs, too much creates a gooey, overly sweet-disaster.
Show some restraint and add frosting slowly, aiming for a dough-like consistency without messing up the overall texture.
Re-baking with Care
If your cake pops are undercooked, resist the urge to hastily throw them back into the oven. Rushing the re-baking can result in overcooked, dry cake pops.
Keep a close eye on the baking time and take them out as soon as they firm up. Usually, a brief time in the oven is all they need.
Address the Root Issue
Fixing mushy cake pops is a step-by-step process. Identify the specific problem causing the mushiness—whether it’s overmixing, underbaking, too much moisture, or an off-cake-to-frosting ratio.
Ignoring the root cause might mean ineffective fixes and repeated disappointment.
Don’t Skip the Chilling Step
After reshaping the cake pops, tossing them in the fridge is crucial. Skipping this chill time can result in cake pops that lose their shape and texture.
Let them firm up in the fridge for at least 30 minutes before giving them a final coating. This ensures a solid structure and prevents them from getting too soft.
Pay Attention to Decoration
While the main goal is fixing the texture, don’t forget the finishing touches. Looks matter, and decorating your cake pops adds to their overall appeal.
After reshaping and chilling, dip them in fresh candy or chocolate coating and get creative with decorations. This not only makes them look better but also takes the focus away from any texture flaws.
Be Patient with the Fixing Process
Rushing through the steps to fix mushy cake pops can lead to mediocre results. Each stage, from assessing the damage to reshaping and chilling, requires patience and focus.
Give the cake pops enough time to respond to the fixes, ensuring a successful transformation.

Expert Tips for Perfect Cake Pops
Making perfect cake pops is an art that blends precise baking, creativity, and a sharp eye for detail. Follow these pro tips to ensure your cake pops come out flawless, irresistibly tasty, and visually delightful.
- Start with a Strong Cake Base: The key to a perfect cake pop lies in a well-baked and robust cake. Choose a dense and moist cake flavor that suits your taste. Avoid overly crumbly or delicate cakes, as they might not hold up well during shaping and dipping.
- Get the Cake-to-Frosting Ratio Right: Finding the right balance between cake crumbs and frosting is crucial. Too much frosting can make a sticky mess, while too little may result in dry cake pops. Gradually add frosting to the crumbled cake until you achieve a dough-like consistency that holds its shape without being overly moist.
- Keep Sizes Consistent for a Polished Look: For a pro appearance, stick to consistent sizing for your cake pops. Use a cookie scoop or your hands to make uniformly-sized cake balls. This not only boosts visual appeal but also ensures even baking and coating.
- Invest in Quality Lollipop Sticks: Choose sturdy, food-safe lollipop sticks that can support the weight of the cake pops. Insert the sticks carefully, making sure they go through the center of the cake ball. This helps prevent cake pops from sliding or falling off during the dipping process.
- Chill Before Dipping: After shaping the cake balls, let them chill in the refrigerator for at least 30 minutes. This step firms up the cake pops, making them easier to handle and preventing them from falling apart during coating.
- Use High-Quality Coating: Opt for high-quality candy melts or chocolate to coat your cake pops. Melt the coating according to package instructions, and if necessary, add a small amount of vegetable oil or paramount crystals for a smooth consistency. Well-melted coating ensures a clean and even finish.
- Tap Off Excess Coating: After dipping the cake pops, gently tap off any excess coating. This prevents thick and uneven layers, giving your cake pops a polished appearance. Hold the cake pop at an angle and rotate to let the excess coating drip off smoothly.
- Allow Enough Drying Time: Once decorated, place the cake pops in a sturdy Styrofoam block or a cake pop stand to let them dry completely. Rushing this step may lead to smudged decorations or uneven coatings.
- Store and Serve with Care: Store your finished cake pops in a cool, dry place or the refrigerator, depending on the climate. When serving, handle them with care to avoid smudging or damaging the decorations.
Frequently Asked Questions (FAQs)
What if my cake pops are too soft?
If your cake pops are too soft, try adding more frosting or chilling the mixture before shaping. Adjust the ratio of cake to frosting until you achieve a firmer texture.
How do you make cake pops less mushy?
To make cake pops less mushy, ensure the cake mixture is well-cooled before forming the pops. Additionally, consider reducing the amount of frosting used, as excessive moisture can lead to a mushy consistency.
What consistency should cake pops be?
Cake pops should have a moist and slightly crumbly consistency. Achieve this by ensuring the cake-to-frosting ratio is balanced. The mixture should hold its shape when rolled into balls, providing a deliciously textured cake pop.
How do I prevent my cake pops from cracking during coating?
To prevent cake pops from cracking during coating, make sure the cake balls are well-chilled before dipping. Use high-quality melting chocolate and avoid overheating it. Gently tap off excess coating, and allow them to set properly before serving to prevent cracks.
Conclusion
Becoming a pro at crafting awesome cake pops involves finding the right mix of ingredients, using good technique, and being patient. If you want to avoid the common mistakes that result in squishy cake pops, just follow this easy guide.
With the correct recipe, mixing things up carefully, and giving them the right chill, you’ll soon be whipping up cake pops that look great and taste even better. So, get ready to dive in, get your preferred cake mix, and let’s turn those mushy cake pops into a yummy success!
Lindsey Mackenzie
About me
Hi there! I’m Lindsey Mackenzie, the founder of Bake Smartly. Baking has been my passion since childhood, growing up in my father’s bakery. With Bake Smartly, I’m excited to share my love for all things sweet and savory. Join me on this delicious journey as we whip up scrumptious treats and sprinkle joy into every bite!

