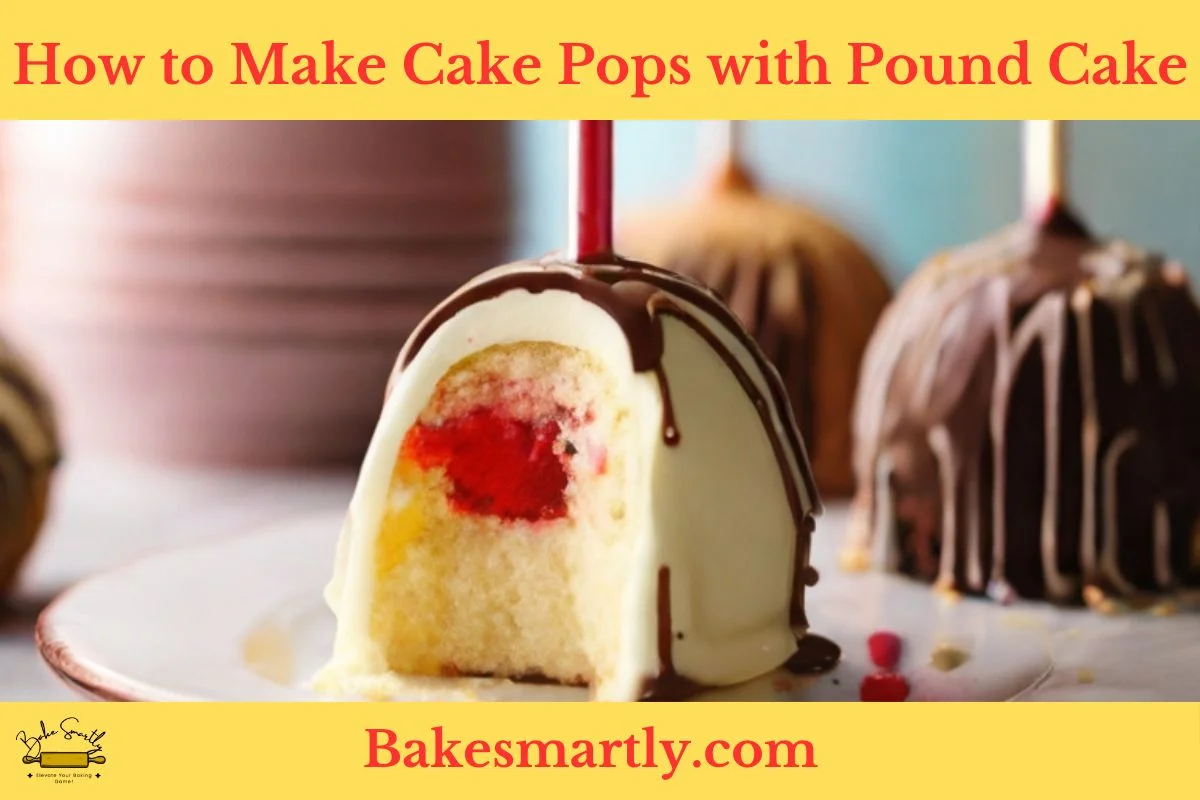
The Ultimate Guide to Make Cake Pops with Pound Cake
Discover how to make delicious cake pops effortlessly with this simple guide using pound cake. Enhance your baking prowess as we break down the easy steps to craft these delightful bite-sized treats.
From crumbling the moist pound cake to shaping cake pops flawlessly, this blog will lead you through the process.
Table of Contents
ToggleCan You Make Cake Pops with Pound Cake | Answer Revealed
Yes, cake pops can be made with pound cake. The dense and moist texture of pound cake provides an excellent base for forming cake pops.
To make them, crumble the pound cake into fine crumbs, mix it with frosting to create a moldable consistency, and then shape the mixture into small balls. Insert sticks into the cake balls, dip them in melted chocolate or candy coating, and allow them to set.
The result is delicious cake pops with the rich flavor of pound cake, offering a delightful twist to this popular treat.
Why Use Pound Cake for Cake Pops
When it comes to making the perfect cake pop, the kind of cake you use matters. It affects how the texture, flavor, and overall yumminess turn out. Pound cake is a go-to choice for creating these small, tasty treats, and here’s why it’s a game-changer:
- Rich and Moist Texture: Pound cake is famous for being dense and moist, making it the perfect starting point for cake pops. Its natural richness keeps the cake pops from getting too crumbly or dry. Plus, the dense texture makes it easy to shape and mold, so your cake pops stay together.
- Yummy Flavor: Pound cake has a buttery and slightly sweet flavor that pairs perfectly with the chocolate coating often used for cake pops. The combo of the dense cake and the tasty chocolate on the outside creates a delicious and satisfying treat, pleasing even the pickiest eaters.
- Great for Binding: Making cake pops involves breaking up the cake and mixing it with frosting to get the right consistency. Pound cake works well for this because it has excellent binding properties. This means you get a mix that sticks together easily, ready for the next steps in making your awesome cake pops.
- Versatile Pairing: Pound cake has a neutral flavor, making it a flexible base for lots of different pairings. Whether you go for classic vanilla pound cake or try out different flavors, the adaptability of pound cake lets you get creative with various frostings, toppings, and chocolate coatings.
Step-by-Step Instructions for Creating Delicious Cake Pops Using Pound Cake
Making tasty cake pops with pound cake is a fun and satisfying project that brings together the richness of pound cake and the enjoyment of bite-sized treats. Follow these easy steps for a culinary adventure that’ll make your taste buds happy.
Step 1: Get Your Ingredients Together
First, gather all the stuff you need. Get a batch of freshly baked pound cake, your favorite frosting, and some cake pop sticks. Also, set up a space with parchment paper for the cake pops.
Step 2: Crumble the Pound Cake
Once your pound cake cools down, crumble it into fine crumbs using your hands or a food processor. The finer the crumbs, the smoother your cake pops will turn out. Put the crumbs in a big mixing bowl.
Step 3: Add Frosting
Slowly mix in the frosting with the crumbled pound cake until it gets a dough-like consistency. The frosting holds the crumbs together and adds a delicious flavor. Just be careful not to use too much frosting; you want the mixture to keep its shape.
Step 4: Shape the Cake Balls
Take small bits of the mixture and roll them into compact cake balls. Put each ball on the parchment paper-lined tray. Keep them the same size for a nice, polished look.
Step 5: Stick in the Cake Pop
Sticks Melt a bit of chocolate or candy coating, then dip the tip of each cake pop stick into the melted coating before sticking it into a cake ball. This helps keep the stick in place.
Step 6: Chill
Put the tray of cake pops in the fridge to let them firm up. Chilling makes sure the cake pops keep their shape when you put on the coating.
Step 7: Cover with Chocolate or Candy
Melts Melt chocolate or candy coating in a bowl that’s safe for the microwave. Dip each cake pop into the melted coating, making sure it’s covered evenly and smoothly. Let any extra coating drip off before putting the cake pop back on the tray.
Step 8: Add Decorations
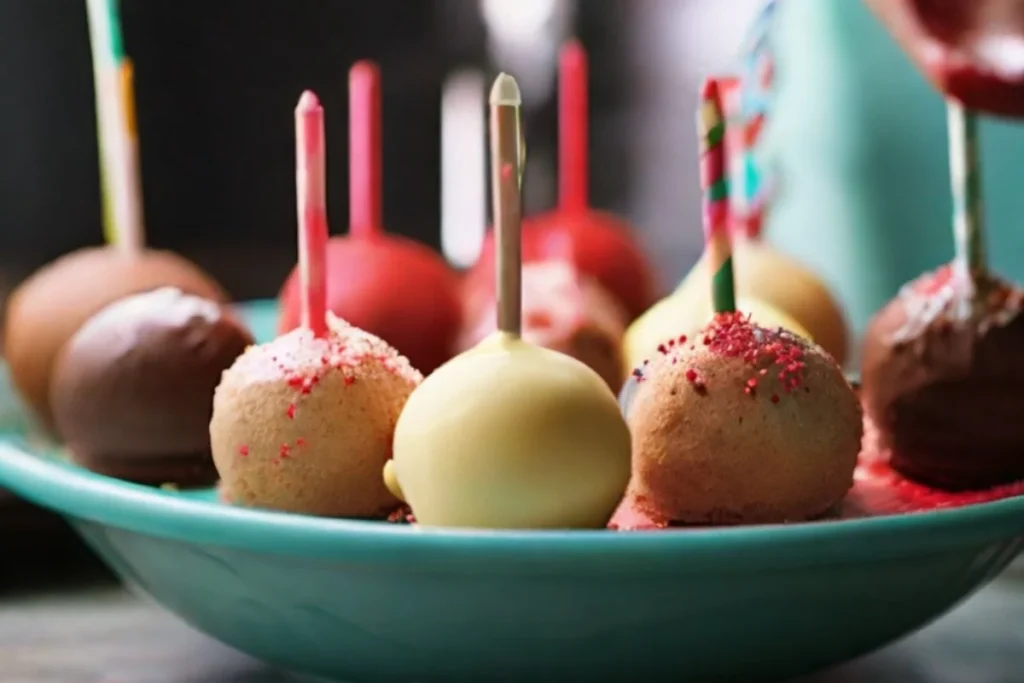
Before the coating sets, add sprinkles, edible glitter, or drizzled chocolate to give your cake pops a personal touch.
Step 9: Enjoy!
Let the coating set completely before serving or packing up your delicious pound cake pops. Share these tasty treats at parties, or celebrations, or just enjoy them as a sweet treat.
Common Mistakes to Avoid When Making Cake Pops with Pound Cake
Making perfect cake pops is an art, and like any craft, it comes with its fair share of challenges.
To make sure your cake pop adventure goes smoothly and turns out delightful, here are some common mistakes to avoid:
- Choosing the Wrong Pound Cake: The foundation of great cake pops is a high-quality pound cake. A common mistake is picking a pound cake with the wrong texture or flavor. Make sure your pound cake is moist and rich, providing the perfect base for your cake pop mixture.
- Overmixing the Cake Pop Mixture: Getting the right consistency for your cake pop mixture is crucial. Overmixing can result in a dense and overly sticky mixture, making it tough to shape into uniform balls. Gently combine the crumbled pound cake with frosting until you achieve a moist, easily moldable texture.
- Skipping the Crumbling Step: Crumbling the pound cake might seem like a simple step, but it’s a crucial one. Skipping or rushing through this process can lead to uneven cake pops with chunks that disrupt the smooth texture. Take the time to crumble the cake finely for a consistent mixture.
- Inadequate Coating Preparation: The coating is the visual and flavorful highlight of cake pops. One mistake is not preparing the coating properly. Ensure it’s at the right temperature and consistency for smooth dipping. Too thick or too thin coating can affect the final result.
- Neglecting Proper Stick Insertion: Improperly inserting sticks into the cake pops can lead to disastrous results. If the sticks are not inserted correctly, the cake pops may fall off, or the shape may be compromised. Insert sticks carefully and at the right depth.
- Rushing the Setting Process: Patience is key when it comes to setting cake pops. Rushing this step can lead to a messy presentation and a less-than-ideal eating experience. Allow sufficient time for the cake pops to set properly before serving or packaging.
Do I Have to Use Leftover Cake in Cake Pops?
Turning extra cake into cake pops is a great idea, but you don’t have to stick to that. If you have a certain cake flavor in mind or want to make it from the beginning, go ahead and use a freshly baked pound cake.
However, repurposing leftover cake adds a sustainable and creative touch to your cooking adventure, cutting down on food waste. It’s an adaptable process, so you can go with the method that fits your preferences and cooking goals.
Whether you’re reusing leftovers or starting from scratch, it’s up to you to whip up the perfect batch of delicious cake pops.

How To Make Cake Pops From Leftover Cake
Don’t toss that leftover cake – turn it into awesome cake pops! It’s a cool and Earth-friendly way to give your baked goods a second life.
First off, crumble your leftover cake into tiny bits in a big bowl. Add some frosting to the mix – not only does it make things taste better, but it also helps the crumbs stick together. The ratio of cake to frosting is up to you, but a good starting point is one cup of frosting for every four cups of cake crumbs.
Stir the crumbs and frosting until it’s all doughy. Then, grab bits and roll them into small, bite-sized balls. Stick lollipop sticks into each ball to get that classic cake pop shape. Pop ’em on a tray and let them chill in the fridge for at least 30 minutes to firm up.
Now, melt some chocolate or candy coating in a bowl that’s safe for the microwave. Dip each cake pop into the melted coating, making sure it’s all covered. Get creative with sprinkles, nuts, or drizzled chocolate for some extra flair. Let the coating set by sticking the cake pops upright in a stand or Styrofoam block.
Follow these easy steps, and you’ll transform leftover cake into a tasty and good-looking treat for any occasion. Play around with flavors and decorations to make your cake pops uniquely yours and enjoy a delicious way to cut down on food waste.
Frequently Asked Questions (FAQS)
Can I use chocolate chips to make the chocolate coating for cake pops?
Yes, you can use chocolate chips to create a delicious coating for cake pops. Simply melt the chocolate chips and dip your cake pops for a delightful finish.
Can I use an entire cake or do I have to use a portion of a cake?
You can use either an entire cake or a portion, depending on your preference. Crumbling the cake allows for better consistency when mixing with frosting for the cake pop base.
Does it matter what type of cake I use?
The cake type is flexible; choose your favorite flavor! Whether it’s chocolate, vanilla, or red velvet, the possibilities are endless for creating tasty cake pops.
Does the type of frosting I use matter?
The type of frosting is up to you. Feel free to experiment with different flavors to enhance your cake pops. Whether it’s cream cheese, buttercream, or ganache, pick a frosting that complements your chosen cake flavor for a delightful treat.
Final Thoughts
In conclusion, making delicious cake pops with pound cake is a fun journey into the world of bite-sized treats. The richness and moist texture of pound cake makes it an excellent base, ensuring a perfect balance of flavor and consistency.
Pound cake’s versatility, binding properties, and adaptability make it a game-changer for creating these tempting desserts. With easy-to-follow instructions, this guide helps both beginners and experienced bakers easily shape, dip, and decorate pound cake pops.
Whether you’re using leftover cake or starting from scratch, this process adds a sustainable and creative touch, turning ordinary cake into extraordinary, visually appealing treats.
Lindsey Mackenzie
About me
Hi there! I’m Lindsey Mackenzie, the founder of Bake Smartly. Baking has been my passion since childhood, growing up in my father’s bakery. With Bake Smartly, I’m excited to share my love for all things sweet and savory. Join me on this delicious journey as we whip up scrumptious treats and sprinkle joy into every bite!

