Can You Bake Ciabatta in a Loaf Pan | Truth Revealed
Ciabatta bread is famous for its light and airy texture with a crispy crust, making it a common choice in homes. The usual way to bake it involves shaping it freely and using a dough with high hydration.
But here’s the question: Can you get that same great outcome by using a loaf pan?
In this blog, we’ll dig into the details of baking Ciabatta in a loaf pan, covering the challenges and the techniques you can tweak for success.
Table of Contents
ToggleWhy Bake Ciabatta Bread in a Loaf Pan?
Baking Ciabatta in a loaf pan, which might seem a bit different but is actually quite interesting, has its perks for both new and experienced bakers. Using a loaf pan brings some conveniences that you don’t get with the traditional Ciabatta-making methods.
For folks who are just starting out, the pan makes shaping the dough easier by keeping it in check, especially when dealing with the sticky, high-hydration dough. On top of that, the loaf pan helps control the temperature, making sure your Ciabatta bakes evenly each time.
Even though it might change how the bread looks, using a loaf pan is a great option for those who want a faster and simpler way to enjoy freshly baked Ciabatta.
Challenges of Baking Ciabatta in a Loaf Pan
Trying to bake Ciabatta in a loaf pan has its own set of challenges, mainly because Ciabatta has a unique style. Ciabatta is known for its dough with lots of water and a loose structure, which makes it tricky to deal with when you’re using a loaf pan.
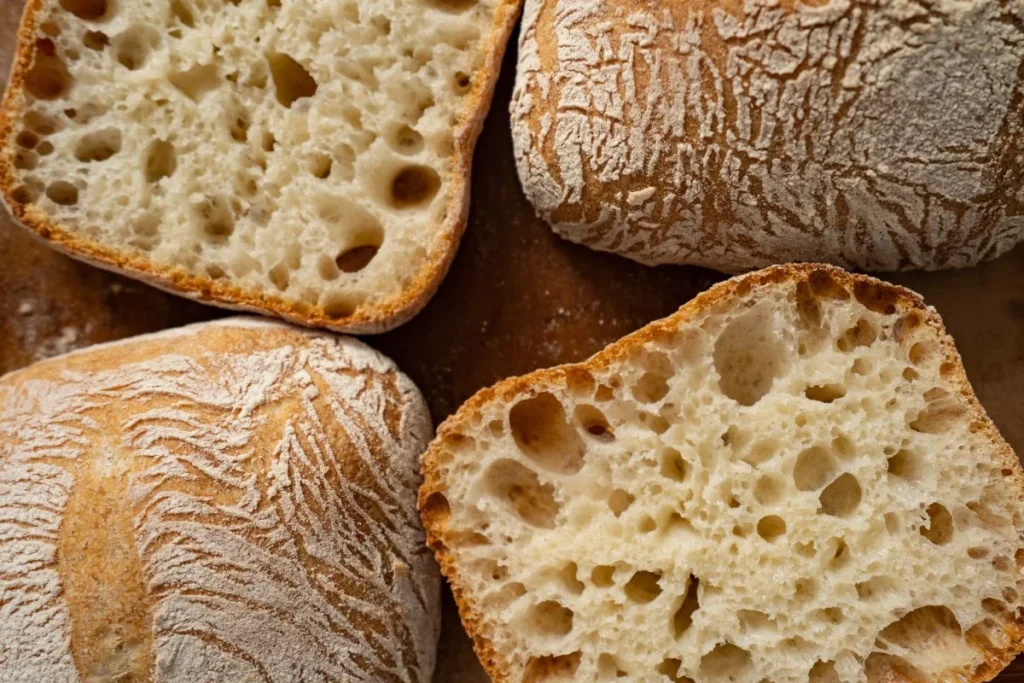
- One big challenge is keeping that signature light and airy texture of Ciabatta. When you let the dough spread and rise freely, like in the traditional way, it forms those cool uneven air pockets. But in a loaf pan, the dough is kind of stuck, making it harder to puff up and get that open, holey structure. It’s a bit of a juggling act to get the same fluffiness.
- Also, using a loaf pan changes how the crust turns out. The usual Ciabatta way involves high heat and steam to make a crispy, golden crust. But with a loaf pan, it’s like the bread is tucked away, and it might end up with a softer crust instead of the crunchy one we associate with Ciabatta.
- Trying to shape the wet and sticky Ciabatta dough in a loaf pan is another big challenge. Unlike the free-form way, where you can go for a rustic, uneven look, the pan wants a more even and structured shape. This switch from the usual appearance makes you wonder if using a loaf pan can really capture the true Ciabatta vibe.
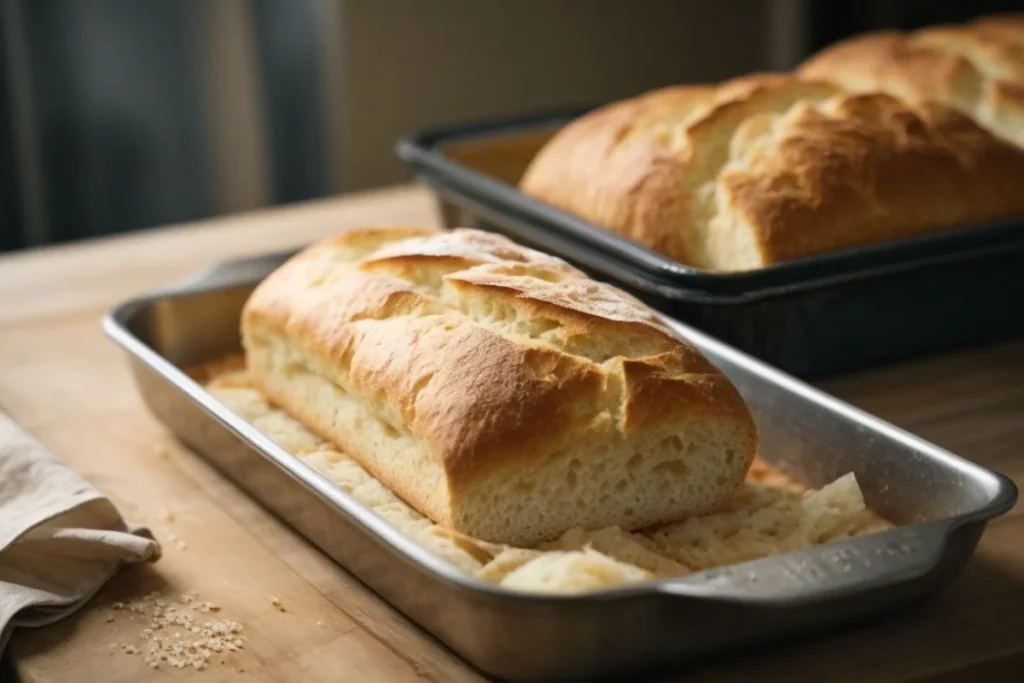
How to Bake Ciabatta in a Loaf Pan | Step-by-Step
Baking Ciabatta in a loaf pan might sound a bit unusual, but with some thoughtful adjustments, you can still achieve fantastic results. This step-by-step guide breaks down the process, ensuring a successful Ciabatta baking experience using a loaf pan.
- Step 1: Get Your Ingredients Ready: Collect all the necessary ingredients for Ciabatta, such as high-quality flour, water, yeast, salt, and optionally, olive oil. The key is to maintain Ciabatta’s characteristic high hydration while keeping the dough manageable within the loaf pan.
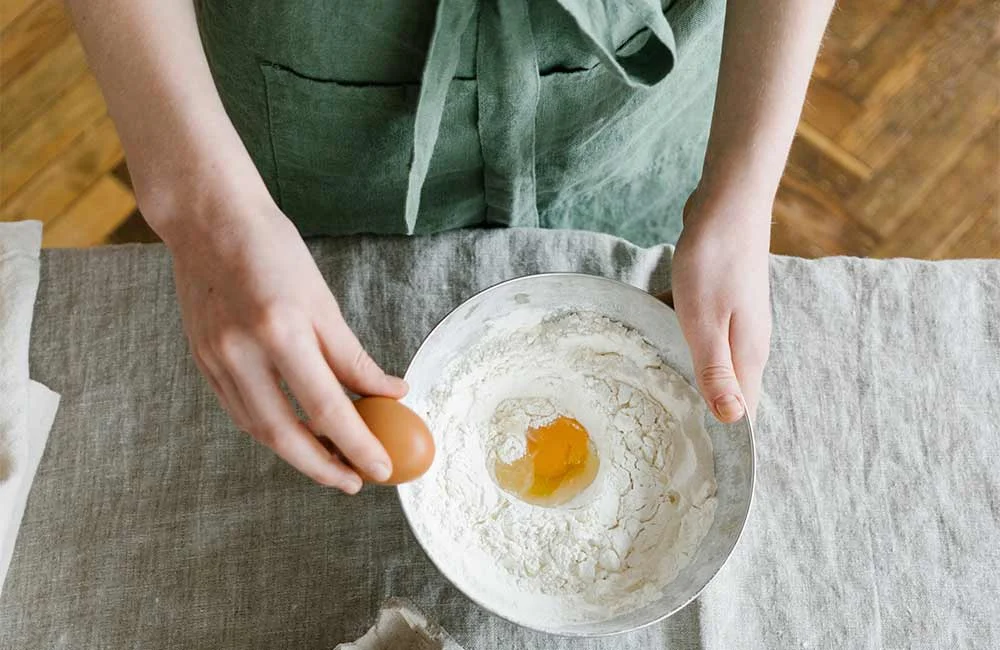
- Step 2: Mix and Knead the Dough: In a large bowl, mix the flour, yeast, and salt. Slowly add water, stirring until a sticky dough forms. If you like, throw in some optional ingredients like olive oil for added flavor. Knead the dough using a folding technique to develop the gluten, aiming for a stretchy and elastic consistency.
- Step 3: Let the Dough Rise: Allow the dough to undergo a slow fermentation process. Cover the bowl with a damp cloth and let it rise until it doubles in size. This step is crucial for developing Ciabatta’s distinct flavor and airy texture.
- Step 4: Prepare the Loaf Pan: While the dough is proofing, generously grease the loaf pan to prevent sticking. Optionally, you can use parchment paper for easier removal and to maintain the loaf pan’s non-stick properties.
- Step 5: Shape the Dough for the Pan: On a well-floured surface, gently turn out the risen dough, being careful not to deflate it entirely. Shape the dough into a rectangle or oval, depending on the shape of your loaf pan. Carefully transfer the shaped dough into the prepared pan.
- Step 6: Let It Rise Again: Cover the loaf pan with a damp cloth and let the dough undergo a second rise. This step is essential for achieving the desired lightness and volume in the final loaf. Keep a close eye to prevent over-proofing.
- Step 7: Preheat the Oven: Make sure your oven is preheated to the appropriate temperature. Ciabatta benefits from a hot oven environment, contributing to a well-developed crust.
- Step 8: Bake with Steam: To replicate the steamy conditions of a traditional Ciabatta bake, place a pan of hot water in the oven or use a spray bottle to create steam. This step aids in crust formation and color. Bake the Ciabatta until it achieves a golden-brown hue.
- Step 9: Cool and Enjoy: Once baked, allow the Ciabatta to cool in the pan for a few minutes before transferring it to a wire rack to cool completely. Slicing into the loaf too soon may result in a gummy texture, so exercise patience.
- Step 10: Experiment and Adjust: Baking Ciabatta in a loaf pan may require some experimentation. Adjust hydration levels, baking times, or try different ingredients to tailor the recipe to your preferences. Feel free to refine the process based on your unique experience.
Traditional Method vs. Loaf Pan Method
The debate about making Ciabatta – whether you go the old-school route or use a loaf pan – gets baking enthusiasts talking. Each way has its pros, and knowing the differences is crucial for picking what suits you best.
Traditional Method
Making Ciabatta the classic way involves shaping it freely and using a high-hydration dough. This gives it a rustic look and a unique, airy texture. The dough gets to spread out and rise naturally, creating those cool uneven air pockets.
When you bake it in a hot, steamy oven, you end up with a crunchy crust that adds to the overall taste and texture. While this method takes some skill and patience, the payoff is an authentic Ciabatta that’s a feast for the eyes and the taste buds.
Loaf Pan Method
On the flip side, baking Ciabatta in a loaf pan brings in some convenience. The structured pan keeps the dough in check, making the shaping process simpler and giving the bread a more even appearance.
This way suits those who want a quicker route to enjoying Ciabatta without sacrificing too much of its unique qualities. Sure, using a loaf pan might change how it looks and feels, but it’s a simpler way for people to dive into Ciabatta baking.
In the end, choosing between the classic method and the loaf pan method boils down to personal preference and finding the right balance between keeping it real and keeping it easy.
Common Mistakes to Avoid When Baking Ciabatta in a Loaf Pan
While baking Ciabatta in a loaf pan introduces a convenient twist to the traditional method, certain pitfalls can impact the outcome. Understanding and avoiding these common mistakes is crucial for achieving the desired results.
1. Insufficient Hydration
Mistake: Failing to maintain the high hydration level essential for Ciabatta can result in a dense and dry loaf.
Solution: Adjust the water-to-flour ratio, ensuring the dough remains sticky and slack. Aim for a consistency that allows the dough to spread and rise adequately within the confines of the loaf pan.
2. Over-proofing the Dough
Mistake: Allowing the dough to overproof can lead to a collapsed structure and compromise the desired airy texture.
Solution: Monitor the dough closely during both the first and second proofing stages. Be attentive to doubling in size rather than adhering strictly to time recommendations. Adjust proofing times based on room temperature and humidity.
3. Neglecting Steam for Crust Development
Mistake: Overlooking the importance of steam during baking can result in a lackluster crust, deviating from the crispy exterior characteristic of Ciabatta.
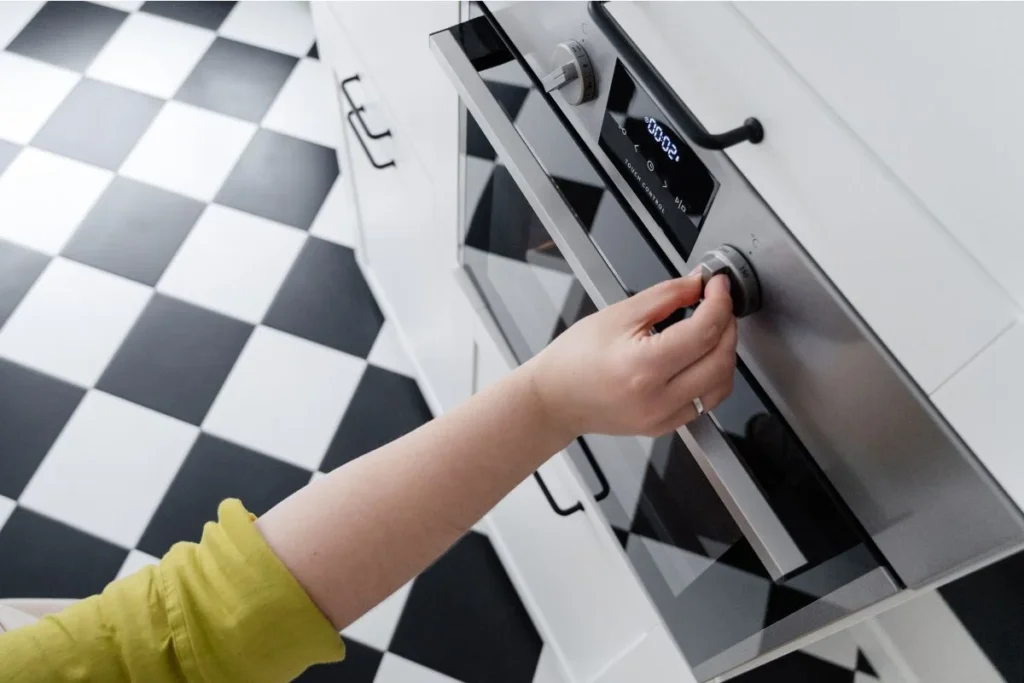
Solution: Create a steamy environment in the oven by placing a pan of hot water or using a spray bottle. This replicates the conditions necessary for a well-developed crust. Experiment with steam duration to find the optimal balance.
4. Inadequate Pan Preparation
Mistake: Insufficiently greasing or preparing the loaf pan can lead to the Ciabatta sticking and difficulties in removal.
Solution: Generously grease the loaf pan with oil or butter, ensuring all surfaces are coated. Alternatively, use parchment paper to line the pan, facilitating easy removal. Prioritize thorough pan preparation to maintain the non-stick properties.
My Experience with Baking Ciabatta in a Loaf Pan
So, I tried baking Ciabatta in a loaf pan, and I’ve picked up some tips that can make this unconventional method a real treat. Adapting a regular free-form bread to fit a loaf pan has its challenges, but with a few tweaks, it can turn out really satisfying and convenient.
First off, don’t shy away from the stickiness of Ciabatta dough. It’s known for being a bit sticky due to its high hydration, but instead of getting frustrated, just roll with it. Keep your hands well-floured when shaping it to stay in control without messing up the dough’s unique texture.
Consider using parchment paper to make getting the Ciabatta out of the pan easier. It not only prevents sticking but also helps keep the pan non-stick. It’s a small step that can make a big difference, especially with wet dough.
Be mindful of the second proofing – it’s crucial for achieving the desired lightness and volume in your Ciabatta. But be careful not to over-proof. You want to find that sweet spot, letting the dough rise enough without losing its structure.
Don’t think that using a loaf pan means you have to sacrifice flavor experimentation. Throw in some herbs, seeds, or a bit of olive oil to enhance the taste. Ciabatta is versatile, so get creative to elevate the final product.
When it comes to baking, make sure your oven is properly preheated and think about adding some steam during baking. This mimics the conditions of a traditional Ciabatta bake, giving you a well-developed crust. Keep a close eye on the bread as it bakes to get that perfect golden-brown color.
Have some patience when it’s time to cool your freshly baked Ciabatta. Resist the urge to slice into it right away. Let it cool in the pan for a few minutes and then transfer it to a wire rack. Slicing too soon might leave you with a gummy interior.
Final Thoughts
Exploring the fun of baking Ciabatta in a loaf pan brings up both good and tricky aspects of this unusual method. Using the loaf pan makes shaping easier and helps control the temperature, especially for new bakers. However, it struggles to keep Ciabatta’s usual texture and get that perfect crust.
Our step-by-step guide is like a map to success, focusing on ingredient ratios, proofing tricks, and the important role of steam in getting that crust just right. When we compare the traditional way with the loaf pan method, it sparks a tasty debate. It recognizes that the decision really comes down to personal taste.
By pointing out common mistakes and sharing personal tips, this blog is a go-to guide for anyone excited about trying the unique journey of baking Ciabatta in a loaf pan. Happy baking!
Lindsey Mackenzie
About me
Hi there! I’m Lindsey Mackenzie, the founder of Bake Smartly. Baking has been my passion since childhood, growing up in my father’s bakery. With Bake Smartly, I’m excited to share my love for all things sweet and savory. Join me on this delicious journey as we whip up scrumptious treats and sprinkle joy into every bite!

