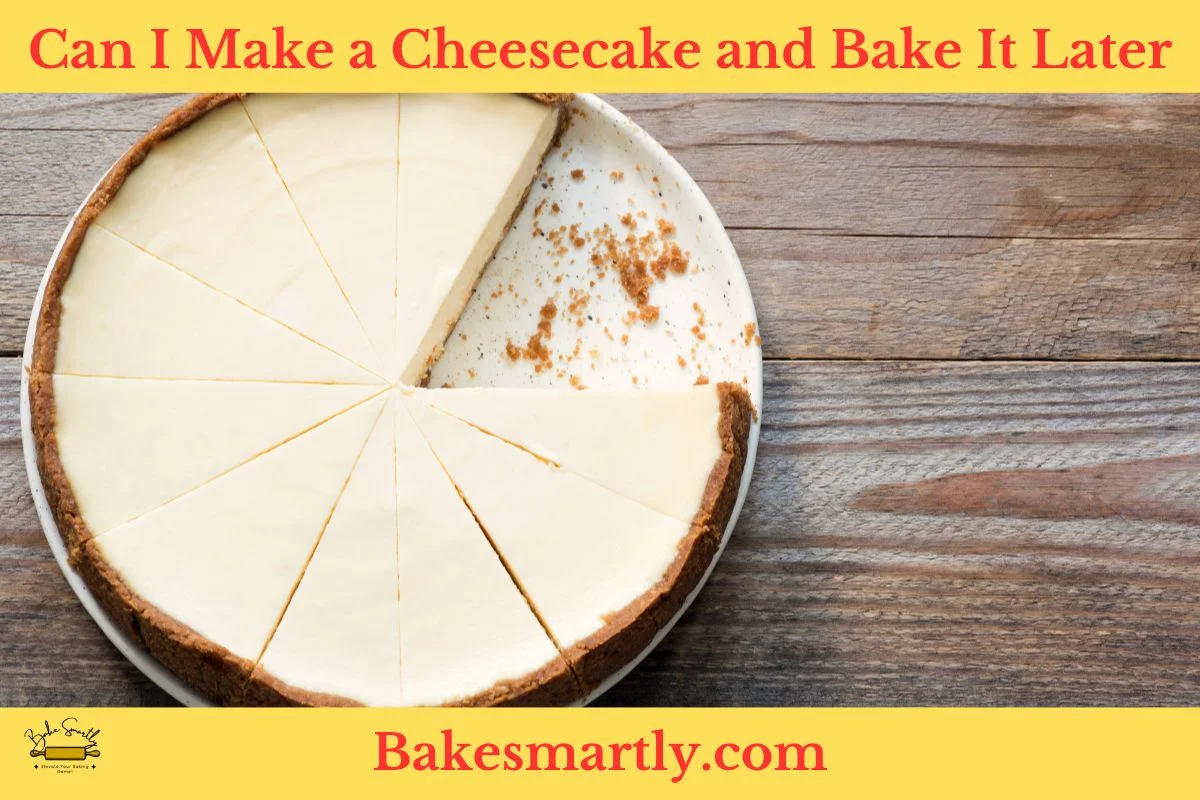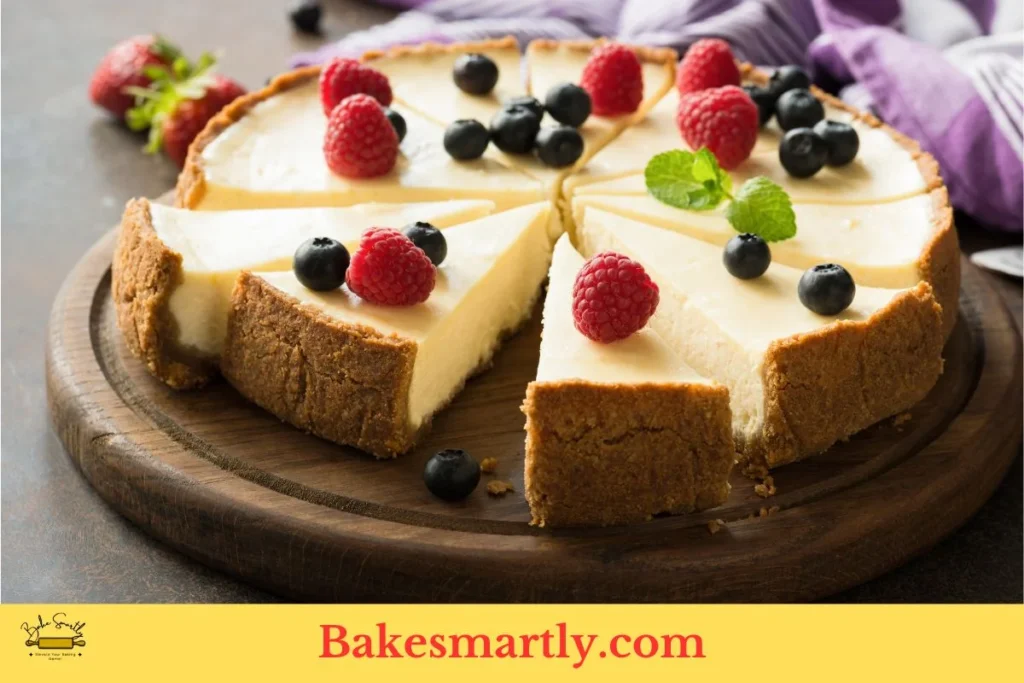
Making cheesecake is a real delight, but what if you’re short on time and can’t bake it immediately? Can you prepare a cheesecake and bake it later? In this article, we’ll dive into the details of preparing a cheesecake in advance, providing you with a convenient and hassle-free solution for satisfying your dessert cravings.
Table of Contents
ToggleBenefits of Preparing Cheesecake in Advance
Getting a cheesecake ready ahead of time has some great advantages that not only save you time but also make the whole dessert experience even better. Let’s discuss why it’s a smart approach.
- First and foremost, one of the main benefits of preparing cheesecake in advance is that it helps you manage your time effectively. Many of us have busy schedules, and when you’re planning a special meal, being able to get the cheesecake ready ahead of time is a game-changer. It takes away that last-minute rush and lets you focus on other aspects of meal preparation, so you can serve a delightful dessert without the stress of racing against the clock.
- Another important advantage is how it enhances the flavors. Cheesecakes are known for their creamy texture, but they often taste even better after chilling in the refrigerator for a while. This waiting time allows the different flavors to meld, resulting in a delicious and well-balanced final product. It’s a dessert that’s both indulgent and perfectly blended.
- Lastly, preparing cheesecake in advance reduces stress and gives you peace of mind. You can enjoy a homemade, restaurant-quality dessert without worrying about the hassles of last-minute baking. This added convenience elevates your dining experience, ensuring that you and your guests savor every last bite of that delicious cheesecake.
Five Tips for Making Cheesecake in Advance
Preparing cheesecake in advance can be a time-saving and convenient option for those who love this delightful dessert.
Here are five valuable tips to ensure your make-ahead cheesecake turns out perfectly:
- Recipe Selection: Start with a cheesecake recipe that’s well-suited for advanced preparation. Look for recipes that indicate you can make the filling in advance and specify the ideal storage time before baking.
- Fresh Ingredients: Ensure that you use fresh, high-quality ingredients, especially cream cheese and eggs. The better the ingredients, the better the cheesecake will taste.
- Crust Choices: If your recipe includes a crust, you can either prepare it in advance or add it later. If you opt for an advance crust, store it separately to maintain its texture.
- Airtight Storage: After preparing the cheesecake filling, store it in an airtight container or wrap it tightly with plastic wrap. This will help maintain the freshness and prevent the absorption of odors from the fridge.
- Timely Baking: While preparing in advance is convenient, it’s best to bake the cheesecake as soon as possible after assembling it. The longer it sits unbaked, the more likely it is to develop a slightly different texture.
These tips ensure that your make-ahead cheesecake retains its incredible flavor and texture, making it the perfect solution for busy schedules or special occasions.

Choosing The Right Cheesecake Recipe
When it comes to making a cheesecake that you can prepare ahead of time, the first step is selecting the right recipe. Your choice of recipe sets the stage for the entire cheesecake-making process.
Start by considering these factors:
- Your Tastes and Preferences: What you like is crucial when choosing a cheesecake recipe. Whether you love the classic New York cheesecake or more adventurous flavors like raspberry swirl or chocolate chip, you’ll find a recipe that suits your taste.
- Skill Level: Consider your baking skills. Some cheesecake recipes are quite simple, while others might require more advanced techniques. Choose a recipe that matches your skill level to get the best results.
- Ingredients: Check what you need for the recipe. Ensure you have easy access to all the ingredients required. Common ingredients in cheesecake recipes include fresh cream cheese, eggs, sugar, and any specific flavorings.
- Special Occasions: If you’re making the cheesecake for a special event, like a birthday or holiday, take that into account when selecting your recipe. Some recipes work better for certain events.
- Make-Ahead Option: Since you want a cheesecake you can prepare in advance, make sure the recipe mentions this. Not all cheesecake recipes are suitable for advance preparation.
Once you’ve considered these factors, you’ll be ready to choose the perfect cheesecake recipe that matches your preferences, skills, and the convenience of preparing it ahead of time.

Preparing the Cheesecake Batter
Once you’ve chosen the perfect cheesecake recipe for your ahead-of-time baking project, the next step is to whip up the cheesecake batter. This part is crucial because it forms the base for the dessert’s creamy and delicious texture.
Follow these steps to ensure your cheesecake batter is well-blended and free from lumps:
- Room Temperature Ingredients: Before you begin, it’s important to have your ingredients at room temperature. This includes the cream cheese, eggs, and any other dairy products. Ingredients at room temperature mix more easily, giving you a smooth batter.
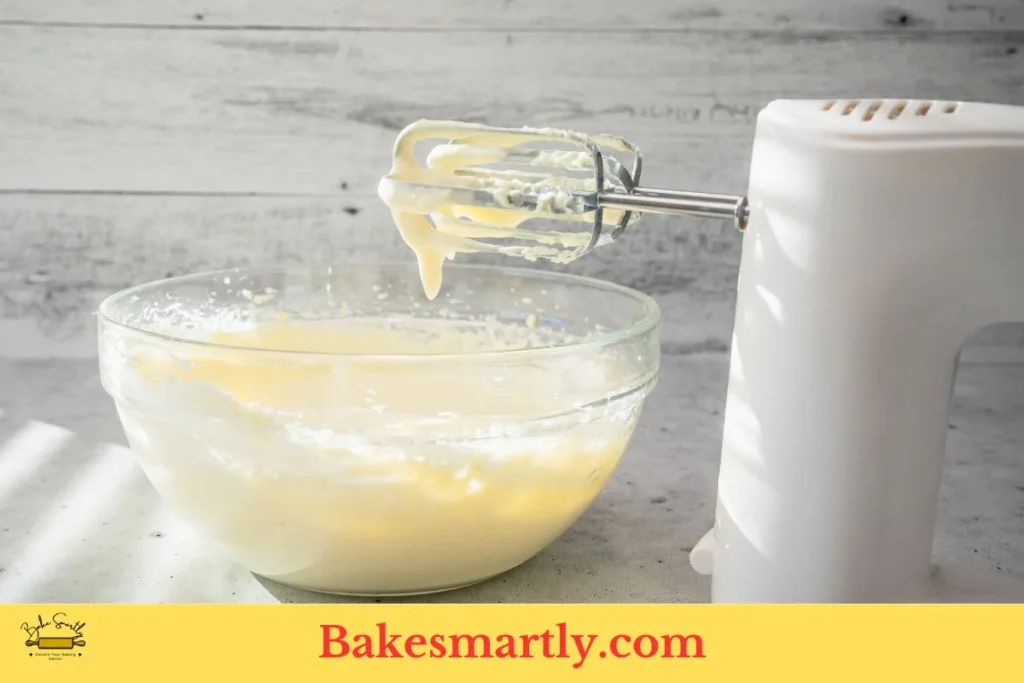
- Cream Cheese: Start by placing the room-temperature cream cheese in a mixing bowl. Use an electric mixer on low speed to beat the cream cheese until it’s smooth and free of any lumps. Gradually increase the speed to medium and continue mixing until it’s creamy and well-mixed.
- Adding Sugar and Flavorings: Once the cream cheese is perfectly whipped, slowly add the sugar as your recipe instructs. Mix it in until the sugar dissolves completely, and the mixture becomes light and fluffy. This is also the time to add any extra flavors, like vanilla extract or lemon zest, to give your cheesecake some extra deliciousness.
- Eggs: Add the eggs one by one. Put in one egg, mix until it’s just combined, and then add the next one. Be careful not to overmix, as that can make your cheesecake too heavy. The goal is to keep it smooth and airy.
- Scraping the Bowl: Every so often, stop the mixer to use a spatula and scrape down the sides of the bowl. This ensures that all the ingredients are mixed evenly, preventing any clumps from forming.
Freezing the Cheesecake
One of the most common questions when it comes to making a cheesecake in advance is whether you can freeze it. Freezing your cheesecake can be a convenient option, especially if you want to prepare well ahead of time.
However, there are some crucial steps to follow to ensure your cheesecake remains as delicious and creamy as when it was freshly baked.

- Cool It Down: Before you even think about freezing it, you’ve got to let that cheesecake cool all the way down. This can take a few hours at room temperature, followed by some more time in the fridge. Cooling it down properly prevents any weird condensation from messing up your cake and making the crust soggy.
- Wrap It Up Tight: Once your cheesecake is cool enough, wrap it up really well in several layers of plastic wrap. This keeps the cake sealed up and fresh, and it shields it from getting freezer burn.
- Airtight Container: After you’ve got it wrapped in plastic, put your cheesecake into an airtight container. This extra layer of protection makes sure your cheesecake doesn’t pick up any strange odors or get freezer burn.
- Label and Date: It’s a good idea to put a label with the date on the container so you know when you prepared it. Cheesecakes can hang out in the freezer for one to two months.
- Thawing Time: When you’re ready to enjoy your cheesecake, move it over to the fridge to thaw out. Be patient, though. It should take around 24 hours or more. Letting it thaw slowly helps it regain that creamy texture without affecting the taste.
Now, remember, freezing a cheesecake is an option, but the texture might not be exactly the same as when it was freshly baked. The filling could get a little softer, but the flavor stays on point. If you store it right and let it thaw properly, you’ll enjoy your homemade cheesecake just like it’s straight out of the oven. It’s the perfect solution when you need a delicious dessert in a hurry.
Thawing and Baking the Cheesecake
You’ve successfully prepared and frozen your cheesecake in advance, and now it’s time to bring it back to life for a delectable dessert. Thawing and baking the cheesecake is a crucial step in ensuring that it tastes as scrumptious as when it was first made.
- Plan Ahead: Thawing requires patience. To get the best results, transfer the frozen cheesecake from the freezer to the refrigerator well in advance. A full 24 hours is typically necessary for proper thawing. This slow process allows the cheesecake to regain its creamy texture without causing any structural issues.
- Avoid Room Temperature Thawing: Although it may be tempting to speed up the process by leaving the cheesecake at room temperature, this can lead to uneven thawing, which affects the texture. Stick to the refrigerator for a safe and gradual thaw.
- Preheat the Oven: Once your cheesecake is fully thawed, preheat your oven to the temperature specified in your recipe. Typically, this is around 325°F (163°C). The gradual warming of the oven helps prevent cracking.
- Baking Time: Place your thawed cheesecake in the preheated oven. Baking time can vary, but it’s usually around 30-40 minutes. Keep a close eye on it, and remember that the goal is not to cook it but to set the filling slightly.
- Cooling After Baking: After the brief baking period, remove the cheesecake from the oven and allow it to cool on the countertop. Once it reaches room temperature, place it in the refrigerator for several hours or overnight. This final cooling stage helps the flavors meld and the cheesecake to set properly.
Thawing and baking a make-ahead cheesecake requires a little planning and patience, but the end result is a dessert that’s just as delicious as if you had baked it fresh.
Alternative Methods for Making Cheesecake in Advance
While the process of freezing and then thawing your cheesecake is a popular method for making cheesecake in advance, there are a few alternative approaches you can explore if you’re looking for even more convenience and flexibility.

- Mini Cheesecakes: Consider making individual-sized mini cheesecakes. These smaller portions freeze and thaw more quickly than a full-sized cheesecake. Plus, they’re perfect for portion control and can be served directly from the freezer for a delightful, cool treat.
- No-Bake Cheesecakes: A no-bake cheesecake is another great option. These cheesecakes are prepared without eggs and don’t require baking. You can make the filling, chill it, and assemble it when you’re ready to serve. No-bake cheesecakes are particularly suitable for warm weather when you’re aiming for a refreshing dessert.
- Freezing the Batter: Instead of freezing a fully assembled cheesecake, you can prepare the batter in advance and freeze it in an airtight container. When you’re ready to bake, simply thaw the batter, pour it into your prepared crust, and bake as usual. This method offers the convenience of advanced preparation with the authenticity of a freshly baked cheesecake.
- Cheesecake Bars: Opt for cheesecake bars instead of a traditional round cake. These bars are easy to portion and can be frozen individually, making it simple to enjoy one slice at a time. They also thaw more quickly, making them a handy option for impromptu gatherings.
By considering these alternative methods, you can find the approach that best fits your preferences, time constraints, and desired serving size. Whether you choose to freeze a full cheesecake, go for mini versions, explore no-bake options, or freeze just the batter, the key is to plan ahead and give yourself the flexibility to enjoy this delectable dessert whenever you desire.
Frequently Asked Questions (FAQS)
How many days ahead can you bake a cheesecake?
How long does unbaked cheesecake last?
How long after baking do you put cheesecake in fridge?
Final Thoughts
In conclusion, preparing a cheesecake in advance is a smart and convenient approach that can save you time and enhance the overall dessert experience. It not only allows you to manage your time effectively but also improves the flavors as the cheesecake melds in the refrigerator. This method reduces stress and offers peace of mind, ensuring a delightful, homemade dessert without the last-minute baking rush.
To successfully make a cheesecake in advance, consider factors like recipe selection, ingredient quality, crust options, airtight storage, and timely baking. Freezing the cheesecake is an option, but proper wrapping and thawing are crucial for preserving its deliciousness. When you’re ready to serve, follow the recommended steps for thawing and baking to enjoy a scrumptious cheesecake just like it’s fresh out of the oven.
Lindsey Mackenzie
About me
Hi there! I’m Lindsey Mackenzie, the founder of Bake Smartly. Baking has been my passion since childhood, growing up in my father’s bakery. With Bake Smartly, I’m excited to share my love for all things sweet and savory. Join me on this delicious journey as we whip up scrumptious treats and sprinkle joy into every bite!


