Autolyse vs. Fermentolyse: What’s Best for Your Sourdough Bread?
Sourdough bread has become super popular lately, thanks to its unique tangy taste and chewy texture. Both professional bakers and home bakers are getting into the sourdough game, trying out different tricks to make the perfect loaf.
There are two really important steps in making sourdough bread: autolyse and fermentolyse. In this blog, we’ll break down the distinctions between these two methods and help you figure out which one could step up your sourdough baking.
Table of Contents
ToggleThe Importance of Autolyse and Fermentolyse in Sourdough Bread Baking
Making sourdough bread involves two key processes: autolyse and fermentolyse. These are crucial steps that greatly influence the texture, flavor, and overall quality of the final product. They’re like the behind-the-scenes magic that sets sourdough apart from other breads.
Autolyse, which comes from the Greek word meaning “self-digestion,” is when you let the dough chill after mixing flour and water. During this quiet time, natural enzymes in the flour start breaking down complex carbs into simpler sugars. This not only improves gluten development but also makes the dough more stretchy and manageable. The result? A bread with a fantastic texture and richer flavor.
Now, fermentolyse takes fermentation up a notch. It happens after the initial bulk fermentation, where the dough goes through more enzymatic action. Yeast and bacteria team up to break down sugars, creating carbon dioxide and organic acids. This lively fermentation not only gives sourdough its tangy taste but also adds to its unique texture and aroma.
Autolyse is key because it lays the groundwork for a well-structured dough. By letting the flour fully soak before intense kneading, bakers end up with a dough that’s more stretchy and absorbs water better. This sets the stage for a relaxed, easy-to-handle dough, resulting in a lighter and airier final product.
Meanwhile, fermentolyse adds depth and complexity to the flavor. The longer fermentation time leads to intricate tastes, and the gases released during this phase create the characteristic airy crumb of sourdough.
Benefits of Autolyse in Sourdough Bread Making
Autolyse, a simple yet powerful technique, can turn your sourdough bread from regular to amazing. In the world of bread making, this method brings a bunch of benefits that show up in the texture, flavor, and overall quality of your final loaf.
- Better Dough Moisture: Autolyse lets flour and water mix and soak up more efficiently, making the flour absorb water more effectively. This chill time at the start helps create a dough with just the right amount of moisture, resulting in a softer and more stretchy texture.
- Improved Gluten Development: During autolyse, the flour goes through some chemical changes, breaking down complex proteins into simpler ones. This helps with gluten development, giving the dough a better structure and elasticity. The outcome is bread with more volume and a satisfying chewiness.
- Less Kneading Time: Thanks to autolyse, the dough gets a head start on gluten formation without needing a lot of active kneading. This means less time and effort during the later stages of making bread. Bakers can enjoy a smoother process while still getting a strong gluten structure.
- Flavor Boost: The autolyse time brings out flavor compounds, making your sourdough taste even better. This break allows the flour to fully soak up water and encourages the development of complex flavors through fermentation.
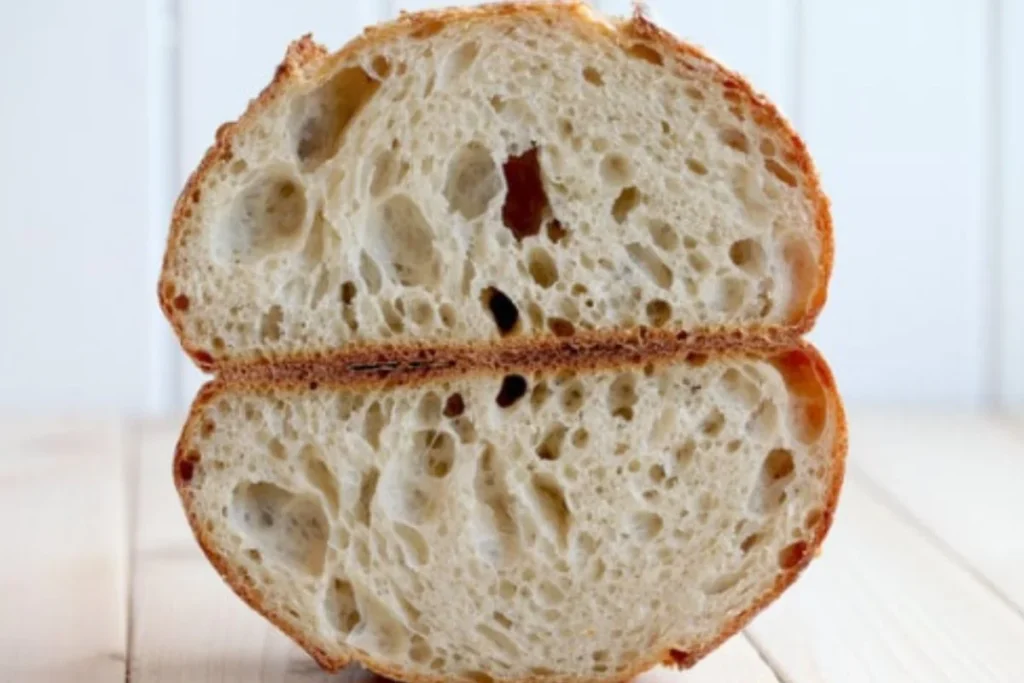
- Uniform Crumb Structure: Autolyse helps create an evenly textured final product. The improved gluten network and better moisture result in a bread with evenly spread air pockets, giving it a desirable texture and appearance.
- Easier Dough Handling: Dough that’s been through autolyse tends to be smoother and easier to work with. This makes shaping and folding steps simpler for bakers, leading to a more visually appealing result.
- More Enzyme Action: Autolyse gets the natural enzymes in the flour, like amylase and protease, working. This enzyme action adds to the dough’s stretchiness, improves fermentation, and gives you a well-developed final loaf.

Step-by-step Guide to Autolyse: How to Incorporate it into Your Sourdough Recipe
In this easy-to-follow guide, we’ll take you through the steps of adding autolyse to your sourdough recipe.
Step 1: Gather Your Ingredients
Begin by gathering the ingredients specified in your sourdough recipe, including flour, water, and sourdough starter. Ensure you have accurate measurements to maintain the desired hydration level in your dough.
Step 2: Combine Flour and Water
In a large mixing bowl, combine the specified amount of flour and water. Use a dough scraper or your hands to mix until no dry flour remains. This initial hydration kickstarts enzymatic activity and gluten formation.
Step 3: Rest the Dough
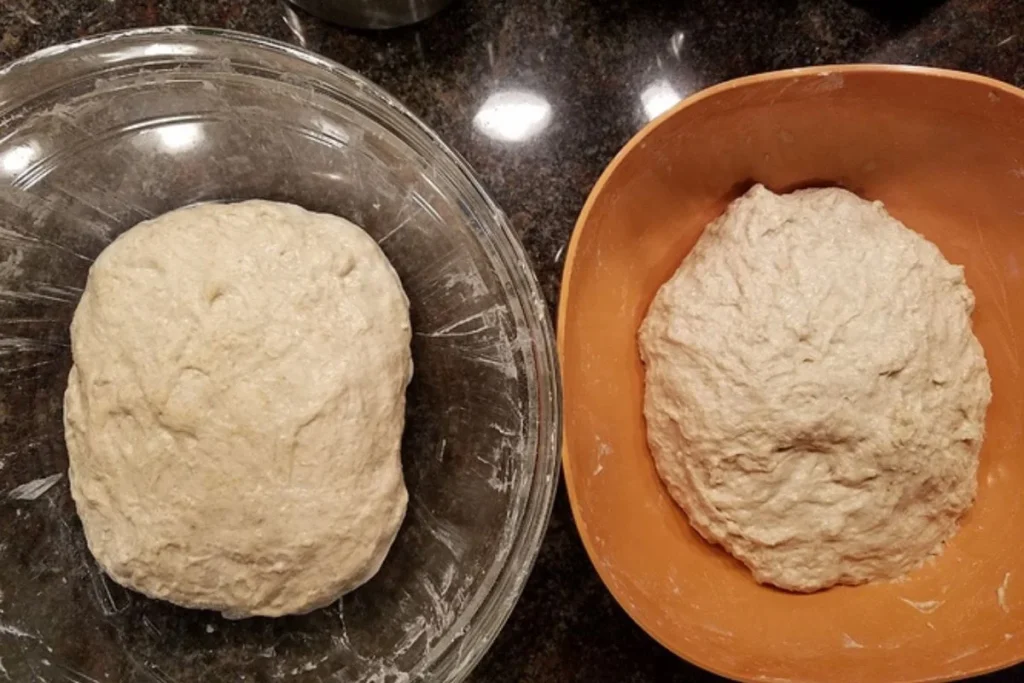
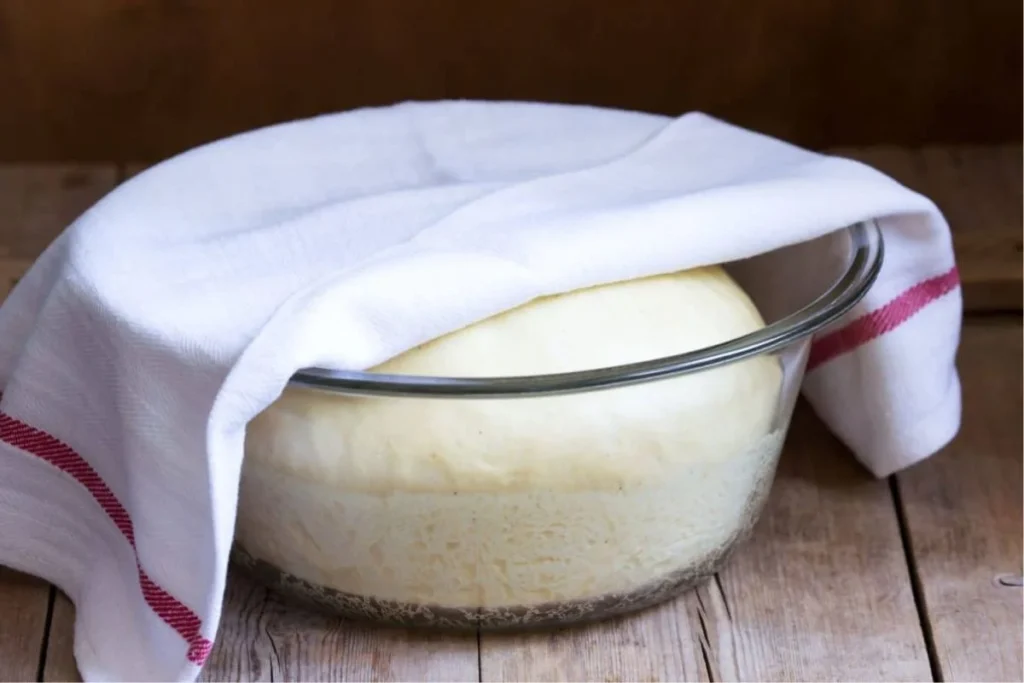
Cover the bowl with a damp cloth or plastic wrap and let the dough rest for a designated period, typically 30 minutes to 4 hours. During this time, enzymes in the flour begin breaking down complex molecules, while gluten develops, resulting in a more extensible and elastic dough.
Step 4: Add Starter and Salt
After the autolyse period, incorporate your sourdough starter and salt into the rested dough. Gently fold or knead the ingredients until well combined, promoting even distribution.
Step 5: Bulk Fermentation
Proceed with the bulk fermentation phase, allowing the dough to rise at room temperature. This extended resting period further develops flavor and structure, enhancing the characteristics of your sourdough.
Benefits of Fermentolyse in Sourdough Bread Making
The fermentation process contributes to the development of flavor, texture, and structure in the final bread product. Here are some benefits with the fermentation process in sourdough bread making:
- Easier to Digest: Fermentolyse, a crucial step in sourdough fermentation, helps break down complex carbohydrates, making the bread easier to digest. This is especially good for people with gluten sensitivities or digestive problems.
- Lasts Longer: The enzymes involved in fermentolyse work to keep sourdough bread fresh for a longer time. The extended shelf life is thanks to the natural preservation methods developed during fermentation.
- More Nutrients Available: Fermentolytic enzymes break down phytic acid and other anti-nutrients in grains, unlocking essential minerals and vitamins. This increased availability of nutrients improves the nutritional value of sourdough bread.
- Richer Flavor: Fermentolyse plays a key role in developing the distinctive tangy flavor of sourdough bread by breaking down complex compounds into simpler, more aromatic components.
- Better Texture: The enzymatic action in fermentolyse influences the gluten structure in the dough, contributing to the desirable chewy and airy texture of the final product.
- Natural Preservative: Fermentolytic enzymes produce organic acids, like lactic acid, acting as natural preservatives. This not only prolongs the shelf life but also prevents the growth of harmful microorganisms.
- Possible Gluten Reduction: Fermentolyse might help reduce gluten content in sourdough bread, making it an option for those with mild gluten sensitivities. However, it’s important to note that sourdough isn’t completely gluten-free.
- Diverse Microbes: The fermentolytic process encourages the growth of a variety of beneficial microbes, including lactic acid bacteria. This diversity adds to the overall health benefits of consuming sourdough products.

Step-by-step Guide to Fermentolyse: How to Incorporate it into Your Sourdough Recipe
In this detailed guide, we’ll walk you through the steps of fermenting your sourdough, sharing insights into the benefits and tips to easily add it to your recipe.
Step 1: Gather Your Ingredients
Start by getting all the stuff you need – flour, water, sourdough starter, and salt. Being precise with measurements is key to getting the texture and flavor you want.
Step 2: Pre-Fermenting
Mix the flour and water in your recipe, leaving out the starter and salt. Let this mixture sit for a while, anywhere from 4 to 24 hours, depending on your schedule. This longer pre-fermentation time helps create rich flavors and improves the overall structure of your dough.
Step 3: Add Starter and Salt
After the pre-fermentation time, add your sourdough starter and salt to the dough. Gently fold or knead them in, making sure everything mixes well while keeping the benefits of the pre-fermentation process.
Step 4: Give it Time to Ferment
Let the dough go through an extended fermentation phase, allowing it to rise at a controlled temperature. This not only refines the flavor but also makes the final product easier to digest and increases nutrient availability.
Step 5: Shape and Let it Rise
Shape your dough into the form you want and let it go through the final rising stage. The combination of pre-fermentation and extended fermentation sets the stage for a textured and flavorful sourdough.

Autolyse vs. Fermentolyse: Key Differences and When to Use Each Technique
In the world of making sourdough, it’s crucial to master different techniques to get that perfect loaf. Two popular methods that catch the attention of experienced bakers are Autolyse and Fermentolyse. Although both involve pre-fermentation processes, they have different approaches and outcomes.
In this section we explore the main differences between Autolyse and Fermentolyse, giving you insights into when to use each technique to elevate your sourdough creations.
Autolyse: Getting to Know Dough Maturation
Autolyse is a classic technique where you let the flour and water in your dough rest before adding other ingredients. This period, usually lasting from 30 minutes to several hours, helps develop gluten and enzymes.
Autolyse results in a more flexible and elastic dough, leading to improved texture and flavor. Bakers often turn to Autolyse when they want a simple way to enhance dough characteristics without a lengthy fermentation period.
Fermentolyse: Adding Complexity with Pre-fermentation
Fermentolyse takes the principles of Autolyse a step further by including an extended pre-fermentation phase before adding the sourdough starter and salt.
This extra step, lasting from 4 to 24 hours, brings out deeper flavors and strengthens the structure of the dough. Those who want a more intricate and nuanced taste in their sourdough, along with a unique texture, choose Fermentolyse.
Choosing the Right Technique:
Deciding between Autolyse and Fermentolyse depends on your baking goals, preferences, and the time you have. Autolyse is great for bakers looking for a quick improvement in dough quality, while Fermentolyse is the choice for those craving a more complex flavor profile and willing to invest extra time in the pre-fermentation process.
Trying out both techniques will let you customize your sourdough creations to match your unique taste preferences and baking style.

Tips for Achieving the Perfect Autolyse and Fermentolyse in Your Sourdough Bread
Achieving the perfect Autolyse and Fermentolyse in your sourdough bread involves mastering key techniques to enhance flavor, texture, and overall quality. Here are some tips to elevate your sourdough game:
Perfecting Autolyse:
- Choose High-Quality Ingredients: Start with the best flour and water. Opt for high-protein flour for robust gluten development, and use filtered or chlorine-free water to avoid unwanted chemicals that can impact fermentation.
- Time and Temperature: Allow your Autolyse period to work its magic. Typically lasting between 30 minutes to a few hours, this resting time encourages gluten formation and enzymatic activity. Experiment with different durations to find the sweet spot for your preferred texture and flavor.
- Gentle Mixing: When incorporating other ingredients after Autolyse, be gentle. Avoid overmixing, as this can break down the gluten structure you’ve worked hard to develop during the resting phase.
Mastering Fermentolyse:
- Extend Pre-fermentation: Embrace the patience required for Fermentolyse. Let your dough undergo an extended pre-fermentation phase, ranging from 4 to 24 hours. This extended time allows for a more profound development of flavors and a stronger dough structure.
- Temperature Control: Maintain a consistent temperature during the pre-fermentation phase. This ensures that the fermentation process occurs at a controlled pace, preventing undesirable outcomes like over-fermentation.
- Balanced Ingredients: When incorporating your sourdough starter and salt after the pre-fermentation, strike a balance. Ensure that the proportions are just right to maintain the integrity of the dough structure while infusing the desired flavors.

Common Mistakes to Avoid When Using Autolyse and Fermentolyse
Autolyse and fermentolyse are crucial stages in the bread-making process, However, even experienced bakers can make mistakes during these stages that may compromise the desired outcomes.
To ensure successful breadmaking, it’s essential to be aware of and avoid these common pitfalls.
1. Insufficient Autolyse Time
One common mistake is insufficient autolyse time. Autolyse involves allowing the flour and water to hydrate before adding yeast or sourdough starter.
This resting period allows the gluten to develop naturally, resulting in a more extensible and elastic dough. Rushing through this phase can lead to underdeveloped gluten, affecting the bread’s structure and crumb.
2. Over-Fermentation
Over-fermentation is another pitfall. While fermentolyse involves the fermentation of the dough after autolyse, letting it go too long can lead to over-fermented, sour-tasting bread.
It’s crucial to monitor the dough’s rise carefully and adjust fermentation times based on factors such as ambient temperature and dough consistency.
3. Inconsistent Hydration
Inconsistent hydration is a prevalent error. Accurate measurement of water content is vital for achieving the desired dough consistency. Too much or too little water can lead to overly sticky or dry dough, affecting the final product’s texture and flavor.
Bakers should carefully follow recipes and consider adjusting hydration based on factors like flour type and environmental conditions.
4. Neglecting Temperature Control
Neglecting proper temperature control during autolyse and fermentolyse is also a common oversight. Temperature profoundly influences fermentation rates.
Too high a temperature can accelerate the fermentation, leading to a less developed flavor, while a too low temperature can result in sluggish fermentation and under proofed dough.
Conclusion
Autolyse and fermentolyse are both useful techniques in sourdough baking, each with its benefits. The choice between them depends on what you like, your schedule, and the characteristics you want in your final bread.
Whether you go for the simplicity and time-saving of autolyse or the richer flavor and aroma of fermentolyse, the key to successful sourdough baking is understanding and mastering these basic techniques.
As you start your sourdough journey, feel free to experiment, adjust, and make these methods your own to create the perfect loaf that matches your taste. Happy baking!
Lindsey Mackenzie
About me
Hi there! I’m Lindsey Mackenzie, the founder of Bake Smartly. Baking has been my passion since childhood, growing up in my father’s bakery. With Bake Smartly, I’m excited to share my love for all things sweet and savory. Join me on this delicious journey as we whip up scrumptious treats and sprinkle joy into every bite!


