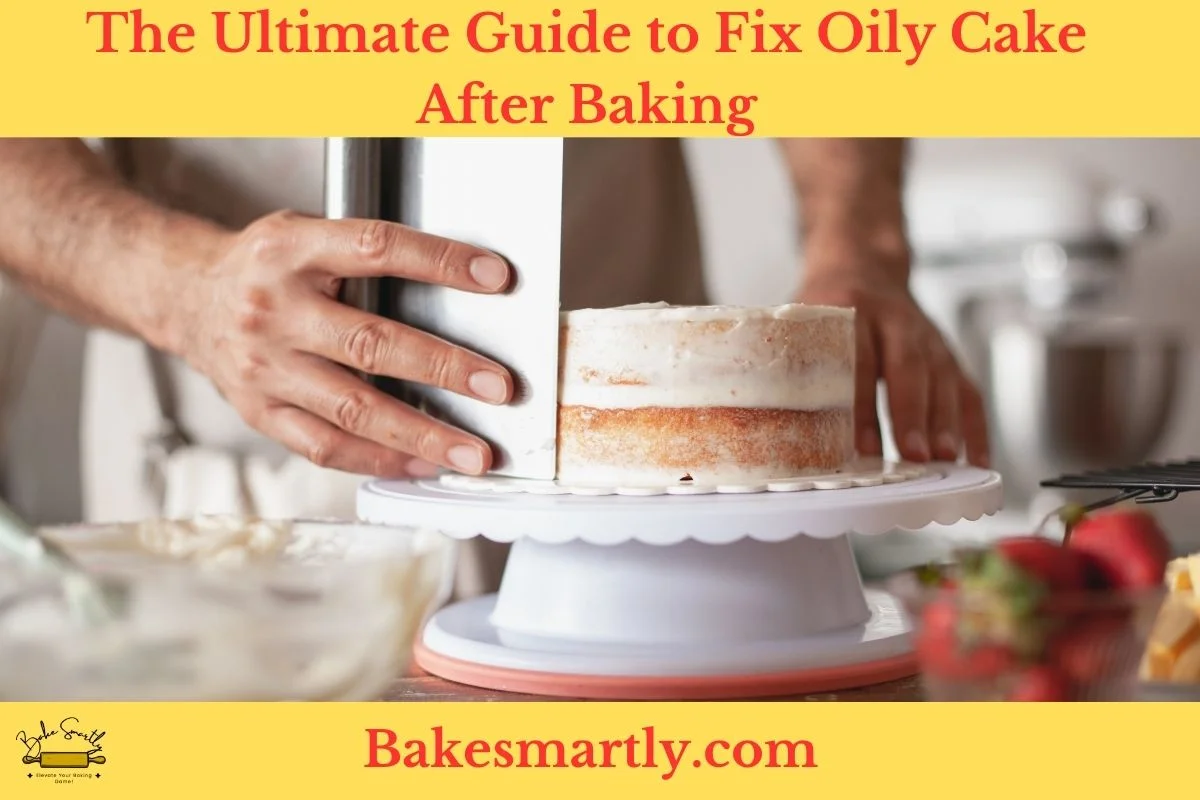
The Ultimate Guide to Fix Oily Cake After Baking
Baking a cake is so much fun and can make any celebration extra special. However, sometimes, despite following a recipe meticulously, you may find yourself facing the unfortunate situation of a cake turning out oily.
This can be disappointing but fear not – in this ultimate guide, we will explore the reasons behind oily cakes and provide you with five effective solutions to save your baking masterpiece.
Table of Contents
ToggleWhy is My Cake Oily After Baking? | 4 Common Causes
Before we delve into the solutions, it’s essential to understand why your cake might turn out oily. Let’s explore four common reasons why your cake might turn out oily after baking.
Ingredient Selection
The ingredients you pick play a big role in how your cake turns out. Some ingredients, like high-fat dairy products such as butter and certain oils, can make your cake overly oily. While these ingredients add richness and flavor, using too much of them can result in an undesirable greasiness.
To fix this, pay attention to the types and amounts of fats you use in your recipe. Go for high-quality ingredients, and if possible, try alternatives with lower fat content without sacrificing taste.
Overmixing the Batter
Mixing your batter too much might seem harmless, but it can seriously affect your cake’s texture. Overmixing can lead to too much gluten development, resulting in a dense and oily finished product.
To avoid this, mix your batter just until everything is combined. Gently incorporate dry and wet ingredients, aiming for a smooth consistency without overworking the mixture.
Baking Temperature Issues
Incorrect baking temperatures can also make your cake oily. Baking is a delicate science, and variations in oven temperatures can mess up the whole process. If your oven is too hot, the fats in the batter may melt too quickly, causing an oily texture. On the flip side, if the temperature is too low, the fats can solidify unevenly, creating a similar problem.
Invest in an oven thermometer to make sure your oven is calibrated correctly. Follow the recommended temperature settings in your recipes carefully to get the result you want.
Improper Greasing
Properly preparing your baking pans is crucial to prevent sticking, but using the wrong greasing techniques can contribute to an oily residue. If you use too much grease or the wrong type, it can create an excess of fats on the surface of your cake.
Consider using parchment paper or non-stick pans to reduce the need for excessive greasing.
Now that we’ve identified the potential culprits let’s move on to the solutions.
How to Fix Oily Cake After Baking in 5 Easy Methods
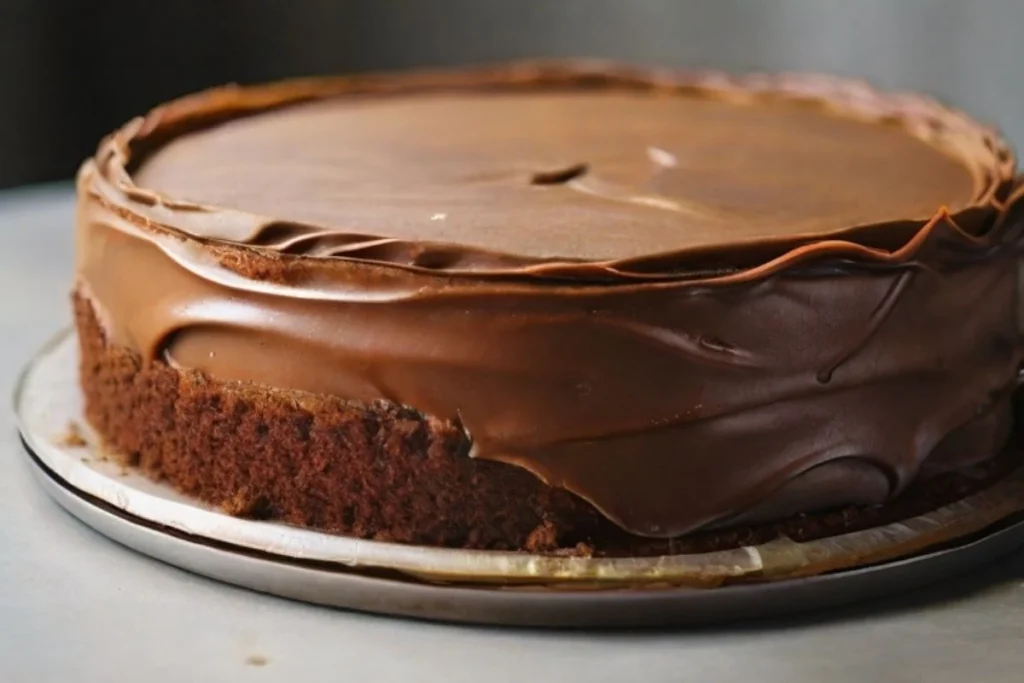
So, you’ve eagerly pulled your cake out of the oven, only to find it disappointingly oily. Don’t despair! In this section, we’ll explore five easy and effective methods to save your cake and turn it into a delectable treat.
1. Blotting with Paper Towels
To quickly tackle excess oil on your cake, grab some paper towels. Once your cake is out of the oven and has cooled a bit, gently press a clean, absorbent paper towel onto the surface. The paper towel will soak up the extra oil, leaving you with a less greasy and tastier cake.
Just be careful not to press too hard, so you don’t remove the top layer of your cake along with the oil. This method works well for cakes with a slightly greasy sheen.
2. Dusting with Cocoa or Powdered Sugar
Another clever trick to fix a greasy cake is to use cocoa or powdered sugar. These powders not only add sweetness but also absorb excess oil. After your cake has cooled, lightly dust the greasy areas with cocoa or powdered sugar.
This not only improves the cake’s appearance but also adds a delightful flavor. Choose cocoa for chocolate cakes and powdered sugar for a neutral or vanilla-flavored cake. The powders create a visually appealing finish while addressing the greasiness.
3. Refrigeration for Oil Solidification
If your cake is too greasy, try putting it in the fridge for a bit. Cooling the cake in the refrigerator helps the oils solidify, making it easier to remove any excess. Once the cake is at room temperature, transfer it to the refrigerator for about 30 minutes.
After the oils have solidified, use a gentle hand to scrape off any extra oil. This method is especially useful for cakes with a higher fat content, like those with added nuts or oils.
4. Cornstarch Rescue
Cornstarch, a kitchen staple, can help with greasy cakes. Make a simple cornstarch paste by mixing a small amount of cornstarch with water. Apply the paste to the greasy areas, spreading it evenly.
Let the cornstarch paste sit on the cake for about 10-15 minutes. The cornstarch will absorb the extra oil, and you can then gently brush or wipe it away. This method effectively addresses greasiness without compromising the cake’s taste.
5. Baking Parchment Absorption
Using baking parchment is not just a preventive measure; it’s also a solution for fixing a greasy cake. If you notice excessive greasiness after baking, place a clean piece of baking parchment on top of the cake and gently press down. The parchment will absorb some of the oils without affecting the cake’s structure.
This works best when the cake is still warm but not hot. Be cautious not to press too hard to avoid altering the cake’s texture.
How to Store and Preserve Cakes to Prevent Oiliness
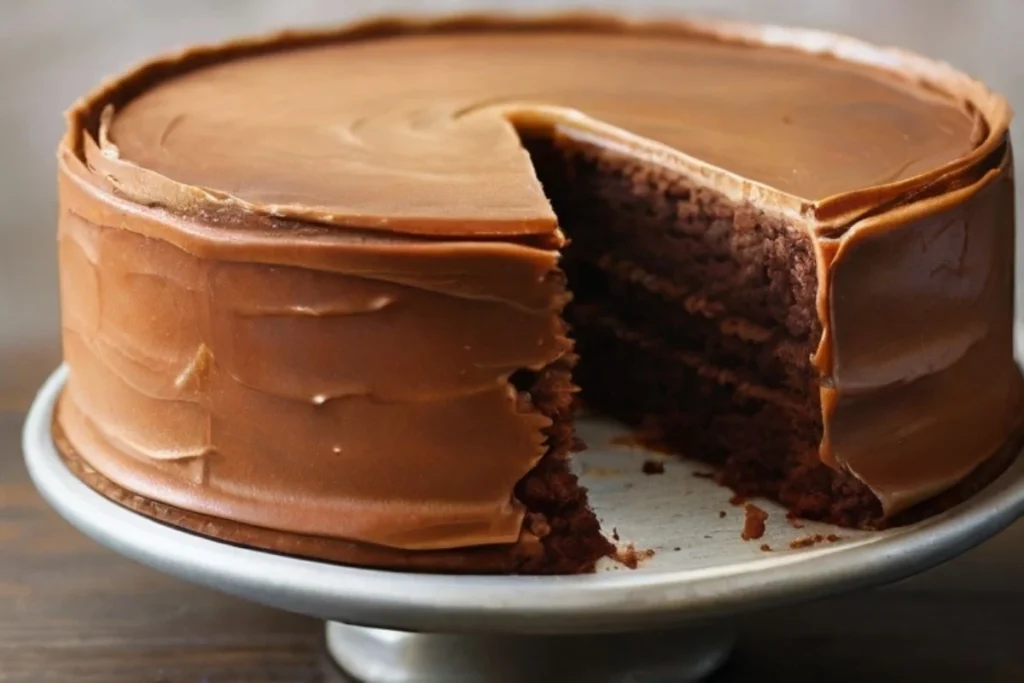
Keeping your cakes tasting great is super important, and one common issue people face is cakes getting oily when stored. To avoid this, you need to store them right.
First things first, let your cake cool completely before trying to store it. Storing a warm cake can make condensation happen, and that leads to too much moisture, making the cake turn oily.
Once your cake has cooled down, pick a good container for storage. Go for something airtight, like sealed plastic wrap or containers, so air can’t get in. This not only stops oiliness but also keeps the cake moist.
If your cake has ingredients that can spoil, like cream or custard fillings, think about putting it in the fridge. But be careful because the fridge can cause condensation too. So cover the cake well before putting it in, and let it come back to room temperature before serving to keep its original texture and flavor.
For long-term storage, freezing works well. Wrap the cake up tight in plastic or aluminum foil, then put it in an airtight container before freezing. This can make your cake last longer, but make sure to thaw it right by moving it to the fridge a day before serving.
Don’t store cakes where it’s too sunny or close to heat, as warmth can make the oils in the cake separate. Lastly, if you’ve frosted your cake, be extra careful with the frosting during storage by adding more layers of plastic wrap or parchment paper.
Alternative Ingredients for Oil-Free Cakes
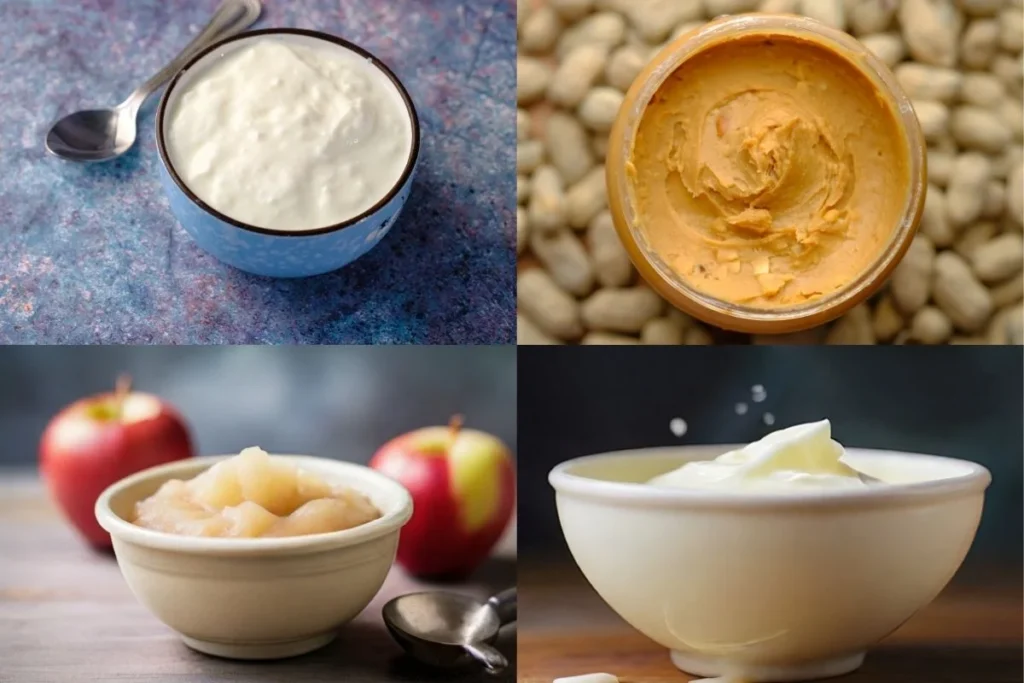
Making oil-free cakes doesn’t mean sacrificing flavor or moisture. There are plenty of alternative ingredients you can use to create delicious and healthier desserts. By choosing these substitutes, you not only cut down on the overall fat content but also bring unique flavors and textures to your cakes.
Unsweetened Applesauce
A popular alternative to oil is unsweetened applesauce. This versatile ingredient adds natural sweetness and moisture to the cake, keeping it tender.
Replace the oil with an equal amount of applesauce in your recipe to enjoy a fruity undertone in your baked goods. Also, mashed bananas or pureed prunes can work well as replacements, giving your cakes a rich, natural sweetness.
Greek yogurt
Greek yogurt is another excellent substitute. Its thick consistency and tangy flavor contribute to a moist and tender crumb in cakes.
Swap out the oil with an equal amount of Greek yogurt to improve the overall texture and add a subtle tanginess to the final product. This substitution not only reduces the fat content but also boosts the protein content of your cakes.
Nut Butter
For a nutty flavor, you can use nut butter like almond or peanut butter. These spreads bring a unique taste to your cakes while providing healthy fats. Be mindful of the quantity, as nut butter can be dense – replace only a portion of the oil in your recipe with the desired nut butter to find the right balance.
Buttermilk or Coconut milk
Including liquid ingredients such as buttermilk or coconut milk can also work wonders in oil-free baking. These liquids add moisture and a distinct taste to your cakes. Experiment with different non-dairy milks to accommodate various dietary preferences.
Prevention Tips for Oily Cakes
When it comes to baking, getting the perfect cake texture can be tricky, especially with oily batters. Oily cakes happen for different reasons, like the ingredients you choose and how you bake.
But with some simple steps, you can make sure your cakes come out moist and tasty without being too greasy. Here are some helpful tips to prevent oily cakes.
- Choose Your Ingredients Wisely: Start by picking the right ingredients. Use good-quality fats like unsalted butter or vegetable oil in the right amounts. Using too much fat can make your cake too oily, so measure your ingredients carefully to keep the balance.
- Get the Right Flour: The type of flour you use can affect how your cake turns out. Stick to all-purpose flour as the recipe says, and don’t overmix the batter. Overmixing can create too much gluten, making your cake dense and oily.
- Control Your Eggs: Eggs are essential for structure and moisture in cakes. Use the number of eggs the recipe calls for and make sure they’re at room temperature. Add them gradually, beating well after each one to mix the batter well and avoid an oily result.
- Moderate Your Sugar: While sugar adds sweetness and moisture, too much can make your cake too oily. Follow the recommended amount in your recipe and resist adding extra, as it can throw off the balance.
- Watch Your Leavening Agents: Pay attention to things like baking powder and baking soda. Using the right amounts is crucial for the right rise and texture. Too much can make your cake overly porous and, you guessed it, oily.
- Bake at the Right Temperature and Time: Make sure your oven is preheated correctly and bake your cake for the specified time. Baking at too low a temperature can make the fats in the batter separate, leading to an oily surface.
Conclusion
Though a greasy cake might bum you out, it’s not the end of your baking journey. With the know-how on what might be causing it and some practical fixes, you can save your cake and avoid this issue in the future.
Just keep in mind that baking is both a science and an art, and a bit of trial and error along with paying attention to the details can turn things around for a flawless, non-greasy cake. So, don’t worry, get back in the kitchen, and let the baking fun roll on!
Lindsey Mackenzie
About me
Hi there! I’m Lindsey Mackenzie, the founder of Bake Smartly. Baking has been my passion since childhood, growing up in my father’s bakery. With Bake Smartly, I’m excited to share my love for all things sweet and savory. Join me on this delicious journey as we whip up scrumptious treats and sprinkle joy into every bite!


