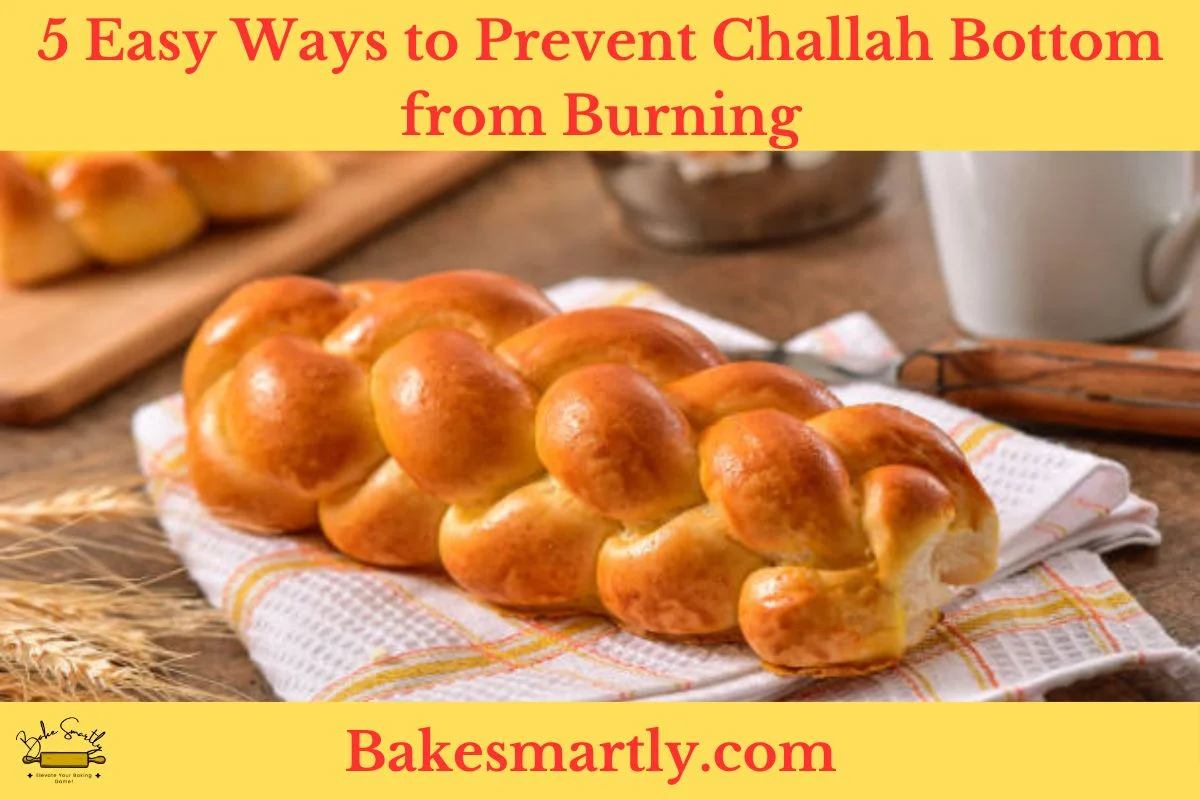
5 Easy Ways to Prevent Challah Bottom from Burning
Baking the perfect challah can be a rewarding experience, but there’s nothing more disheartening than pulling a beautiful loaf out of the oven only to discover a burnt bottom. Getting that perfect golden-brown crust without compromising the inside texture is an art. The good news is there are straightforward steps you can follow to avoid burning the bottom of your challah.
In this blog post, we’ll explore five simple methods to prevent the bottom of your challah from burning. Additionally, we’ll share some handy tips for fixing burnt bottoms and solutions to common challah-baking issues.
Table of Contents
Toggle5 Main Reasons Why My Challah Burned on the Bottom
If you’ve ever taken your gorgeous challah out of the oven only to find a dark, not-so-great crust on the bottom, you’re not alone.
There are a few reasons why this might happen, and understanding these factors can help you troubleshoot and get that perfect golden-brown finish.
Uneven Oven Temperature
A major reason for a burnt challah bottom is uneven oven temperature. Ovens can have hot spots, causing some areas to cook faster than others.
To deal with this, get an oven thermometer to make sure your oven is set to the right temperature. Also, halfway through baking, rotate your challah to spread the heat more evenly and prevent the bottom from getting overdone.
Incorrect Rack Placement
Where you put your challah in the oven is crucial for successful baking. If the dough is too close to the bottom heating element, it can get too much heat and end up burnt.
Aim for the center of the oven, making sure there’s enough space from both the top and bottom heating elements. This ensures even baking and prevents the bottom from getting too much direct heat.
Insufficient Proofing Time
Properly letting your challah dough rise is essential for a light and airy texture. If the dough doesn’t have enough time to rise, the bottom may cook faster than the rest of the loaf.
Be patient during proofing, allowing the dough to double in size. This not only helps the texture but also prevents the bottom from burning as the entire loaf bakes more evenly.
Dark Baking Pans
The type of baking pan you use can significantly affect how your challah bakes. Dark pans absorb and hold more heat than lighter ones, leading to faster and more intense bottom cooking.
Choose light-colored or reflective pans to reduce the risk of burning. If you only have dark pans, consider lowering the oven temperature a bit or placing parchment paper under the challah to create a barrier between the dough and the pan.
Too Much Sugar in the Recipe
While sweetness is a hallmark of challah, too much sugar in the dough can result in a burnt bottom. Sugar causes caramelization, and an excess of it can make the bottom crust overly brown.
Follow the recipe’s sugar measurements accurately. If you prefer a sweeter challah, try spreading honey or syrup on top instead of increasing the sugar in the dough. This way, you get a sweet flavor without compromising the bottom crust’s texture.
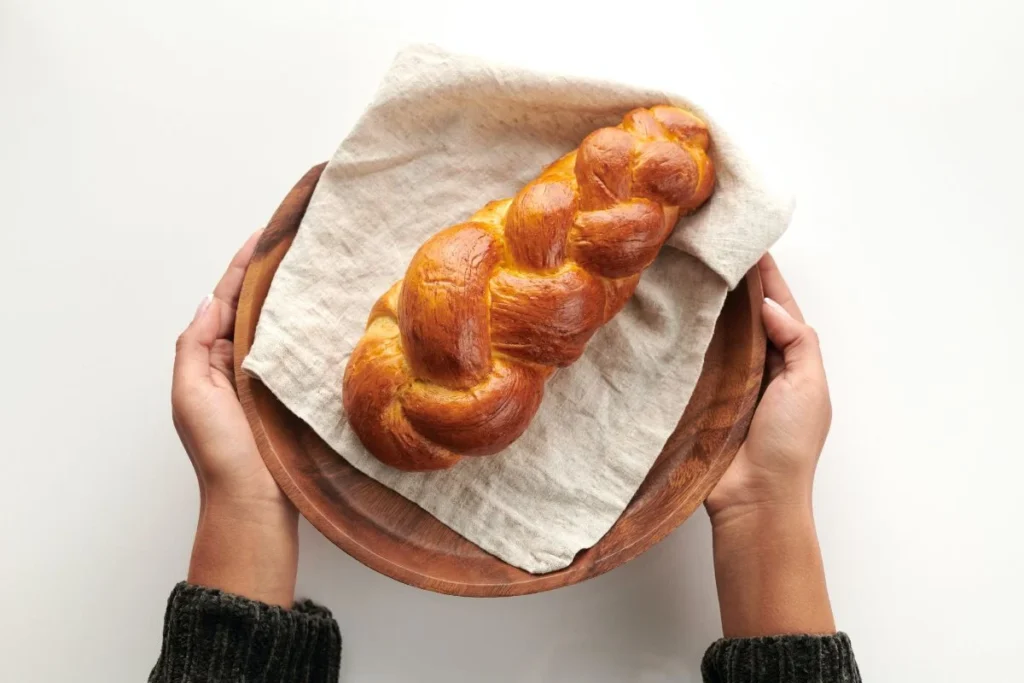
How to Prevent Challah Bottom from Burning in 5 Easy Methods
Now that you know why your challah bottom burns, here are five easy methods to prevent your challah bottom from burning:
1. Adjusting Oven Temperature and Placement
One common reason for burnt Challah bottoms is an uneven oven temperature or improper placement. First, preheat your oven to the temperature mentioned in your Challah recipe and put the rack in the center for even heat.
However, ovens can vary, so having an oven thermometer helps you keep an eye on the temperature. Lowering it by 25 degrees Fahrenheit can make a big difference, preventing the Challah bottom from getting too dark before the rest of it bakes.
Also, placing a baking stone or a thick baking sheet on the bottom rack acts as a buffer, stopping direct heat that could burn the Challah. This simple change can help you get a perfectly baked loaf.
2. Using Parchment Paper or Silicone Baking Mats
Putting parchment paper or a silicone baking mat on your baking sheet is a foolproof way to stop the Challah bottom from burning. These non-stick options create a barrier between the dough and the hot surface, ensuring even heat and preventing excessive browning.
Cut a piece of parchment paper to fit your baking vessel and put the shaped Challah on top. Silicone baking mats are reusable and easy to clean, saving you time in the kitchen while protecting the Challah from burning.
3. Adjusting Baking Time and Rotation
Sometimes, the trick to avoiding burnt Challah bottoms is adjusting the baking time and rotating it. Keep a close eye on your Challah in the last few minutes of baking. If you see the bottom browning too quickly, reduce the overall baking time. Rotate the Challah halfway through baking to ensure even exposure to heat.
This is especially useful if your oven has uneven temperature distribution. Use oven mitts to turn the baking sheet or pan for uniform heating. These small changes can give you a consistent golden color without compromising the inside.
4. Elevating the Challah
Raising the Challah slightly above the baking surface can make a big difference in preventing burnt bottoms. You can do this by putting a wire rack or an inverted baking sheet on the lower oven rack and placing the Challah on the rack above.
Elevating the Challah lets air circulate it, avoiding direct contact with the hot surface and reducing the risk of burning. Choose a sturdy rack that can support the rising dough. This not only helps with even baking but also makes your Challah look better.
5. Applying an Egg Wash
An egg wash not only gives your Challah a nice shine but also protects it from excessive browning. To make an egg wash, beat an egg and brush it gently over the shaped Challah just before putting it in the oven.
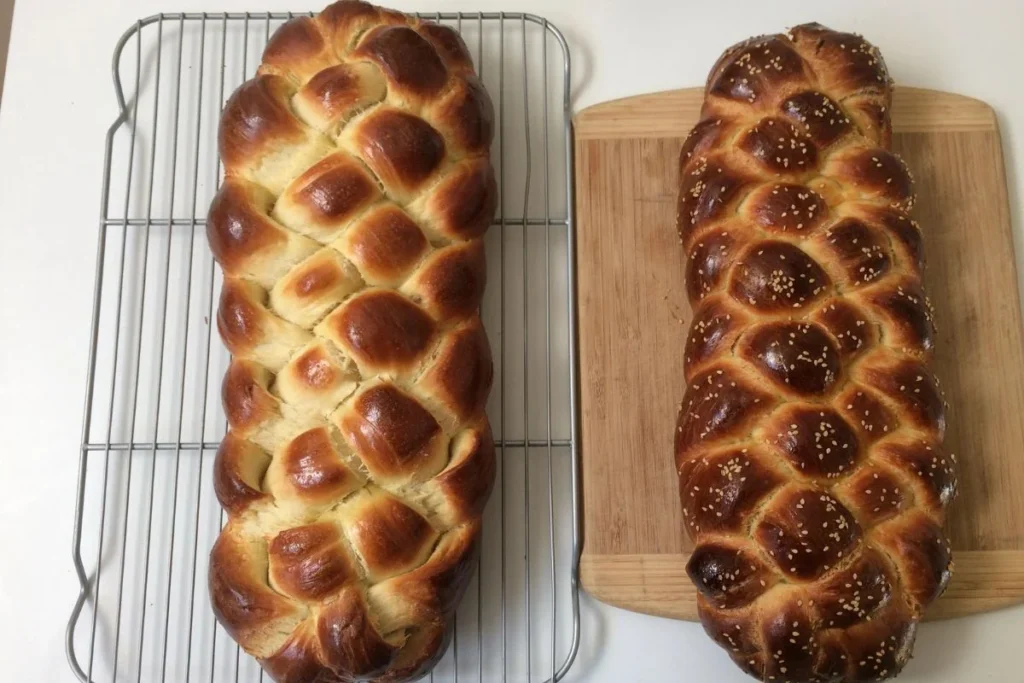
The proteins in the egg create a layer that helps control browning for an appealing finish. For extra flavor and texture, sprinkle sesame seeds, poppy seeds, or a mix of both over the egg-washed Challah. This not only enhances the taste but also adds a delightful crunch to the crust.
Tips for Fixing Burnt Challah Bottoms
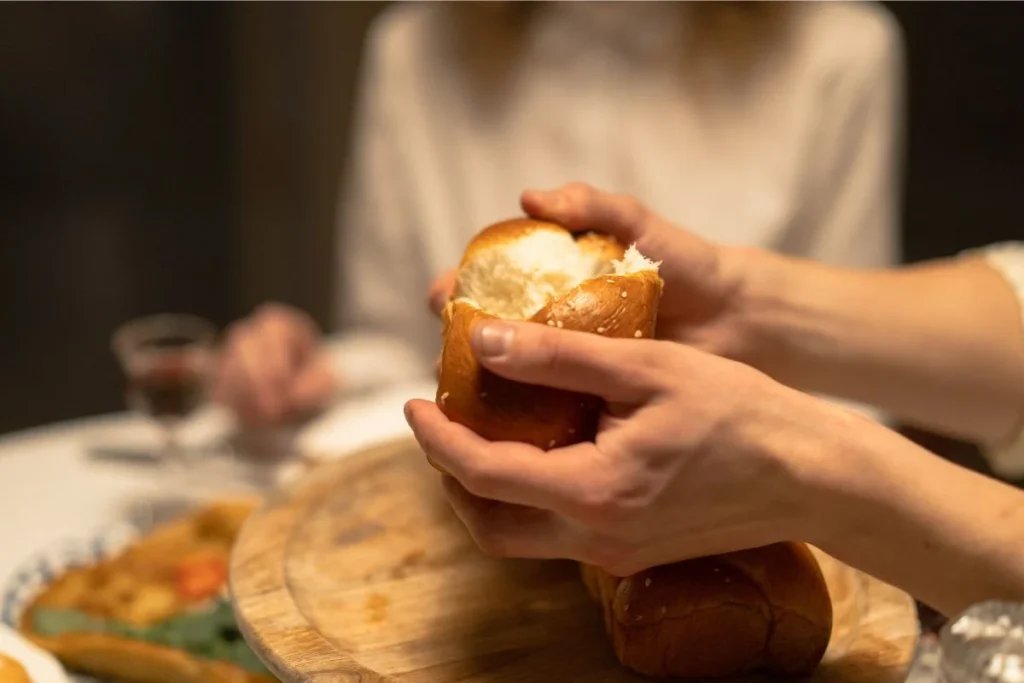
If the bottom of your challah is burnt, here are some practical tips for fixing burnt challah bottoms and saving your baking masterpiece
- Trimming the Burnt Parts: If you see a burnt bottom, stay calm. Let the Challah cool a bit, then carefully cut off the burnt parts with a sharp knife. This simple step can instantly make your bread look and taste better.
- Sweetening with Simple Syrup: To quickly fix a slightly burnt Challah, brush the affected area with simple syrup. Mix equal parts sugar and water, heat until the sugar dissolves, and let it cool. Gently brush the syrup onto the burnt parts, adding a touch of sweetness and moisture to balance the burnt flavor.
- Adding a Sweet Glaze: Another way to cover up the burnt taste is by applying a sweet glaze. Mix powdered sugar, a splash of vanilla extract, and a bit of milk to create a delightful glaze. Drizzle it over the Challah, focusing on the burnt areas, to add sweetness and distract from the burnt flavor.
- Pairing with Tasty Dips: If trimming and glazing aren’t enough, serve the Challah with flavorful dips. Hummus, tzatziki, or olive oil with herbs can complement the bread and overshadow any lingering burnt taste.
- Turning it into Bread Pudding: For a creative fix, turn your burnt Challah into a delicious bread pudding. Cut the bread into cubes, mix with a custard base, and bake. The custard’s moisture can cover up the burnt flavor, transforming your mishap into a delightful dessert.
- Experimenting with Flavored Butter: Make a flavored butter to mask the burnt taste. Mix softened butter with herbs, garlic, or honey, and spread it generously over the Challah. The rich butter flavors can help disguise any undesirable burnt notes.
Troubleshooting Common Challah Baking Issues
Even experienced bakers run into challenges in the kitchen, and Challah baking is no different. Knowing common issues and how to fix them is crucial for mastering the art of making the perfect loaf.
In this section, we’ll go over some common challah-baking problems and offer practical solutions to make your bread-making journey as smooth as possible.
Challah is Too Dense
Issue: Your Challah is too dense, lacking the light and fluffy texture you expect.
Solution: Too much kneading can make Challah dense. Just knead enough to develop gluten without making it tough. Also, give the dough enough time to rise properly. Rushing it might not let the yeast do its job, resulting in a denser loaf.
Not Rising Enough
Issue: Your Challah doesn’t rise as much as it should, leading to a flat or compact final product.
Solution: Check the freshness of your yeast; expired or inactive yeast can hinder proper rising. Place your dough in a warm environment for optimal rising conditions. Avoid drafts, as they can slow down the rising process. Be patient and let the dough rise until it doubles in size.
Uneven Rising
Issue: Parts of your Challah rise more than others, creating an uneven final texture.
Solution: Uneven rising often happens due to uneven distribution of yeast or inconsistent kneading. Ensure even distribution of yeast during mixing and pay attention to uniform kneading to avoid pockets of uneven rising.
Overly Browned Crust
Issue: On the other hand, your Challah crust might end up too brown, bordering on burnt.
Solution: Lower the oven temperature slightly and monitor the baking time closely. Shield the top with aluminum foil if needed to prevent excessive browning. Consider using a different rack position to manage heat distribution more effectively.
Cracking Top
Issue: Your Challah develops cracks on the top during baking.
Solution: Cracking can happen when the dough’s surface dries out too quickly. To prevent this, cover the dough with a cloth or plastic wrap during rising. Adjust the proofing time to ensure the dough rises consistently without forming a tough crust.
Dough Sticking to the Pan
Issue: After all the hard work, your Challah sticks to the baking pan, making it challenging to remove cleanly.
Solution: Properly grease or line your baking pan to prevent sticking. Consider using parchment paper or a silicone baking mat for easy removal. Also, allow the Challah to cool slightly before attempting to take it out of the pan.
Conclusion
In conclusion, preventing Challah bottom burning is a combination of understanding the dough, mastering oven temperatures, and implementing simple yet effective techniques. By following these five easy ways, you’ll consistently achieve beautifully baked Challah with a golden bottom.
Lindsey Mackenzie
About me
Hi there! I’m Lindsey Mackenzie, the founder of Bake Smartly. Baking has been my passion since childhood, growing up in my father’s bakery. With Bake Smartly, I’m excited to share my love for all things sweet and savory. Join me on this delicious journey as we whip up scrumptious treats and sprinkle joy into every bite!
