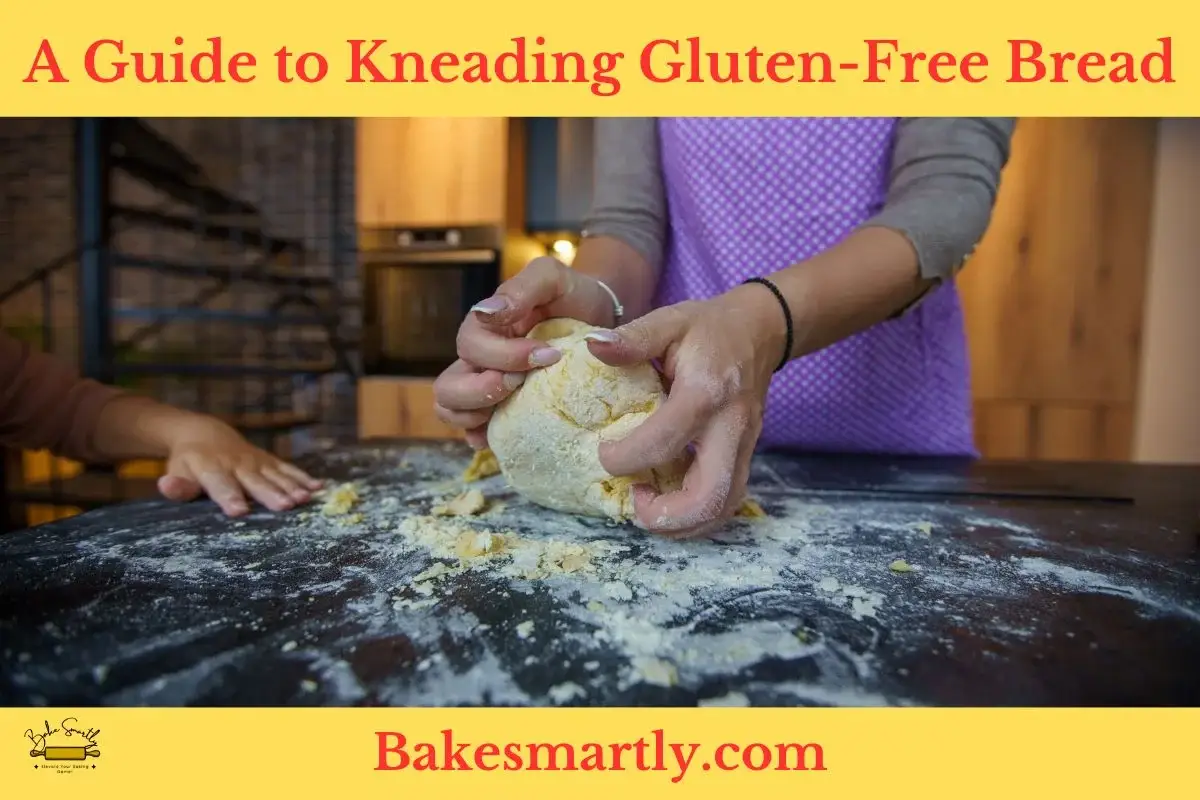
Tired of gluten-free bread that ends up dense and crumbly? Well, you’re in the right place. In this detailed guide, we’ll walk you through the ins and outs of kneading gluten-free bread and share some top tips for baking success.
Gluten-free baking can be tricky because without gluten, the dough often lacks elasticity and structure. But fear not! With the right techniques, you can make gluten-free bread that’s light and fluffy, giving its gluten-filled counterparts a run for their money.
In this article, we’ll delve into the importance of proper kneading for gluten-free bread and give you step-by-step instructions to help you nail this crucial step. We’ll also talk about the role of ingredients and share expert tips to ensure your bread rises beautifully and has the perfect texture.
Whether you’re a seasoned baker or just starting with gluten-free baking, this guide will give you the knowledge and skills to whip up delicious and satisfying gluten-free bread every time.
Table of Contents
ToggleUnderstanding the Challenges of Kneading Gluten-Free Bread
Starting to make gluten-free bread comes with a bunch of challenges that need a careful touch. In regular bread baking, gluten is a key player, giving structure and stretchiness. But in the gluten-free world, it’s missing, leading to some tricky obstacles.
One big challenge is the mix of gluten-free flours. Unlike the ones with gluten, these flours don’t stick together like glue during kneading. Without gluten, you lose that familiar stretchiness, so picking the right combo of flours is super important. It takes some experimenting to get it right because different flours bring different textures and flavors to the final bread.
Then there’s the issue of binders, which become crucial without gluten. Figuring out the right binders and how much to use is a bit of an art. Xanthan gum, psyllium husk, and flaxseed are common choices, each helping to hold the dough together.
But finding the right balance is key – too much can make the bread gummy, while too little can leave you with a crumbly and not-so-great loaf.
Leavening agents are also a big deal in the gluten-free bread-making journey. Unlike regular bread where gluten helps trap gases from the leavening agents, gluten-free dough needs a different strategy for that perfect rise and fluffiness. Baking powder, baking soda, or yeast have to be carefully added to make sure the bread is light and airy without sacrificing taste.
Why Kneading is Important for Gluten-Free Bread
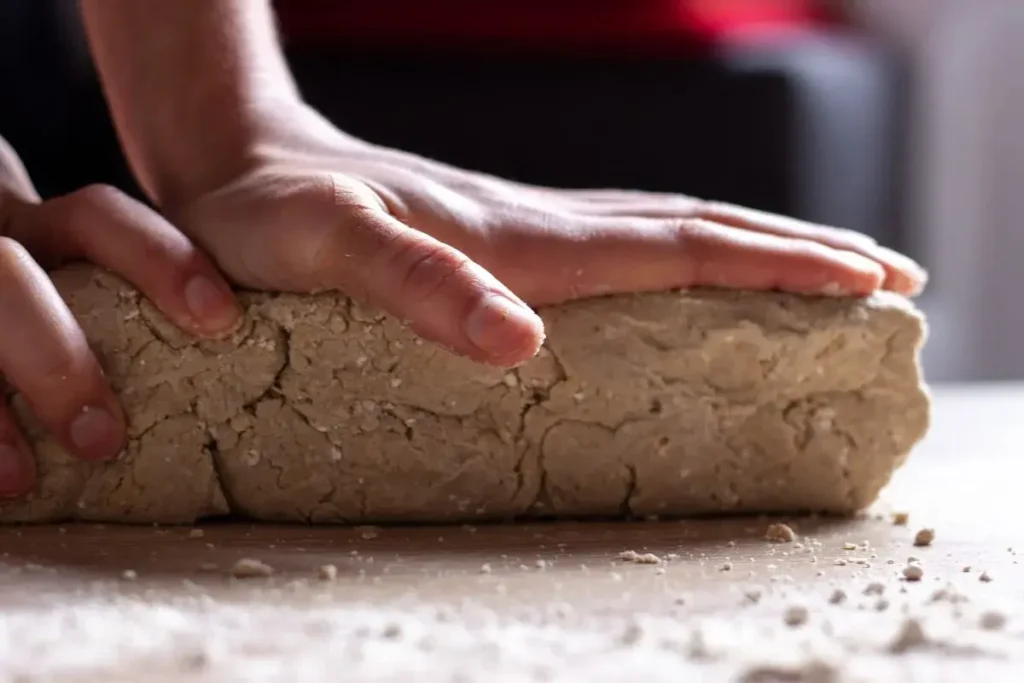
Kneading plays a big role when you’re making gluten-free bread. It’s key for getting the right quality and texture in the final product. Since there’s no gluten, this step is even more important, and you need to pay attention to a few things to make sure your gluten-free loaf turns out great.
In this section, we will explain why kneading is so important for gluten-free bread
- Building Structure: Kneading helps create the structure of the bread by aligning proteins and forming a network that traps gases during fermentation. In gluten-free bread, this is crucial because the dough is more delicate without gluten.
- Improving Texture: Good kneading gives gluten-free bread a nice texture. It helps strike a balance between a soft inside and a crust that’s just chewy enough, making the bread taste better overall.
- Evenly Mixing Ingredients: Gluten-free flours often have a mix of different alternative flours. Kneading makes sure these various ingredients are spread out evenly, so you don’t end up with uneven pockets of texture or flavor in your bread.
- Activating Binders: Binders like xanthan gum or psyllium husk, which are important in gluten-free baking, need to be evenly activated. Kneading makes sure these binders are spread out well, providing the cohesion needed to keep your bread from falling apart.
- Trapping Gas for Rising: Gluten-free bread relies on leavening agents to rise. Proper kneading helps trap the gases produced during fermentation, making your bread light and airy.
- Balancing Moisture Levels: Kneading helps even out the moisture levels in gluten-free dough. Consistent moisture is key to avoiding a sticky or dry texture, so your dough is easy to work with.
- Boosting Flavors: Besides giving structure, kneading adds to the flavors in gluten-free bread. The mechanical action during kneading activates enzymes and sparks chemical reactions, resulting in a more interesting taste.
Choosing the Right Gluten-Free Flour for Kneading
Choosing the right gluten-free flour is key to making great gluten-free bread. There are lots of different flours to pick from, each with its own flavors, textures, and nutrition. Here are some things to think about when choosing the best gluten-free flour for kneading:
- Mix It Up: Instead of using just one type of flour, try a mix of gluten-free flours. Using a blend, like a mix of rice flour, tapioca flour, and almond flour, can make your bread taste and feel better.
- Rice Flour for Structure: Whether it’s white or brown, rice flour is a good choice. It doesn’t have a strong taste and helps make the dough stable for kneading.
- Nut Flours for Flavor: Flours like almond, coconut, or hazelnut add a tasty nutty flavor to gluten-free bread. But remember, they soak up moisture, so adjust accordingly while kneading.
- Tapioca Flour for Chewiness: Tapioca flour gives gluten-free bread a nice chewiness. It works well with other flours, making the dough stretchier and the texture better after kneading.
- Buckwheat for Nutrition: Buckwheat flour not only has a strong taste but also brings in important nutrients. It can boost the overall goodness of gluten-free bread.
- Try Ancient Grains: Experiment with grains like quinoa or amaranth for extra nutrition. They bring in unique textures and flavors that make gluten-free bread even better.
- Experiment with Legume Flours: Chickpea or lentil flour adds a hearty, protein-rich element to gluten-free bread. Just be aware of their strong flavors and adjust the mix to your liking.
- Ready-made Gluten-Free Mixes: If you want something easy, you can use pre-made gluten-free flour mixes. These blends are carefully made to have a good mix of different flours, making the kneading process simpler.

How to Properly Mix Ingredients for Gluten-Free Bread Dough
Creating a perfect gluten-free bread dough is not just about choosing the right ingredients; it’s also about the meticulous process of mixing. In the absence of gluten, ensuring a harmonious blend of components becomes even more critical.
Here’s a guide on how to properly mix ingredients for gluten-free bread dough:
- Sift and Whisk Dry Ingredients: Begin by sifting gluten-free flours to eliminate lumps and ensure an even mix. Whisk together the dry ingredients, including flours, binders like xanthan gum, and leavening agents, to create a homogeneous mixture.
- Mindful Hydration: Unlike traditional bread dough, gluten-free dough tends to be thirstier. Hydrate the dry ingredients gradually, allowing them to absorb moisture without becoming overly sticky. Adjust the hydration level as needed to achieve the right consistency during mixing.
- Incorporate Wet Ingredients Gradually: Introduce wet ingredients, such as eggs, liquids, or fats, gradually. This step-by-step approach ensures an even distribution of moisture, preventing clumps and promoting a smoother texture in the dough.
- Activate Binders: Binders play a crucial role in gluten-free baking. Ensure thorough activation by evenly distributing binders like xanthan gum or psyllium husk during the mixing process. This step enhances the dough’s elasticity and helps maintain its structure.
- Mindful Mixing Speed: When using a mixer, opt for low to medium speeds to prevent overmixing. Overmixing can lead to a dense texture in gluten-free bread. If mixing by hand, use gentle but thorough strokes to achieve an even blend without compromising the dough’s integrity.
- Additives for Flavor and Texture: Elevate your gluten-free bread by incorporating additives like seeds, nuts, or dried fruits during the mixing process. These additions contribute to burstiness, enhancing both the flavor and texture of the final product.
- Temperature Control: Be mindful of the temperature of your ingredients. Using room temperature eggs and liquids helps maintain a consistent temperature throughout the dough, promoting optimal yeast activity during fermentation.
- Resting Periods: Integrate short resting periods during mixing to allow the flour to fully absorb moisture. This technique contributes to a more workable dough, making it easier to handle during subsequent kneading steps.
Step-by-Step Guide to Kneading Gluten-Free Bread Dough
Creating gluten-free bread dough might seem challenging at first, but by breaking it down into manageable steps, even beginner bakers can achieve the perfect texture and flavor.
To begin, select the ideal gluten-free flour blend, considering the unique characteristics each alternative flour brings to the mix. While it may require some experimentation, finding the right balance is essential for achieving a well-structured and flavorful bread.
Once you’ve chosen your flour, the next crucial step involves incorporating binders and leavening agents like xanthan gum, psyllium husk, and baking powder. These ingredients compensate for the absence of gluten, providing the necessary structure and rise for your dough.
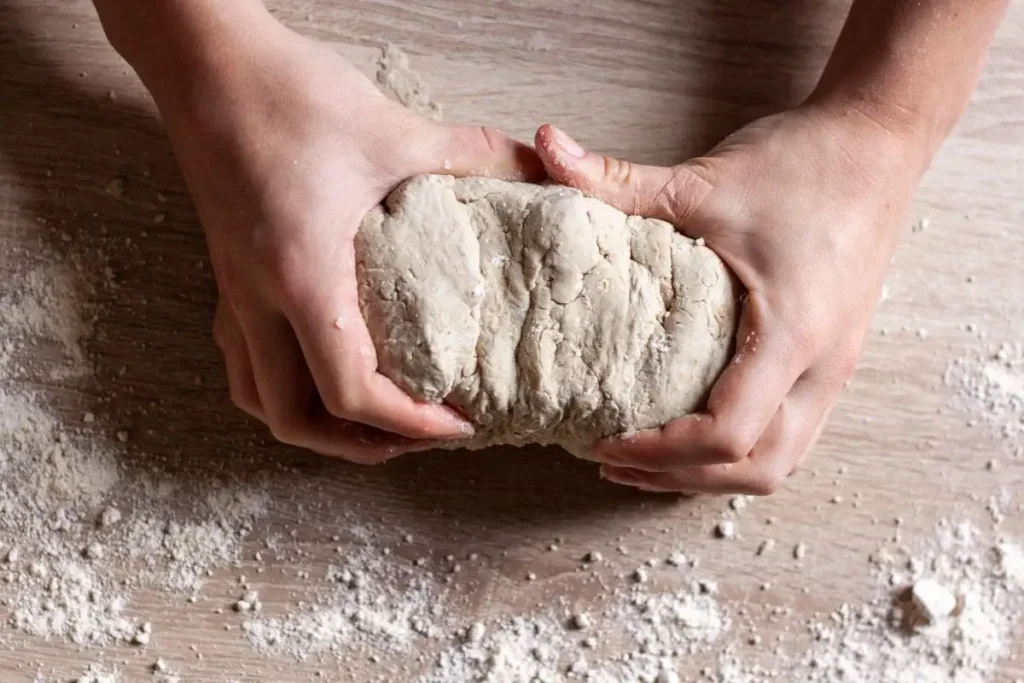
Now, let’s delve into the kneading process. Unlike traditional bread, gluten-free dough requires a more delicate touch. Employ careful folds and strategic kneading to prevent overworking the fragile structure of gluten-free flours.
Aim for a smooth and consistent texture, finding the delicate balance between establishing structure and avoiding a dense final product. Consider the impact of temperature and timing on your gluten-free bread. Allow the dough to rise at the correct temperature, granting it the time to ferment and develop flavors. Patience is key for achieving a light and airy texture.
Incorporate resting periods to enable the flour to absorb moisture, resulting in a smoother and more manageable dough. When it comes time to bake, closely monitor the process, as different gluten-free flour blends may require adjustments in temperature and baking time.
Common Mistakes to Avoid When Kneading Gluten-Free Bread Dough
Making gluten-free bread dough can be a bit tricky, requiring attention to detail and a good understanding of gluten alternatives. To make sure your gluten-free baking turns out well, it’s important to avoid some common mistakes.
One common error is not paying attention to the unique qualities of gluten-free flours. Unlike flours with gluten, these don’t have the binding properties that make regular bread elastic. So, if you knead the dough too much, it might end up dense and crumbly.
Another thing to watch out for is not giving enough importance to proper hydration. Gluten-free flours tend to soak up more moisture, and if you don’t use enough, your final product could be dry and not so tasty.
Getting the right balance is crucial for the texture you want. Also, don’t forget about letting the dough rest—it’s important for gluten-free flours to absorb liquids and form the right structure, so don’t skip this step.
Resist the urge to rush things; making gluten-free dough takes time and a careful approach. Lastly, using too much or too little leavening agent can affect how much your bread rises and its texture.
If you understand and steer clear of these common mistakes, you’ll improve your gluten-free bread-making skills and make delicious, light loaves every time.
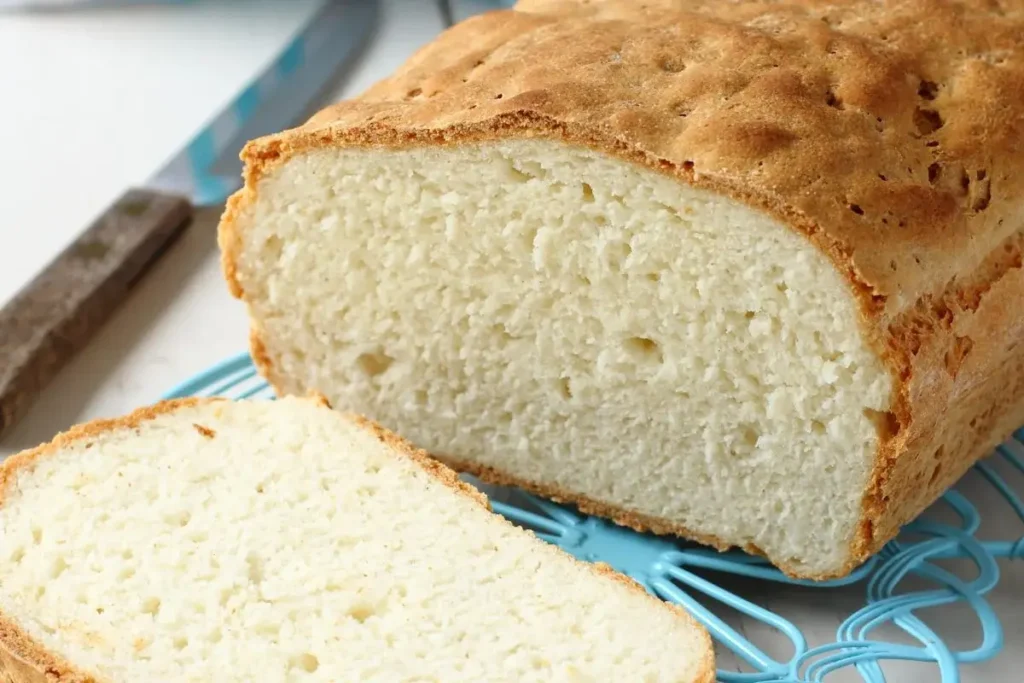
Gluten-Free Bread Recipes to Try
Embarking on the journey of making gluten-free bread opens up a world of tasty possibilities. Whether you’re a pro baker or just starting out in the kitchen, these recipes for gluten-free bread are made to suit different tastes.
Start with a classic Gluten-Free Sandwich Bread that uses a mix of rice flour and tapioca starch to give it a light and fluffy texture. If you’re in the mood for something nutty, give the Almond Flour Bread a shot—it has a rich flavor and a satisfyingly dense crumb.
Feeling bold? Try making a Quinoa and Chia Seed Bread for added protein and nutritional benefits. If you have a sweet tooth, go for the Gluten-Free Banana Bread, where ripe bananas bring in natural sweetness and moisture.
Each recipe gives a unique spin on gluten-free baking, showing that skipping gluten doesn’t mean giving up on taste and texture.
A Guide to Kneading Gluten-Free Bread | Final Thoughts
In the world of gluten-free baking, mastering how to knead is key to making light, fluffy bread that can compete with its gluten-filled counterparts.
This guide is here to help both experienced bakers and beginners navigate the complexities of using alternative flours, binders, and leavening agents, so you can become a pro at making gluten-free bread.
We break down the kneading process, explaining how it plays a crucial role in building structure, improving texture, and activating binders.
We’ve covered everything, from choosing the right gluten-free flour mix to adding extras for flavor and texture. We’ve got all the details to make sure your gluten-free bread turns out perfect every time.
We also highlight common mistakes to steer clear of and provide a variety of gluten-free bread recipes, making this guide your ultimate go-to for baking delicious, satisfying loaves. Whether you’re a baking pro or just starting out on your gluten-free journey, use the knowledge and skills in this guide to consistently whip up exceptional gluten-free bread. Happy baking!
Lindsey Mackenzie
About me
Hi there! I’m Lindsey Mackenzie, the founder of Bake Smartly. Baking has been my passion since childhood, growing up in my father’s bakery. With Bake Smartly, I’m excited to share my love for all things sweet and savory. Join me on this delicious journey as we whip up scrumptious treats and sprinkle joy into every bite!

